How to Dry Fruit in the Oven: Essential Tips for Perfect Homemade Dried Fruit
Drying fruit at home is a practical way to preserve seasonal produce, reduce food waste, and prepare naturally sweet snacks without adding sugar. However, achieving the right texture requires more than simply leaving fruit in a warm oven.
Too much heat can cook or burn the fruit, while insufficient drying may leave excess moisture that leads to spoilage. With the correct temperature, careful preparation, and good airflow, you can make flavorful dried fruit without a dedicated dehydrator.
Practical Cooking Tips for Drying Fruit at Home
1. Use the Correct Oven Temperature
Temperature control is one of the most important parts of successful fruit dehydration.
For oven drying, aim for a temperature of 140–150°F (60–65°C). This gentle heat encourages moisture to evaporate without cooking the fruit too quickly.
Before starting, make sure your oven can maintain this low temperature.
- Use an oven thermometer to check the actual temperature.
- Choose a convection setting when available to improve air circulation.
- Follow the manufacturer’s instructions concerning ventilation and whether the oven door may safely remain slightly open.
- Avoid high temperatures that brown the outside before the inside has dried.
Many conventional ovens cannot operate below 170°F (77°C). If your oven cannot maintain the recommended drying temperature, a food dehydrator is a better option for preparing fruit intended for storage.
2. Choose Fresh, Ripe Fruit
The condition of the fruit affects the flavor, appearance, and finished texture.
Choose fruit that is ripe, flavorful, and free from mold or decay. Extremely soft or overripe fruit can be difficult to slice evenly.
Different fruits offer different results:
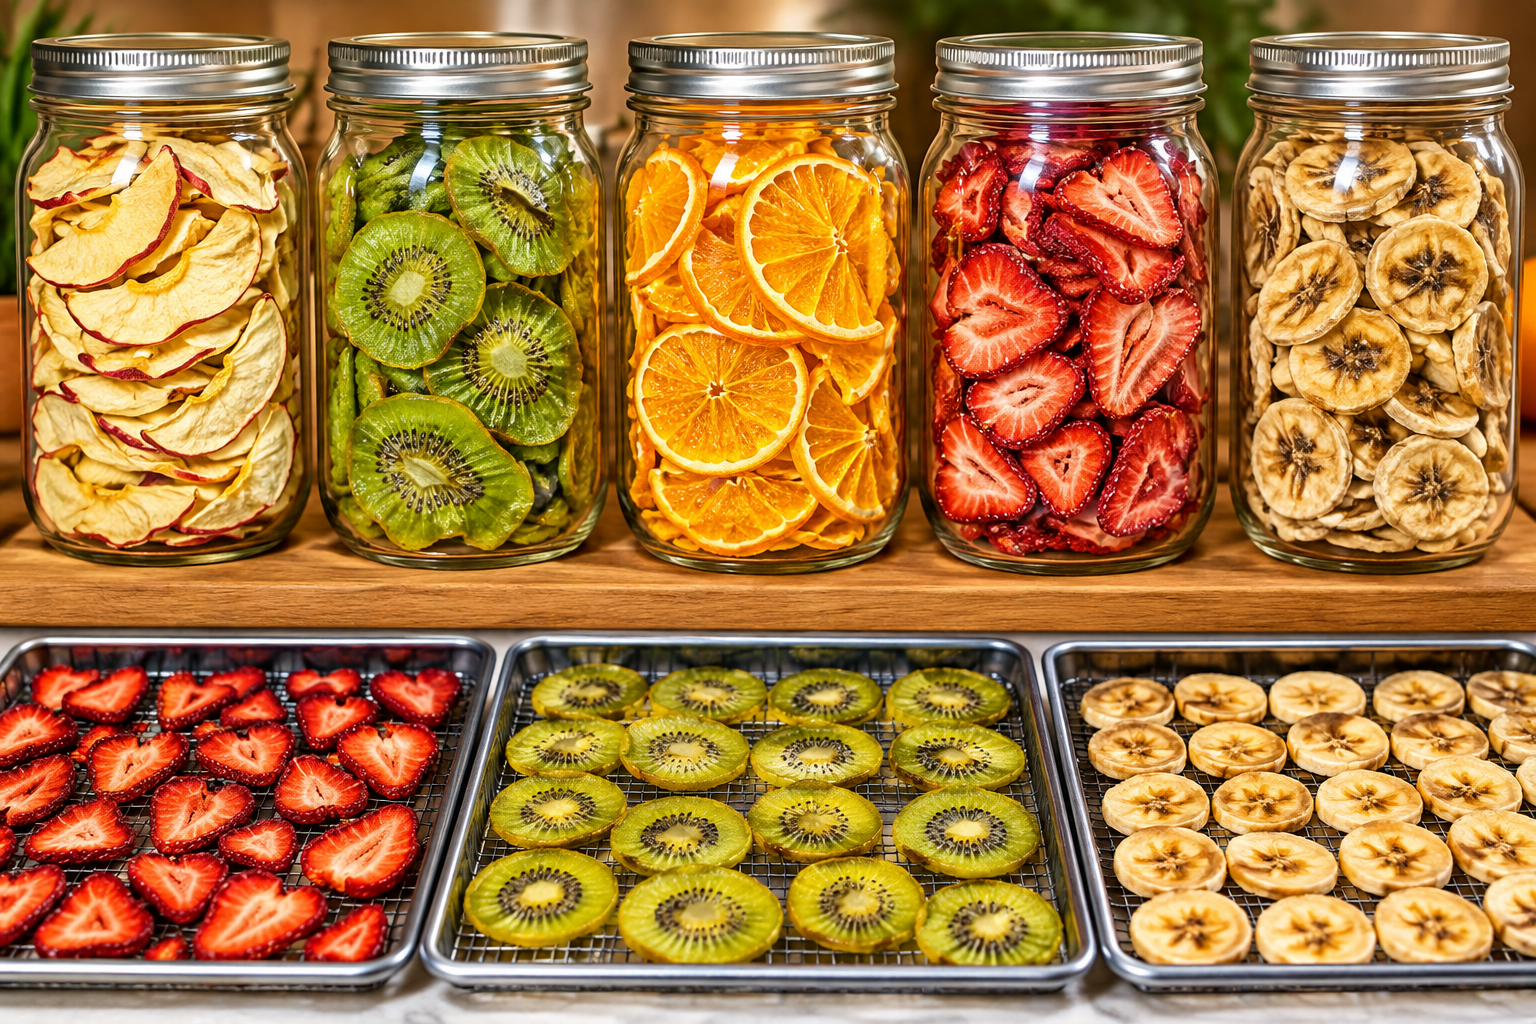
- Apples: Firm, ripe apples make convenient slices and rings.
- Bananas: Firm yellow bananas are easier to handle than very soft ones.
- Strawberries: Ripe, firm strawberries can be sliced for more even drying.
- Cherries: Sweet cherries develop a concentrated flavor when dried.
- Blueberries: Their skins require special attention because they slow moisture loss.
Wash fruit thoroughly under running water before preparing it.
3. Cut Fruit Into Even Pieces
Uneven slices are a common reason homemade dried fruit develops inconsistent textures.
Thin pieces dry faster because moisture has less distance to travel before reaching the surface.
For many fruits, slices approximately 1/8 to 1/4 inch thick (3–6 mm) are a useful starting point.
Keep pieces as uniform as possible.
For apples, remove the core and cut the flesh into consistent slices. Bananas should be peeled and sliced evenly. Strawberries can be sliced to expose more surface area.
Cherries should be pitted before drying. Halving them can also expose the flesh and help moisture escape.
Uniform preparation makes it easier to determine when an entire batch is ready.
4. Prevent Browning With a Lemon Juice Dip
Some fruits turn brown shortly after slicing because their exposed surfaces react with oxygen.
Apples and bananas are particularly prone to this discoloration.
An acidic pretreatment can help slow the process.
One established method is to combine equal parts lemon juice and cold water, soak the sliced fruit for approximately 10 minutes, and drain it thoroughly before drying.
This treatment can help preserve a lighter appearance. However, lemon juice may slightly affect the finished flavor.
Ascorbic acid, also known as vitamin C, is another established option.
Important: Lemon juice is not a substitute for washing produce or following safe food-handling and drying practices.
5. Arrange Fruit in a Single Layer
Air circulation is essential for removing moisture.
Arrange prepared fruit on suitable oven-safe drying racks or trays, leaving space between individual pieces.
Avoid overlapping slices because trapped moisture can slow the drying process.
Open racks generally provide better circulation than solid baking sheets. A suitable nonstick liner may help prevent delicate fruit from sticking, although it can reduce airflow underneath.
When using multiple trays, leave enough space between them for warm air to circulate.
6. Give Different Fruits Enough Drying Time
There is no universal drying time that works for every fruit.
The time required depends on several factors:
- Fruit variety and natural moisture content.
- Thickness of the pieces.
- Actual oven temperature.
- Humidity in the kitchen.
- Air movement around the fruit.
- Whether the fruit is sliced, halved, or left whole.
For example, thin apple slices may take around 6 hours under favorable conditions, while thicker apple pieces can require considerably longer.
Whole or larger fruits may need many additional hours.
Treat published drying times as estimates rather than guarantees. Rotate trays and turn larger pieces periodically to encourage even drying.
Check the fruit more frequently as it approaches the desired dryness to prevent scorching.
7. Learn How to Recognize Properly Dried Fruit
Appearance alone cannot reliably tell you whether fruit is sufficiently dry for storage.
Properly dried fruit is generally leathery and flexible rather than wet or sticky with visible moisture.
To evaluate a batch:
- Remove several pieces from different parts of the tray.
- Allow them to cool to room temperature.
- Cut a thicker piece open and examine its center.
- Look for any visibly moist areas.
- Gently squeeze several pieces together and check whether moisture transfers to your hand.
Dried fruit should not release visible moisture when squeezed.
Some fruit remains pleasantly chewy when adequately dried. A crisp, brittle texture is not necessary for every variety.
If the pieces contain damp centers, continue drying them.
Why These Fruit-Drying Tips Work
Drying fruit works by removing enough moisture to reduce the ability of spoilage microorganisms to grow.
Three factors are especially important: controlled heat, relatively dry air, and continuous air movement.
Gentle Heat Encourages Moisture Evaporation
Low heat allows water to leave the fruit gradually.
Excessive heat can cause the surface to brown or cook before the interior reaches an adequately dried state.
Maintaining the recommended drying temperature helps create more consistent results.
Airflow Carries Moisture Away
As water evaporates from the fruit, the surrounding air becomes more humid.
Moving that moist air away allows further evaporation.
This explains why convection ovens and properly designed food dehydrators can dry fruit more efficiently than ovens with limited airflow.
Slice Thickness Influences Texture
Thin slices expose more surface area relative to their volume.
As a result, moisture generally escapes more quickly.
Thicker slices retain moisture longer and may develop a softer texture, provided they are dried sufficiently for safe storage.
Drying Concentrates Natural Fruit Flavors
Fresh fruit contains a substantial amount of water.
When much of that water is removed, the remaining fruit has a more concentrated flavor and sweetness per bite.
Dried fruit still contains naturally occurring sugars. Removing water does not eliminate those sugars, so dried fruit is best enjoyed in sensible portions.
Common Mistakes to Avoid When Drying Fruit
Several avoidable mistakes can affect the quality and safety of homemade dried fruit.
1. Using an Oven Temperature That Is Too High
High temperatures may produce baked or scorched fruit rather than properly dehydrated fruit.
Keep the temperature around 140–150°F (60–65°C) and confirm it with an oven thermometer.
2. Cutting Fruit Into Different Thicknesses
Thin pieces may become excessively dry before thicker pieces are ready.
Use a sharp knife or carefully handled mandoline to prepare uniform slices.
3. Overcrowding the Drying Trays
Pieces that touch or overlap restrict airflow and may dry unevenly.
Work in smaller batches when necessary.
4. Ignoring Fruit With Tough Skins
Whole blueberries, cherries, and similar fruits have skins that can slow moisture evaporation.
A recommended pretreatment for certain tough-skinned fruits involves briefly dipping them in boiling water for 30–60 seconds, followed by very cold water. This helps crack the skins.
Use fruit-specific preparation guidance to choose the appropriate method.
5. Judging Dryness While the Fruit Is Hot
Warm fruit can feel softer and more flexible than it does after cooling.
Always cool sample pieces before evaluating their texture and moisture level.
6. Packing Fruit Before It Has Cooled
Warm dried fruit can release condensation inside a sealed container.
Allow it to cool completely before beginning the conditioning and storage process.
Practical Kitchen Examples
Drying Apple Slices for Everyday Snacking
Firm apples are a useful choice for learning oven dehydration.
Remove the cores and slice the apples evenly. Consider using a lemon juice pretreatment if maintaining a lighter color is important.
Spread the slices in a single layer and monitor them during drying.
The finished pieces should feel flexible and leathery, without wet centers.
Dried apple slices can be eaten on their own or chopped into oatmeal and homemade granola.
Preparing Dried Banana Slices
Bananas contain natural sugars and can become sticky during drying.
Choose firm, ripe bananas and cut them into evenly sized slices.
A lemon juice pretreatment may help reduce browning, although it can introduce a mild citrus flavor.
Leave space between the slices so they do not stick together.
Check their texture after cooling. Properly dried bananas may remain chewy rather than becoming as crisp as commercially fried banana chips.
Handling Cherries and Blueberries
Small fruits require slightly different preparation.
Remove cherry pits before drying. Halving cherries exposes the moist interior and may shorten the drying process.
Blueberries have skins that naturally restrict moisture loss. An appropriate skin-cracking pretreatment can help them dry more evenly.
Because these fruits can retain moisture inside their skins, check their interiors carefully before storage.
Extra Kitchen Tips for Better Results
Start With a Small Batch
When drying a new fruit for the first time, prepare a modest quantity.
This allows you to evaluate how your oven handles the fruit’s moisture content without risking a large batch.
You can also observe how slice thickness affects the finished texture.
Keep Different Fruit Sizes Separate
Avoid placing extremely thin slices and large fruit halves together if they will require substantially different drying times.
Separating them makes it easier to remove finished pieces without repeatedly disturbing fruit that still needs additional drying.
Use Dried Fruit in Everyday Cooking
Properly dried fruit can add flavor and texture to many foods.
Try chopped dried apples in oatmeal, dried cherries in grain salads, or dried strawberries in homemade cereal mixes.
For dishes requiring a softer texture, dried fruit can be rehydrated. Rehydrate it in the refrigerator rather than leaving it soaking at room temperature for extended periods.
Food Safety and Storage Advice
Correct storage is just as important as proper drying.
Even adequately dried fruit can spoil if it absorbs moisture after preparation.
Cool and Condition Dried Fruit Before Storage
Conditioning helps distribute remaining moisture evenly among dried pieces.
According to the National Center for Home Food Preservation, home-dried fruit should generally be conditioned for 7–10 days.
To condition dried fruit:
- Let the fruit cool completely.
- Place it loosely in clean, dry glass or food-safe plastic containers.
- Close the containers and keep them in a suitable dry location.
- Shake the containers daily to separate the pieces.
- Check for condensation or visible moisture.
If condensation develops, return the fruit to the drying equipment for additional drying, then repeat conditioning.
Conditioning does not replace proper dehydration. The fruit must already be adequately dried before this stage.
Choose Appropriate Storage Containers
After conditioning, transfer the fruit to clean, dry, airtight containers.
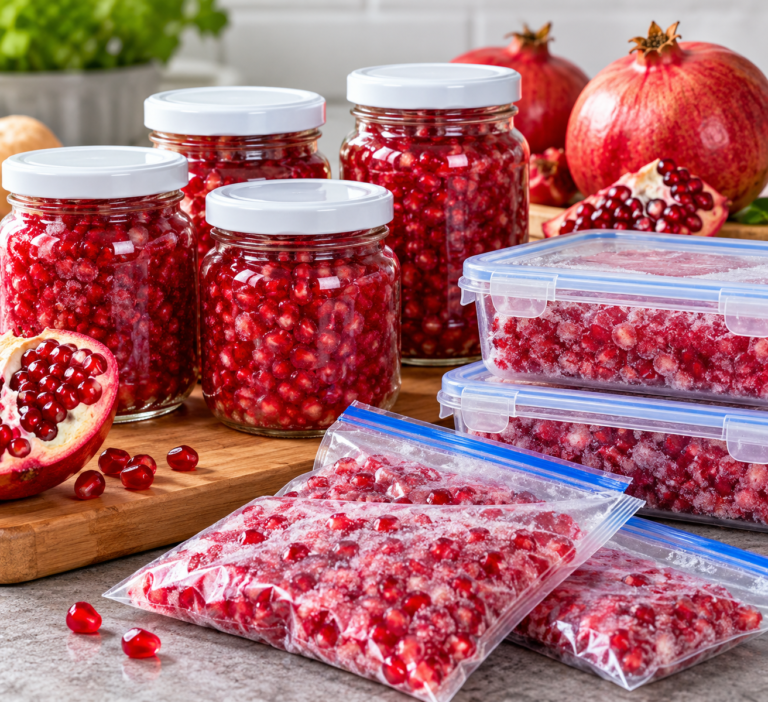
Suitable options include glass jars, tightly sealed food-safe containers, and moisture-resistant freezer bags.
Store them in a cool, dry, dark location away from heat and sunlight.
Clearly label each container with the fruit type and drying date.
How Long Can Homemade Dried Fruit Last?
Storage life depends on the fruit, its moisture content, the packaging, and the storage environment.
Under appropriate conditions, many properly dried fruits can maintain good quality for approximately 6–12 months.
Warm or humid storage conditions can substantially shorten that period.
Refrigeration or freezing can help preserve quality, particularly in hot or humid climates.
Inspect stored fruit regularly. If you discover mold or signs of spoilage, discard the affected food rather than attempting to rescue it by drying it again.
Follow Safe Oven-Drying Practices
Never leave an oven operating unattended while drying fruit.
Some oven-drying methods require the door to remain partially open for ventilation. This can create burn hazards, particularly in homes with small children or pets.
Follow your oven manufacturer’s safety instructions. If safe ventilation and the recommended temperature cannot be maintained, use an appropriate food dehydrator instead.
Conclusion
Drying fruit at home is a useful kitchen skill that combines careful preparation, gentle heat, and effective moisture removal. Consistent slicing, adequate airflow, and proper storage are essential for good results. Start with simple fruits such as apples or bananas, check their dryness carefully, and enjoy the convenience of homemade dried fruit.
Sources
The food-drying temperatures, preparation techniques, dryness tests, and storage recommendations in this guide are supported by the following university extension and food preservation resources: