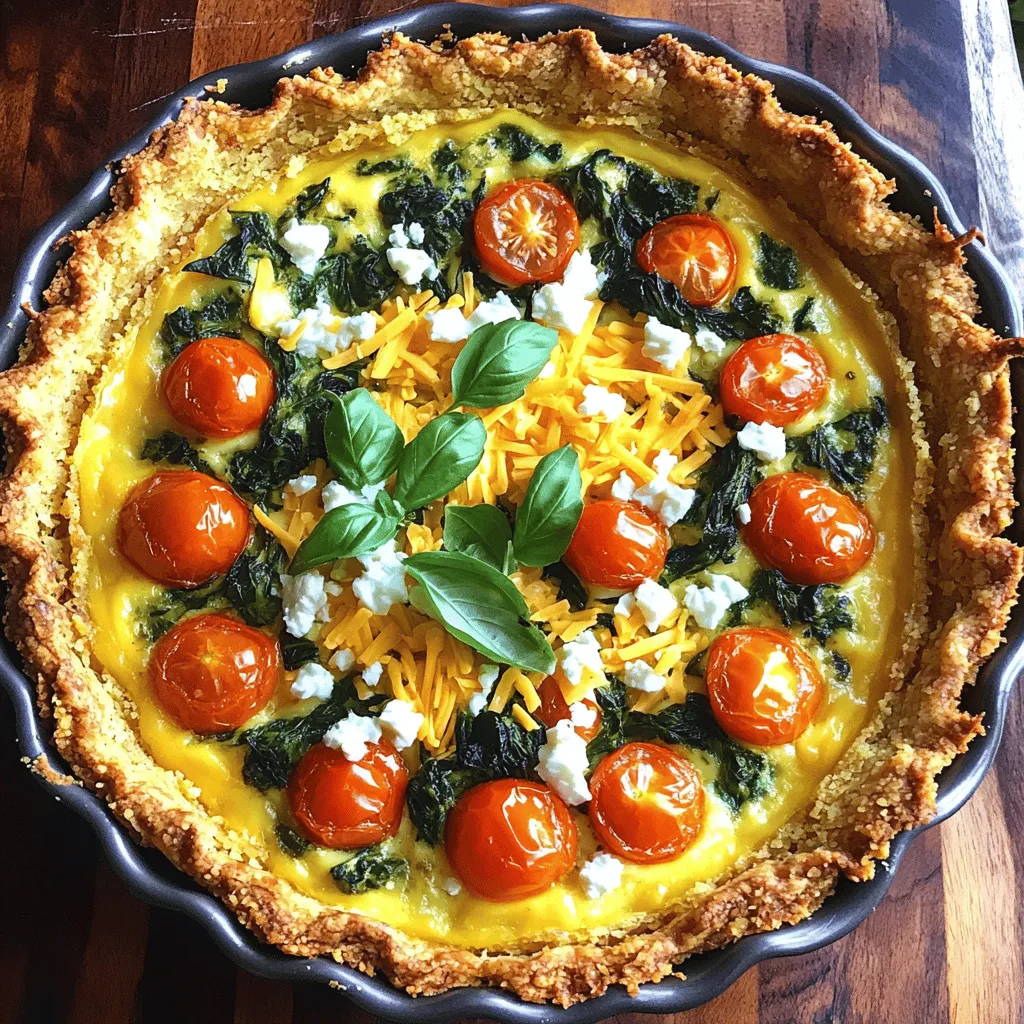
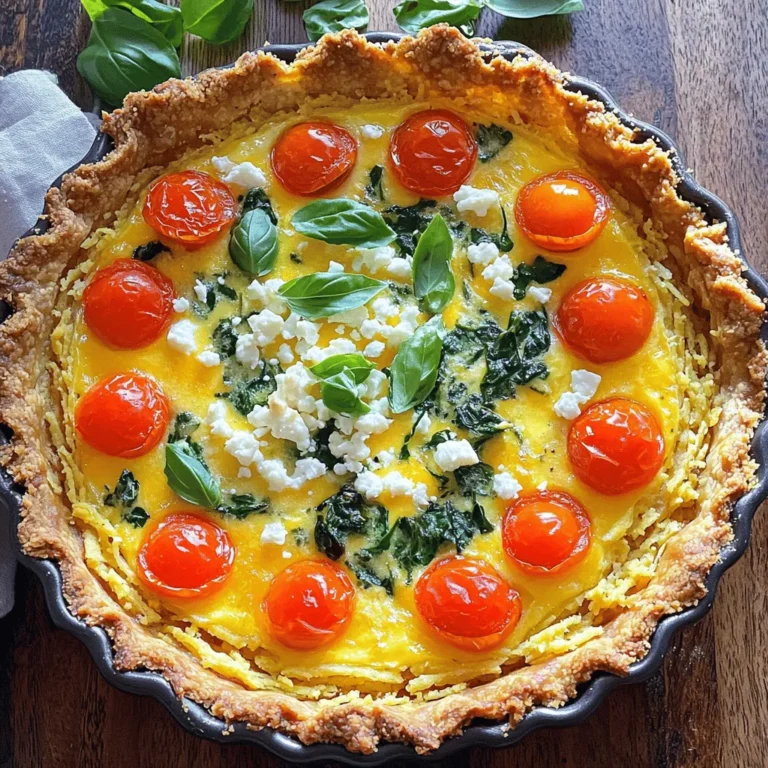
Spring is here, and what better way to celebrate than with a vibrant Spring Hash Brown Crust Quiche? This recipe brings together crispy hash browns, fresh spring veggies, and creamy cheeses for a delightful dish. Whether it’s brunch or dinner, this quiche bursts with flavor and color. Let’s dive into how you can create this tasty treat that everyone will love! Ready to impress your family or friends? Let’s get cooking!
Ingredients
Main Ingredients
– 3 cups hash brown potatoes (fresh or frozen, thawed)
– 6 large eggs
– 1 cup whole milk
– 1 cup sharp cheddar cheese, shredded
– 1/2 cup feta cheese, crumbled
– 1 cup fresh spinach, roughly chopped
– 1/2 cup cherry tomatoes, halved
– 1 tablespoon fresh basil, chopped (plus extra for garnish)
The star of this dish is the hash brown crust. I love using either fresh or frozen hash browns, as they create a crispy base. The eggs and milk form the heart of the quiche. They bind everything together and add creaminess. Next, I like to load up my quiche with spring vegetables. Spinach and cherry tomatoes bring color and freshness. Fresh basil adds a bright herb flavor.
Seasoning and Additional Ingredients
– 1/4 cup unsalted butter, melted
– 1/2 teaspoon garlic powder
– Salt and freshly cracked pepper to taste
I use garlic powder for a nice depth of flavor. Salt and pepper are essential for balancing the taste. For the cheeses, I recommend sharp cheddar and feta. The cheddar provides a rich, bold flavor. Feta adds a nice tang that makes every bite exciting.
Step-by-Step Instructions
Preparing the Oven and Crust
Start by preheating your oven to 425°F (220°C). This step is key for a crisp crust. While the oven heats, grab a large bowl. In this bowl, mix together the hash brown potatoes, melted butter, garlic powder, salt, and pepper. Make sure everything is fully combined. The butter helps bind the hash browns and adds flavor.
Baking the Crust
Next, prepare your pie pan. Grease a 9-inch pie pan with cooking spray or butter to prevent sticking. Take the hash brown mixture and press it evenly into the pan. You want to form a nice crust on the bottom and up the sides. Bake this in your preheated oven for about 20 minutes. You should see it turn golden brown and crispy at the edges.
Making the Filling
While the crust bakes, it’s time to make the filling. In a large bowl, crack 6 large eggs. Add 1 cup of whole milk, along with a dash of salt and pepper. Whisk this mixture until smooth. Now, add 1 cup of shredded sharp cheddar cheese, 1/2 cup of crumbled feta, 1 cup of chopped fresh spinach, and 1/2 cup of halved cherry tomatoes. Gently fold these ingredients into the egg mixture, ensuring they are well combined.
Combining and Final Baking
Once your crust is golden, carefully remove it from the oven. Pour the egg and vegetable mixture into the baked crust. Make sure it spreads evenly across the surface. Then, return it to the oven to bake for another 25 to 30 minutes. The quiche is done when the center is set and the top is lightly browned. You can check this by inserting a knife in the center; it should come out clean. After baking, let the quiche cool for about 10 minutes. Then, slice and serve.
Tips & Tricks
Techniques for Perfecting the Crust
To ensure a crispy hash brown base, start with dry potatoes. If you use frozen hash browns, squeeze out extra moisture. This step helps your crust stay crunchy. Mix the thawed hash browns with melted butter and garlic powder. This mix adds flavor and richness. Press the mixture firmly into your pie pan. Bake it at 425°F until golden brown. This process locks in that delicious crunch.
Egg Filling Tips
For the best texture in your egg filling, whip the eggs well. Combine them with whole milk for creaminess, and add a pinch of salt and pepper. This will help bring out the flavors. Incorporate cheese and fresh veggies gently. This way, they blend well without breaking apart. The filling should be smooth and rich, but still light.
Serving Suggestions
Pair your Spring Hash Brown Crust Quiche with a light salad. A fresh mixed greens salad works great. You can also add a simple vinaigrette to brighten the dish. Serve with fresh herbs on top for color and flavor. This adds a lovely touch to your meal. Enjoy every bite of your quiche!

Variations
Different Cheese Options
You can change the cheese in this quiche to suit your taste. Here are some great options:
– Monterey Jack: It melts well and adds a mild flavor.
– Gruyère: This cheese has a nutty taste and works great in quiches.
– Goat Cheese: It adds a tangy twist and pairs well with veggies.
– Mozzarella: This cheese makes the quiche creamy and stretchy.
Feel free to mix and match cheeses. Just keep the total amount around 1.5 cups for the best taste.
Vegetable Substitutions
Seasonal veggies can bring new life to your quiche. Here are some ideas:
– Asparagus: Cut into small pieces for a crunchy bite.
– Zucchini: Grate it for added moisture and texture.
– Bell Peppers: Dice them for a sweet crunch.
– Leeks: Slice them thin for a mild onion flavor.
Using fresh, seasonal veggies makes your quiche bright and colorful.
Adding Proteins
You can boost the protein in your quiche with various options. Consider these:
– Cooked bacon: Adds a smoky flavor that many enjoy.
– Sausage: Use crumbled sausage for a hearty touch.
– Ham: Diced ham can give a nice savory taste.
– Tofu: For a plant-based option, use firm tofu, crumbled.
Incorporating proteins makes your quiche more filling and satisfying.
Storage Info
Storing Leftovers
To keep your Spring Hash Brown Crust Quiche fresh, store it in the fridge. Place the quiche in an airtight container. If you don’t have one, cover it tightly with plastic wrap. This helps prevent it from drying out. Leftovers can last up to three days in the fridge.
Reheating Tips
When you want to enjoy your quiche again, reheat it in the oven. Preheat your oven to 350°F (175°C). Place the quiche on a baking sheet and cover it with foil. Heat for about 15-20 minutes. This method keeps the crust crispy while warming the filling. You can also use the microwave for a quick option, but the crust may get soft.
Freezing Instructions
If you want to save some quiche for later, freezing is an option. First, let the quiche cool completely. Then, wrap it tightly in plastic wrap. After that, wrap it in aluminum foil to prevent freezer burn. You can freeze it for up to two months. When you’re ready to eat it, thaw the quiche in the fridge overnight. Reheat it in the oven to restore that lovely crust.
FAQs
Is the hash brown crust gluten-free?
Yes, hash brown crusts can be gluten-free. You need to check the label on the hash browns. If they are made from pure potatoes and do not contain added flours, they are safe. For extra assurance, you can make your own. Simply grate fresh potatoes and squeeze out the moisture. This way, you can enjoy a delicious gluten-free crust.
Can I make this quiche in advance?
Yes, you can prepare this quiche ahead of time. You can bake the crust and fill it with the egg mixture. After that, cover it and store it in the fridge for up to one day. When you are ready to eat, just bake it until hot. This makes meal prep easy and lets you enjoy a homemade dish on busy days.
How do I know when the quiche is done?
To check if the quiche is done, look for a few signs. The top should be golden brown, and the filling should be set in the center. You can insert a knife in the middle. If it comes out clean, your quiche is ready. These simple checks ensure that your dish is cooked perfectly every time.
This quiche is simple and delicious. You start with crispy hash brown crust, filled with eggs, cheese, and veggies. Bake it perfectly, and you have a treat. Remember to use fresh herbs and season well for best flavor. You can also try different cheeses or add meats for variety. Store any leftovers properly to enjoy later. With these tips, you’ll make a great dish every time! Enjoy cooking and impressing your family with your skills.


