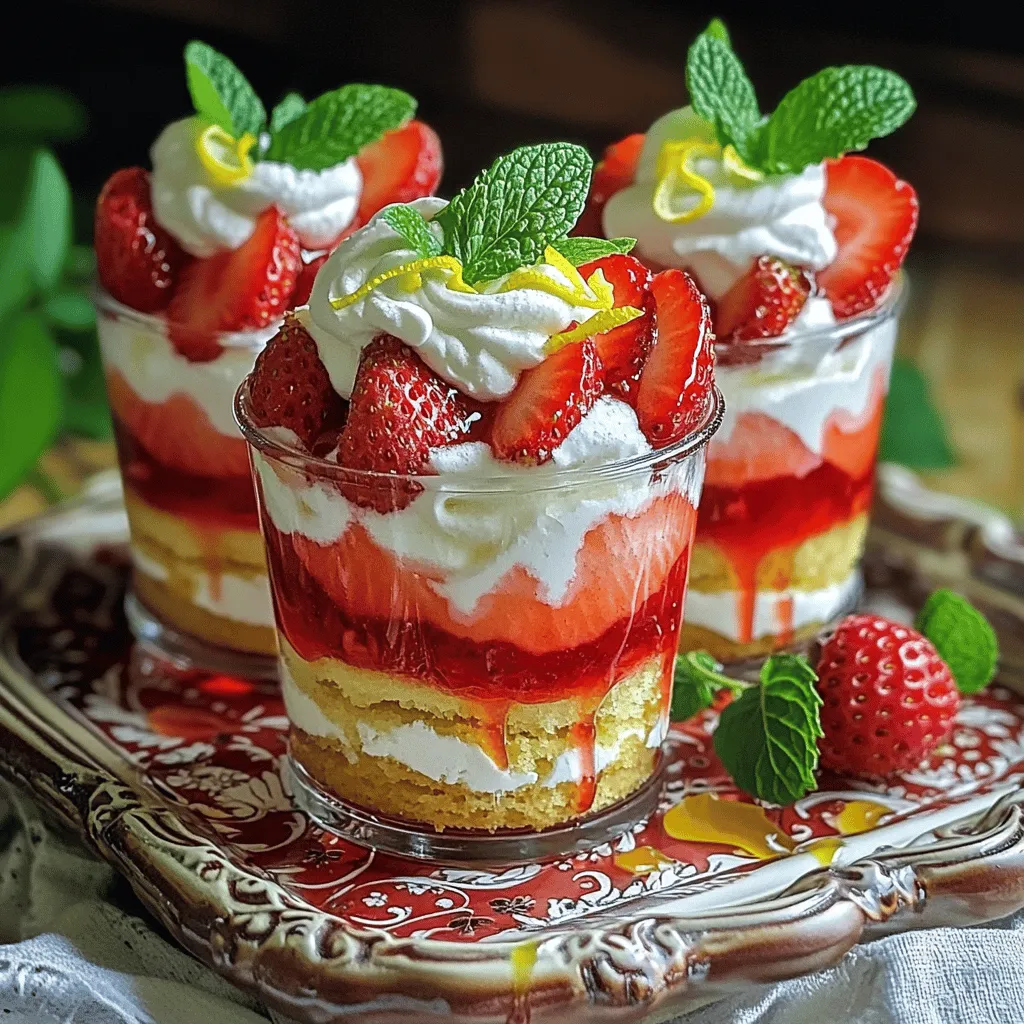
Looking for a quick and tasty dessert? Let me introduce you to Strawberry Shortcake Cups—a delightful treat that anyone can make! With fresh strawberries, whipped cream, and crumbled biscuits, this dessert is both simple and impressive. Whether you’re hosting a gathering or treating yourself, these cups are sure to satisfy your sweet tooth. Let’s dive into the easy steps and ingredients you’ll need to create this delicious dessert!
Ingredients
Fresh Ingredients Required
– 2 cups fresh strawberries, hulled and sliced
– 1 tablespoon granulated sugar
– 1 cup heavy whipping cream
– 2 tablespoons powdered sugar
– 1 teaspoon pure vanilla extract
– 1 teaspoon freshly grated lemon zest
– 1 cup shortcake biscuits, crumbled
– Fresh mint leaves for garnish
Equipment Needed
– Mixing bowls
– Hand mixer or whisk
– Serving cups or small bowls
Gathering fresh ingredients is key to making delicious strawberry shortcake cups. Start with ripe strawberries. They should be bright red and fragrant. Look for firm berries without bruises. The sugar will help bring out their natural sweetness.
Next, heavy whipping cream makes the perfect topping. It whips into fluffy clouds that complement the strawberries well. Use pure vanilla extract to enhance the cream’s flavor. Fresh lemon zest adds a nice touch of brightness.
For the base, crumbled shortcake biscuits provide texture. You can use store-bought or make your own. Finally, fresh mint leaves add a pop of color and a refreshing taste.
You will need mixing bowls for combining ingredients. A hand mixer or whisk helps whip the cream to perfection. Serving cups or small bowls will hold your delightful layers.Happy cooking!
Step-by-Step Instructions
Preparing the Strawberries
Start by hulling and slicing the strawberries. Place them in a bowl. Add one tablespoon of granulated sugar. Gently mix until the berries are well coated. Let them sit for about 10-15 minutes. This step is important. The sugar will help the strawberries release their juices. You will see a delicious syrup form at the bottom of the bowl.
Whipping the Cream
In another bowl, pour one cup of heavy whipping cream. Use a hand mixer on medium speed. As the cream thickens, slowly add two tablespoons of powdered sugar. Then, add one teaspoon of pure vanilla extract and a teaspoon of freshly grated lemon zest. Keep whipping until soft peaks form. Be careful not to over-whip. You want it light and airy.
Assembling the Cups
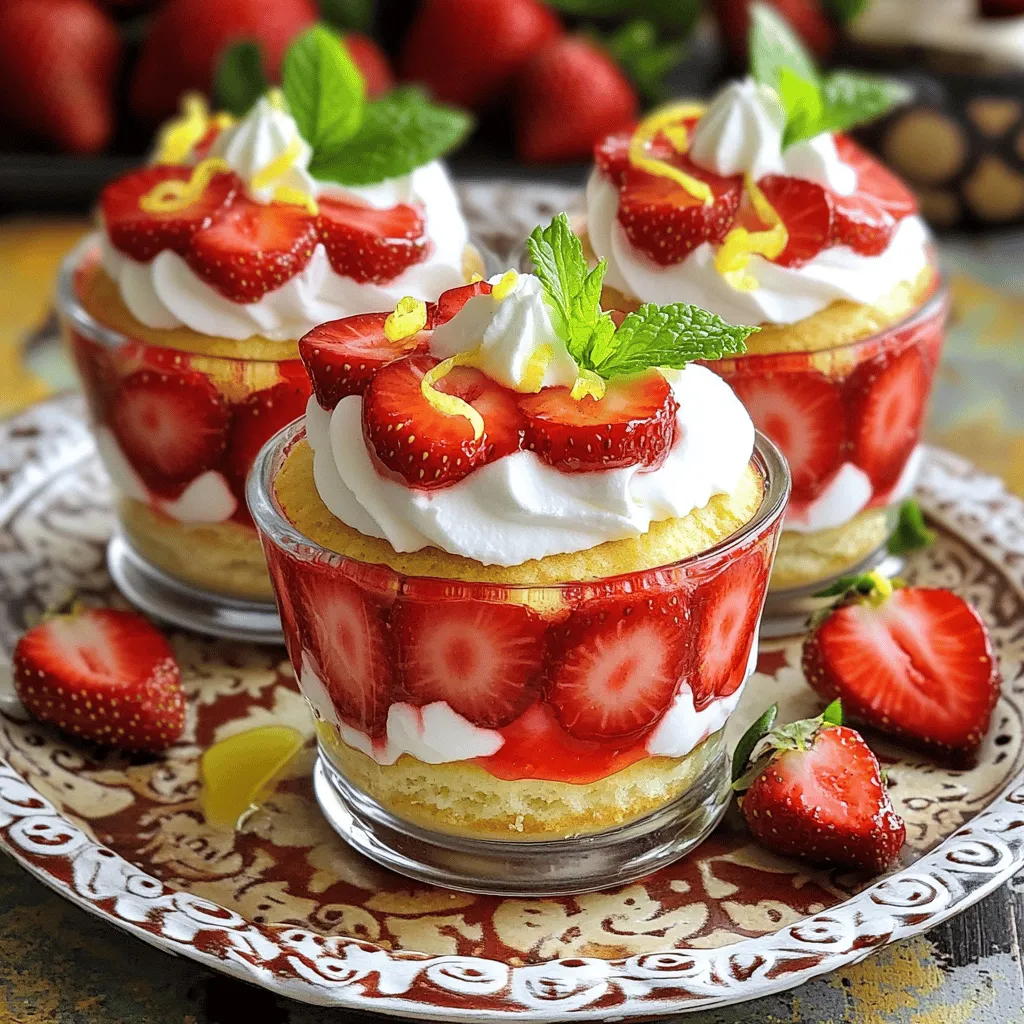
Grab your serving cups or small bowls. Start by adding a layer of crumbled shortcake biscuits at the bottom of each cup. Follow with a generous layer of your macerated strawberries, including some syrup. Then, add a dollop of the whipped cream on top. Repeat these layers until the cups are full. Make sure your final layer is whipped cream. For a lovely finish, place a fresh mint leaf on top. This adds color and a nice aroma.
Tips & Tricks
Perfecting Your Whipped Cream
To make the best whipped cream, start with cold cream. Pour it into a bowl. Use a hand mixer on medium speed. Whip until it thickens. Gradually add powdered sugar, vanilla, and lemon zest. Keep whipping until you see soft peaks. Stop before it turns grainy. This keeps the cream airy and light.
Layering Techniques
Layering is key for great flavor. Start with crumbled biscuits at the bottom of each cup. Press them lightly for a solid base. Next, add macerated strawberries. Make sure to include syrup for extra flavor. Then, top with whipped cream. Repeat the layers until you fill the cup. This makes each bite a mix of textures and tastes.
Presentation Suggestions
Presentation makes your dessert look special. Use clear cups to show off the layers. Arrange the cups on a pretty tray. Drizzle extra strawberry juice around each cup for color. Add a mint leaf on top for freshness. This simple touch makes your treat eye-catching and inviting.
Variations
Gluten-Free Strawberry Shortcake Cups
For a gluten-free treat, swap traditional biscuits for gluten-free options. You can find gluten-free shortcake mixes at stores. Alternatively, make your own using almond flour or coconut flour. For the cream, ensure that your whipping cream is free from additives. Many brands are gluten-free, but always check the label.
Vegan Version
To make vegan strawberry shortcake cups, use dairy-free alternatives. Coconut cream is a great substitute for heavy cream. Chill a can of coconut milk overnight, then whip the solid part. For the biscuits, use a vegan shortcake recipe or store-bought vegan biscuits. Replace the granulated sugar with coconut sugar for a deeper flavor.
Flavor Enhancements
Get creative with your strawberry shortcake cups. Try adding other fruits like blueberries, raspberries, or sliced bananas. You can also mix in a splash of orange juice or zest for a citrus twist. For a fun flavor boost, consider drizzling chocolate sauce or caramel over the whipped cream. Each layer can tell a delicious story!
Storage Info
How to Store Unassembled Cups
To keep your ingredients fresh, store them separately. Place the sliced strawberries in an airtight container. Add a bit of sugar to enhance their flavor. For the whipping cream, cover it tightly in the fridge. Keep crumbled biscuits in a sealed bag or container. This way, they stay crispy and ready for assembly.
Storing Assembled Cups
If you have leftover assembled cups, store them in the fridge. Use a loose cover or plastic wrap to avoid sogginess. This keeps the whipped cream fluffy and the layers intact. Enjoy them within a day or two for the best taste.
Shelf Life
Unassembled cups can last up to two days when stored properly. Once assembled, enjoy them within 1-2 days. After that, the strawberries may lose their freshness. The whipped cream may also lose its texture. For the best experience, eat them soon after making.
FAQs
Can I use frozen strawberries?
Yes, you can use frozen strawberries in your cups. Here are some tips:
– Thaw the strawberries before using them.
– Drain any excess liquid to avoid soggy cups.
– You may want to add a little sugar to enhance their flavor.
Frozen strawberries can work well when fresh ones are not in season.
What can I substitute for whipping cream?
If you need a substitute for whipping cream, try these options:
– Coconut cream for a dairy-free choice.
– Silken tofu blended until smooth for a vegan option.
– Heavy cream can be swapped with half-and-half for a lighter version.
Choose the best option based on your diet or preference.
How do I make homemade shortcake biscuits?
Making shortcake biscuits is easy! Here’s a simple recipe:
– Mix 2 cups of flour, 1 tablespoon of baking powder, and 1 tablespoon of sugar.
– Cut in 1/2 cup of cold butter until crumbly.
– Stir in 3/4 cup of milk until just combined.
– Roll out, cut, and bake at 425°F (220°C) for 12-15 minutes.
These biscuits will add a lovely touch to your shortcake cups.
Is it possible to prepare these cups in advance?
Yes, you can prepare these cups ahead of time. Here are my recommendations:
– Assemble the cups but keep the whipped cream separate.
– Store the unassembled cups in the fridge for up to 8 hours.
– Add whipped cream just before serving for the best texture.
This way, your dessert stays fresh and tasty!
This article covered how to make delicious Strawberry Shortcake Cups. We discussed fresh ingredients, tools needed, and step-by-step instructions. Tips on whipping cream and layering were shared to help you create perfect cups. We explored variations, storage tips, and answered common FAQs.
I hope you feel ready to try this fun dessert. It’s simple, tasty, and perfect for any occasion. Enjoy making these sweet treats today!