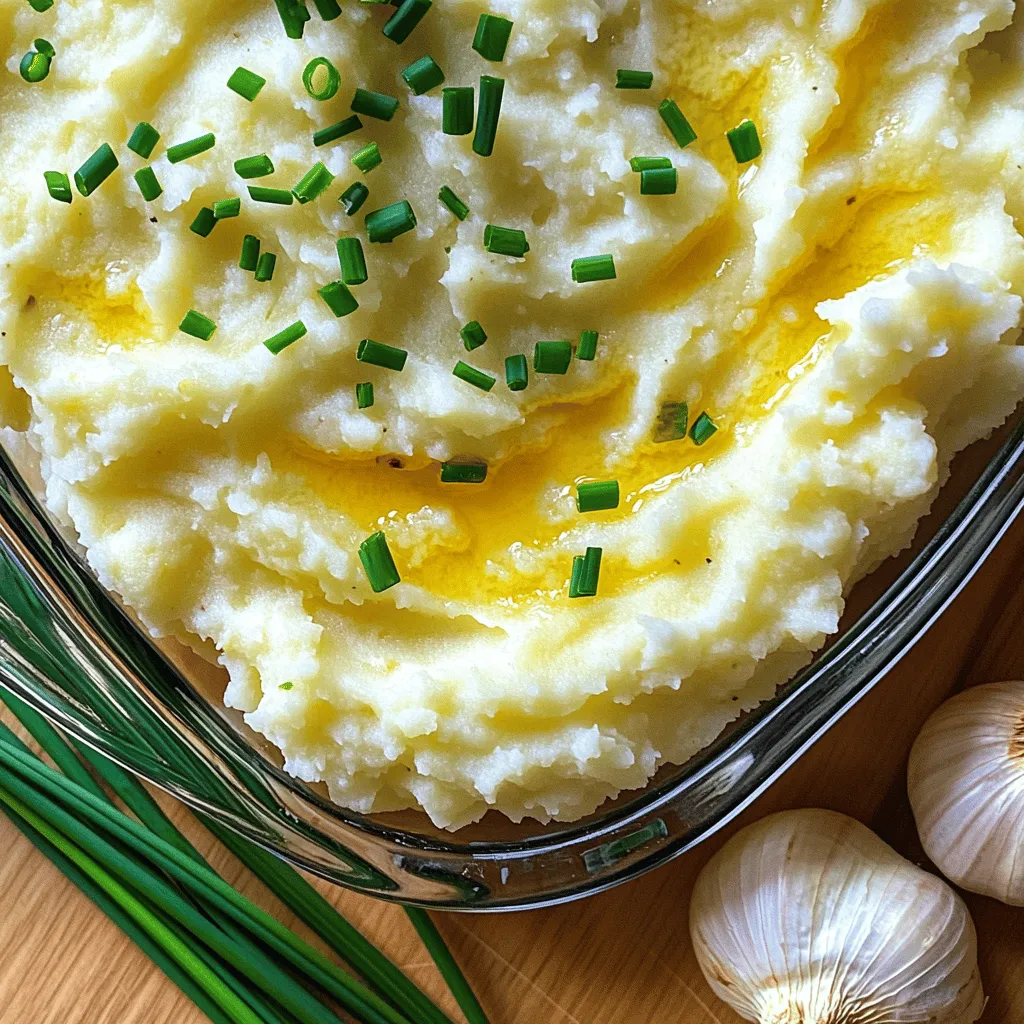
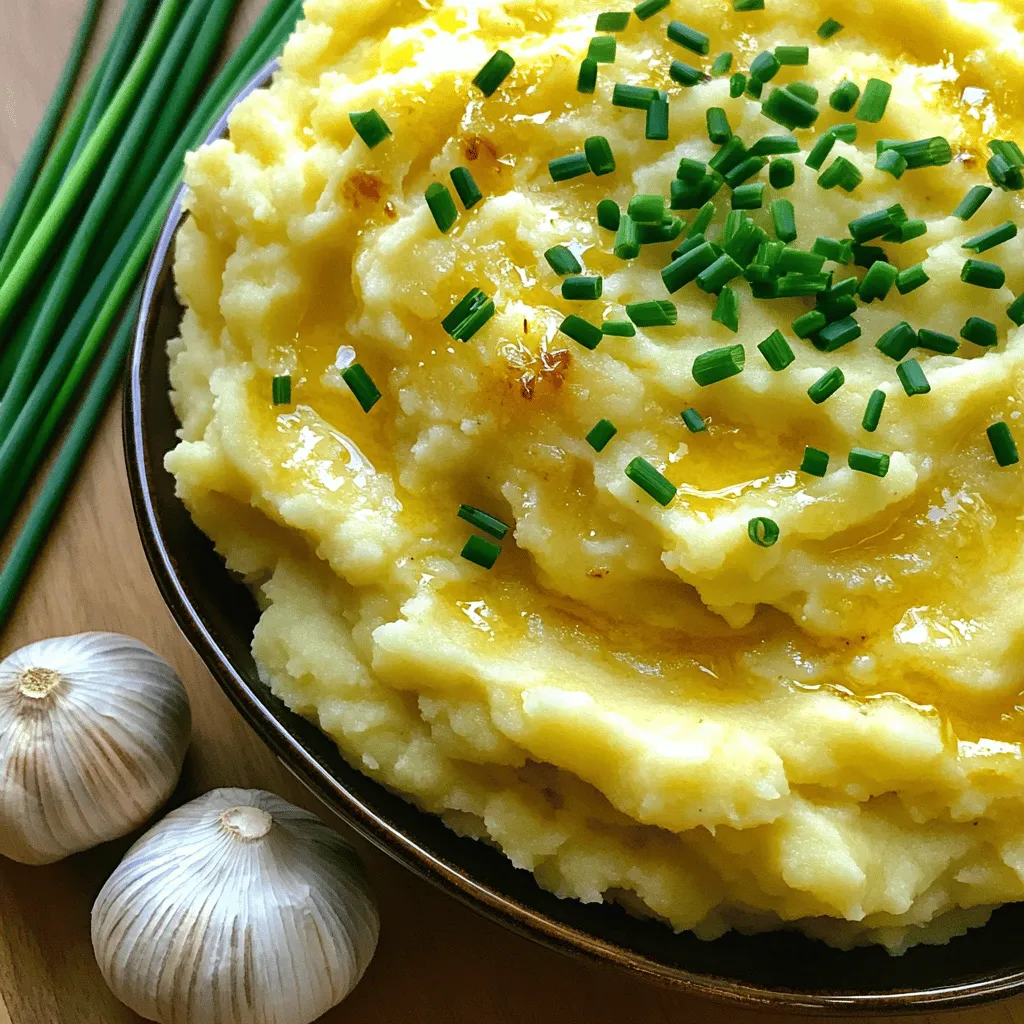
Looking for a creamy side dish that’s packed with flavor but light on carbs? Roasted Garlic Mashed Cauliflower is your answer! This dish is simple to make and packed with healthy benefits. I’ll guide you through each step, from prepping the cauliflower to blending it to creamy perfection. Plus, I’ll share tips for flavor, storage, and serving. Let’s dive into this deliciously healthy recipe that everyone will love!
Ingredients
Complete List of Ingredients
To make Roasted Garlic Mashed Cauliflower, you’ll need:
– 1 large head of cauliflower, cut into evenly sized florets
– 6 cloves of garlic, unpeeled
– 3 tablespoons extra virgin olive oil
– 1/4 cup unsweetened almond milk (or your preferred milk alternative)
– 2 tablespoons unsalted butter (or vegan butter for a dairy-free option)
– Sea salt and freshly ground black pepper to taste
– Fresh chives, finely chopped (for garnish)
Suggested Substitutions
If you have dietary preferences or restrictions, you can easily swap some ingredients:
– Cauliflower: Use broccoli for a different taste and texture.
– Butter: Replace with ghee or a plant-based butter for dairy-free.
– Almond Milk: Use soy, oat, or any milk you prefer.
– Chives: Try fresh parsley or green onions for a different flavor.
Nutritional Benefits of Each Ingredient
Each ingredient adds not just taste but also nutrition:
– Cauliflower: Low in calories, high in fiber. Great for digestion.
– Garlic: Boosts immune health and adds flavor without extra calories.
– Olive Oil: Packed with healthy fats. Good for heart health.
– Almond Milk: Lower in calories than cow’s milk and dairy-free.
– Butter: Adds creaminess and flavor; choose unsalted for better control.
– Chives: Rich in vitamins A and C. They add a fresh taste and color.
This dish packs flavor and nutrition, making it a perfect side.
Step-by-Step Instructions
Prepping Cauliflower and Garlic
Start by washing your cauliflower. Cut it into evenly sized florets. This helps them cook evenly. Next, take six cloves of garlic. You can leave them unpeeled for roasting. This keeps the flavor mellow and sweet.
Roasting Process
Preheat your oven to 400°F (200°C). On a large baking sheet, place the cauliflower and garlic. Drizzle three tablespoons of olive oil over them. Sprinkle sea salt and black pepper to taste. Toss everything well to coat. Spread them out in a single layer. This helps them roast nicely. Bake for about 25-30 minutes. The cauliflower should turn tender and golden. The garlic will become soft and caramelized.
Blending to Perfection
After roasting, take the baking sheet out of the oven. Let it cool for a few minutes. Carefully squeeze the soft garlic out of its skin. Add the roasted cauliflower and garlic to a food processor. Pour in 1/4 cup of almond milk and two tablespoons of butter. Blend until you get a smooth and creamy mixture. Stop to scrape down the sides as needed. Taste the mash and add more salt and pepper if you want. Finally, serve it warm, garnished with chopped chives.
Tips & Tricks
Common Mistakes to Avoid
One common mistake is not roasting the garlic long enough. If you don’t roast it enough, the garlic can taste sharp and bitter. Make sure the garlic is soft and caramelized before you remove it from the oven. Another mistake is using too much liquid when blending. Start with a small amount of almond milk. You can always add more if needed, but it’s hard to fix a runny mash. Lastly, don’t skip seasoning. A little salt and pepper can bring out all the flavors.
How to Achieve the Creamiest Texture
To get the creamiest texture, use a food processor instead of a blender. A food processor allows for better control over the blending process. Make sure to blend in batches if your food processor is small. Also, add the butter while blending. This fat helps create a smooth and rich mouthfeel. If you want an even creamier mash, try adding more butter or using a bit of cream instead of almond milk.
Perfect Seasoning Recommendations
For perfect seasoning, start with sea salt and freshly ground black pepper. After blending, taste the mash and adjust as needed. You can also add garlic powder for an extra kick. Fresh herbs like chives or parsley can enhance the flavor too. A squeeze of lemon juice can add brightness. Try a little at a time to find your ideal balance.
Variations
Vegan and Dairy-Free Options
You can make this dish vegan by using plant-based butter and almond milk. The creamy texture stays intact without dairy. This option is great for everyone, even those who avoid animal products. You can also try coconut milk for a richer taste.
Flavor Add-Ins (Herbs, Cheese, etc.)
Get creative with flavors! Adding fresh herbs like thyme or rosemary gives extra zest. For a cheesy kick, try nutritional yeast or a sprinkle of vegan cheese. You can also mix in roasted red peppers or sun-dried tomatoes for a unique twist.
Different Cooking Methods (Steaming, Boiling)
If you prefer, you can steam or boil the cauliflower instead of roasting it. Steaming keeps the cauliflower bright and tender. Boiling works, but it may make it a bit watery. Always drain well to avoid a soupy mash. Roasting adds depth and sweetness, but these methods are great alternatives.
Storage Info
How to Store Leftovers
To store your Roasted Garlic Mashed Cauliflower, let it cool first. Transfer it to an airtight container. You can keep it in the fridge for up to four days. Make sure to seal the container tightly to keep it fresh.
Reheating Instructions
When you’re ready to enjoy your leftovers, scoop out what you need. Place it in a microwave-safe bowl. Heat it in the microwave on medium power for about one to two minutes. Stir halfway through to heat evenly. If it seems dry, add a splash of almond milk or olive oil before heating.
Freezing Tips
You can freeze Roasted Garlic Mashed Cauliflower too! Just scoop it into freezer-safe containers or bags. Leave some space at the top, as it will expand when frozen. It can last up to three months in the freezer. To reheat, thaw it in the fridge overnight, then warm it up using the microwave or on the stove.
FAQs
Can I use frozen cauliflower?
Yes, you can use frozen cauliflower. It is a great time-saver! Just make sure to thaw it before cooking. Drain any water to avoid a watery mash. Use the same roasting method. This can help keep the flavor intact while achieving a creamy texture.
How can I make it spicier?
To spice things up, add red pepper flakes or cayenne pepper. You can also mix in some hot sauce for a kick. If you want a smoky flavor, try adding smoked paprika. Just start with a little. You can always add more to match your taste.
What can I serve with Roasted Garlic Mashed Cauliflower?
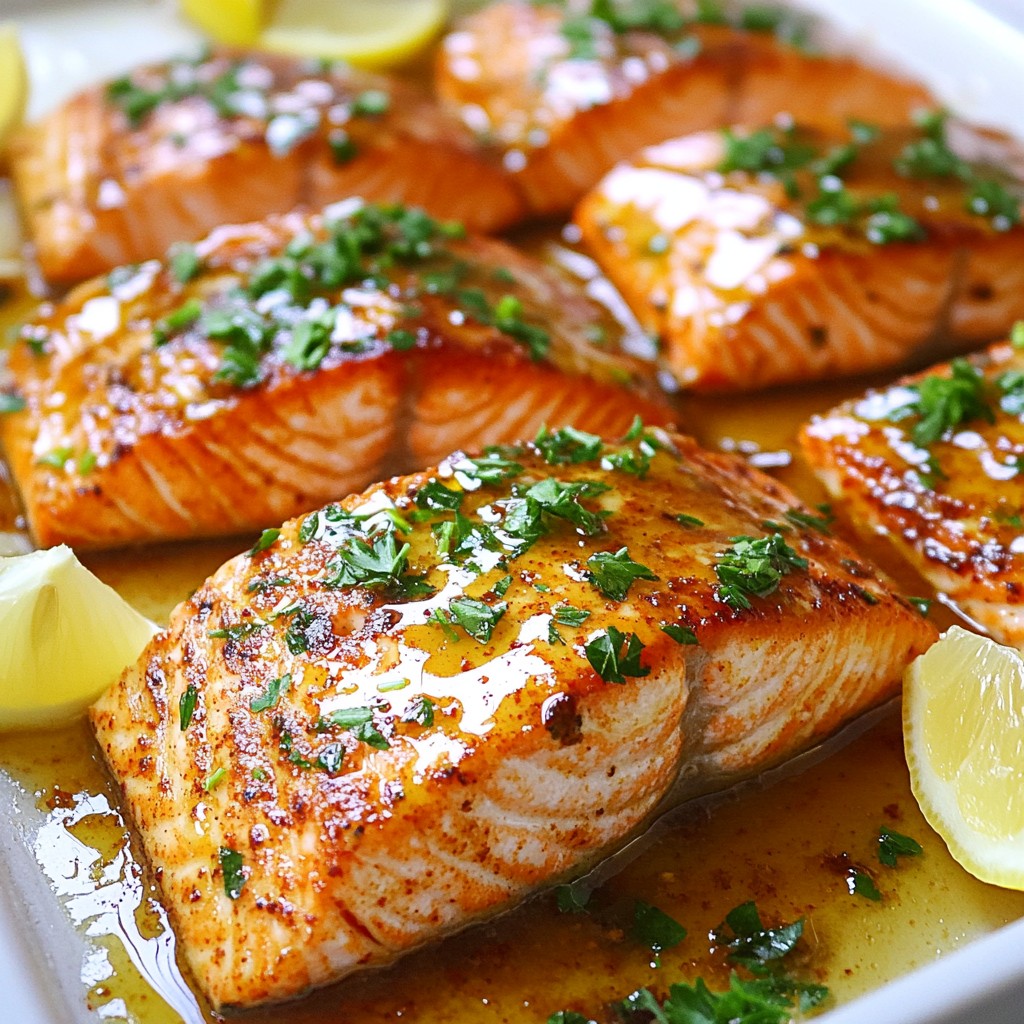
This dish pairs well with many meals! Serve it alongside grilled chicken or roasted fish. It also complements a hearty steak or a savory vegetable dish. You can even use it as a base for a rich mushroom sauce. For a full meal, add a fresh salad to balance the flavors.
This blog post offers a complete guide to making Roasted Garlic Mashed Cauliflower. We covered ingredients, step-by-step prep, and tips for a creamy texture. Variations let you customize the dish, and storage info helps keep leftovers fresh.
Experiment with flavor add-ins and cooking methods to make this dish your own. Enjoy creating a simple yet tasty meal that fits your needs. Dive into this delicious recipe and savor each bite!