Are you ready to elevate your snacking game? This Roasted Garlic Hummus recipe is not only flavorful but also simple to make. With just a few basic ingredients, you can create a delicious dip that your friends and family will love. I’ll walk you through each step, share tips for the best results, and explore tasty variations. Let’s dive in and get that creamy, garlicky goodness on your table!
Ingredients
Main Ingredients for Roasted Garlic Hummus
The main ingredients are simple and easy to find. Here’s what you need:
– 1 cup canned chickpeas, thoroughly drained and rinsed
– 1/4 cup tahini (sesame paste)
– 4 cloves roasted garlic
– 2 tablespoons freshly squeezed lemon juice
– 2 tablespoons olive oil (plus more for drizzling)
– 1/2 teaspoon ground cumin
– Salt, to taste
– 2-3 tablespoons water (adjust as needed for consistency)
Each ingredient adds its own unique flavor. The chickpeas provide a creamy base. Tahini adds a rich, nutty taste. Roasted garlic brings sweetness, while lemon juice adds brightness. Olive oil gives a smooth finish, and cumin adds warmth.
Optional Garnishes and Serving Suggestions
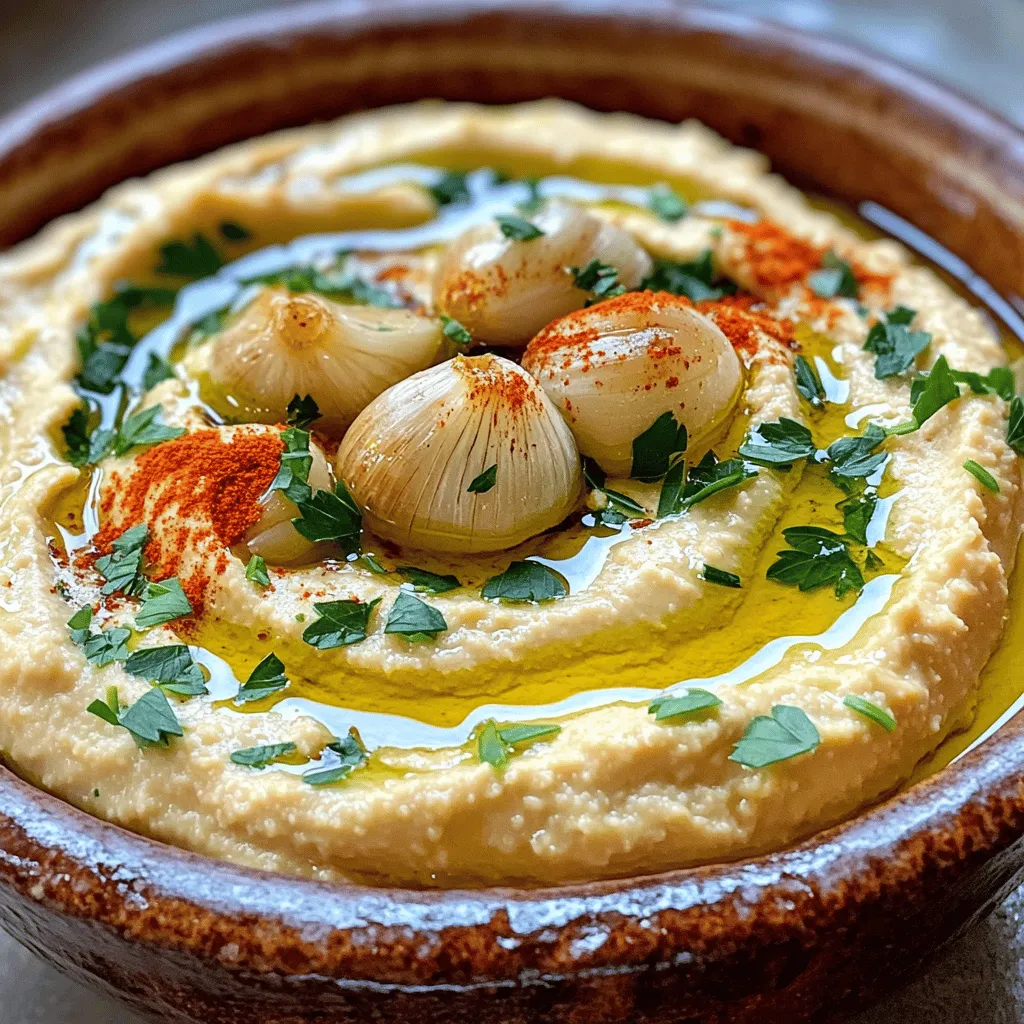
You can make your hummus even better with a few garnishes. Consider these options:
– Paprika for a pop of color
– Fresh parsley, finely chopped
Serve your hummus with warm pita, crunchy veggies, or homemade chips. You can also pair it with olives or pickles for extra flavor. These additions make your dish look great and add more taste.
Equipment Needed for Preparation
You will need a few tools to make this hummus. Gather the following:
– Oven for roasting garlic
– Food processor for blending
– Aluminum foil for wrapping garlic
– Measuring cups and spoons for accuracy
Having the right tools makes cooking easier. This helps you get smooth and creamy hummus every time.
Step-by-Step Instructions
How to Roast Garlic
Roasting garlic is easy and fun. Start by preheating your oven to 400°F (200°C). Take a whole head of garlic and slice off the top. This exposes the cloves. Next, place the garlic on a piece of aluminum foil. Drizzle it with olive oil. Wrap it tightly in the foil. Roast it for about 30-35 minutes. The cloves should be soft and caramelized when done. Let it cool for a few minutes. Squeeze the roasted cloves out of their skins into a bowl.
Blending the Hummus Mixture
Once you have the roasted garlic, it’s time to blend. In a food processor, add the drained chickpeas, tahini, roasted garlic, lemon juice, olive oil, ground cumin, and salt. Blend the mixture for 1-2 minutes. Stop to scrape down the sides to help it blend evenly. You want a smooth and velvety texture.
Adjusting Flavor and Consistency
Now, taste your hummus! If it’s too thick, add water one tablespoon at a time. Blend until you reach your preferred creamy texture. You can also adjust the flavor. If you want more zing, add a bit more lemon juice or salt. This step helps make the hummus just right for you. When you are satisfied, it’s ready to serve.Enjoy your hummus!
Tips & Tricks
Best Practices for Creamy Hummus
To make your hummus creamy, start with warm chickpeas. If you use canned chickpeas, drain and rinse them well. You can even soak dried chickpeas overnight for a softer texture. Roasting garlic adds a sweet and nutty taste. Make sure to roast it until it’s soft and golden. Use fresh tahini for the best flavor. Blend the mixture long enough to reach a smooth texture. If it feels thick, add water slowly until it’s just right.
Storage Tips for Freshness
Store your hummus in an airtight container. It lasts up to a week in the fridge. To keep it fresh, drizzle a thin layer of olive oil on top before sealing. This helps prevent it from drying out. If you freeze hummus, use a freezer-safe container. It will stay good for about three months. When ready to use, thaw it overnight in the fridge. Stir well before serving to restore its creamy texture.
Common Mistakes to Avoid
One common mistake is under-blending the mixture. Less blending can lead to a chunky texture. Make sure to scrape down the sides of your food processor during blending. Another mistake is adding too much salt at once. Taste as you go and adjust gradually. Lastly, don’t skip the lemon juice. It brightens the flavor and balances the richness of tahini. Following these tips can elevate your roasted garlic hummus from good to great!

Variations
Additional Flavor Profiles (e.g., Spicy, Herby)
You can change the flavor of your hummus easily. To make it spicy, add a pinch of cayenne or red pepper flakes. For a herby twist, mix in fresh herbs like basil or cilantro. These small changes can bring new life to this classic dish.
Using Different Beans or Pulses
Chickpeas are great, but other beans work too. White beans or black beans can be used instead. Each type of bean gives a different taste. Feel free to experiment. The key is to keep the same base flavors, like garlic and lemon, to maintain the hummus vibe.
Vegan and Gluten-Free Adaptations
This hummus is already vegan and gluten-free. You can enjoy it without worry. If you want more flavor, try adding nutritional yeast. It gives a cheesy taste without dairy. This way, your hummus remains light and healthy, while still being packed with flavor.
Health Benefits
Nutritional Advantages of Hummus
Hummus is a tasty dip made from chickpeas. It is high in protein and fiber. A serving gives you energy and keeps you full. The chickpeas help with digestion and support heart health. Hummus also has healthy fats from tahini and olive oil. These fats are good for your skin and heart. Plus, hummus is rich in vitamins and minerals. It offers iron, magnesium, and B vitamins, which boost your overall health.
Benefits of Garlic in Your Diet
Garlic is more than just a flavor boost. It has powerful health benefits. First, garlic can help your immune system fight off sickness. It may also reduce blood pressure and cholesterol levels. These effects can lower your risk of heart disease. Garlic is also known for its anti-inflammatory properties. It can help reduce swelling in your body. Plus, the strong smell of garlic can keep some bugs away, making it a natural repellent.
Serving Size and Portion Control
When enjoying hummus, portion control is key. A serving size is about 2 tablespoons. This amount provides great taste without too many calories. Pair it with veggies or whole-grain pita for a balanced snack. Remember, moderation is important. You can enjoy your hummus and still keep healthy. If you make a big batch, watch your servings to avoid overeating. Try to savor each bite!
FAQs
Can I make Roasted Garlic Hummus in advance?
Yes, you can make roasted garlic hummus ahead of time. It tastes great after a day in the fridge. This gives the flavors time to blend. Just store it in an airtight container. When you’re ready to serve, give it a good stir. You can also drizzle more olive oil on top for extra flavor.
How long does homemade hummus last in the fridge?
Homemade hummus lasts about 4 to 5 days in the fridge. Make sure to keep it sealed well to prevent it from drying out. If you see any changes in color or smell, it’s best to toss it. Freshness is key for the best taste!
What is the best way to serve roasted garlic hummus?
Serve roasted garlic hummus with warm pita bread or crunchy veggie sticks. You can also use it as a spread on sandwiches. For a fun twist, serve it with homemade pita chips. Don’t forget to add a drizzle of olive oil and a sprinkle of paprika on top for a beautiful finish!
Roasted garlic hummus is simple and fun to make. We went over key ingredients, tips, and variations. You learned how to roast garlic and blend it just right. Remember to adjust flavors for your taste. Creamy hummus has health benefits, too, thanks to garlic and peas. Keep these tips close to make the best hummus. Enjoy this tasty treat with friends or family!