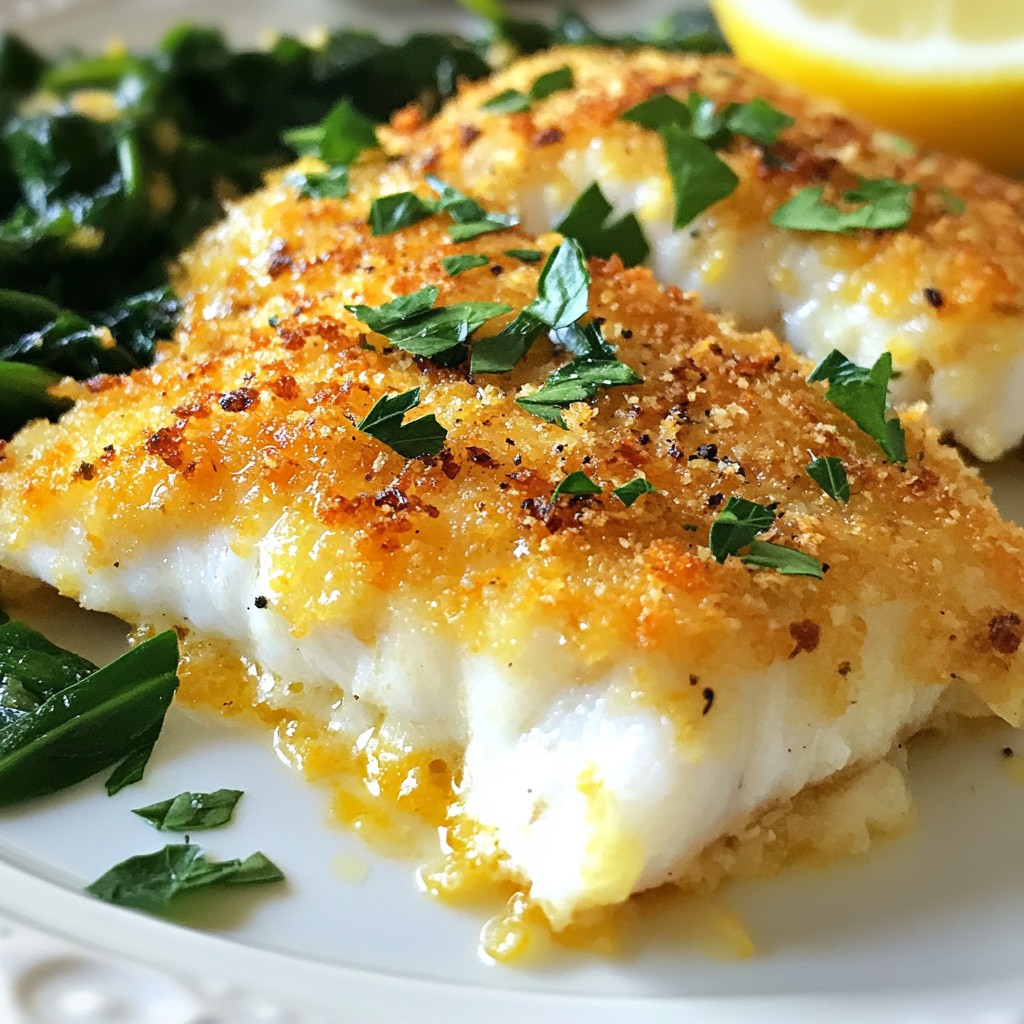
Are you ready to impress your family with a delicious seafood dish? This Parmesan Crusted Tilapia recipe is both flavorful and super easy to make. With just a few simple ingredients like tilapia fillets, Parmesan cheese, and panko breadcrumbs, you'll create a crispy, mouth-watering meal that everyone will love. Let’s dive into the details and get cooking!
Error: Error code: 429 - {'error': {'message': 'You exceeded your current quota, please check your plan and billing details. For more information on this error, read the docs: https://platform.openai.com/docs/guides/error-codes/api-errors.', 'type': 'insufficient_quota', 'param': None, 'code': 'insufficient_quota'}}
Ingredients
Main Ingredients
- 4 tilapia fillets
- 1/2 cup grated Parmesan cheese
- 1/4 cup panko breadcrumbs
Seasoning and Binding
- 1 teaspoon garlic powder
- 1/2 teaspoon black pepper
- 1/2 teaspoon paprika
- 1/4 cup plain yogurt or mayonnaise
- 2 tablespoons fresh lemon juice
- Salt, to taste
Garnishes and Serving Suggestions
- Fresh parsley, finely chopped
- Lemon wedges
- Sautéed spinach or roasted vegetables
When making Parmesan crusted tilapia, you need fresh and quality ingredients. Start with four tilapia fillets. They should be firm and free of blemishes. The Parmesan cheese adds a rich flavor, while panko breadcrumbs give a nice crunch.
For seasoning, garlic powder, black pepper, and paprika work well together. They add depth to the dish without overpowering the tilapia. Use plain yogurt or mayonnaise to help the crust stick. Fresh lemon juice brightens the flavors and balances the richness.
For garnish, finely chop fresh parsley. It adds color and freshness. Serve with lemon wedges for a zesty kick. Sautéed spinach or roasted vegetables make great side dishes. They complement the fish and provide a complete meal.

Step-by-Step Instructions
Preparation
- Preheat the oven to 400°F (200°C).
- Line a baking sheet with parchment paper.
Mixing the Topping
- In a bowl, combine:
- 1/2 cup grated Parmesan cheese
- 1/4 cup panko breadcrumbs
- 2 tablespoons fresh parsley, finely chopped
- 1 teaspoon garlic powder
- 1/2 teaspoon black pepper
- 1/2 teaspoon paprika
- Salt, to taste
Stir the ingredients together until even.
- In another bowl, whisk together:
- 1/4 cup plain yogurt or mayonnaise
- 2 tablespoons fresh lemon juice
This mixture will help the crust stick to the fish.
Coating and Baking
- Pat dry the tilapia fillets with paper towels.
- Spread the yogurt mixture on each fillet.
- Press the breadcrumb mixture onto the fillets. Make sure each one is well coated.
- Place the fillets on the baking sheet. Bake for 12-15 minutes. Watch for a golden crust. The fish should flake easily with a fork.
- For added crispiness, broil for 1-2 minutes. Keep a close eye to avoid burning.
Let the tilapia rest for a couple of minutes before serving to enhance the flavors.
Tips & Tricks
Ensuring Crispiness
To get that perfect crunch, start by drying the tilapia fillets. Moisture makes it hard for the crust to stick. Use paper towels to pat the fillets dry. This step is key! Next, I recommend using panko breadcrumbs. They are light and airy, giving your dish a great texture. Regular breadcrumbs won't give you the same crunch, so stick with panko for the best results.
Flavor Enhancements
You can take your dish to the next level by adding fresh herbs. Try dill or thyme for a nice twist. They add a fresh taste that pairs well with fish. You can also play with spices. For a little heat, add a pinch of cayenne pepper. If you like smoky flavors, smoked paprika is a great choice. These small changes can make your meal exciting.
Perfecting Cooking Time
Check for doneness by using a fork. The fish should flake easily when it’s ready. Keep an eye on the crust as it cooks. For an extra crispy finish, broil the fillets for 1-2 minutes. This gives the top an appealing golden color. Just watch closely to avoid burning.
Error: Error code: 429 - {'error': {'message': 'You exceeded your current quota, please check your plan and billing details. For more information on this error, read the docs: https://platform.openai.com/docs/guides/error-codes/api-errors.', 'type': 'insufficient_quota', 'param': None, 'code': 'insufficient_quota'}}
Variations
Ingredient Swaps
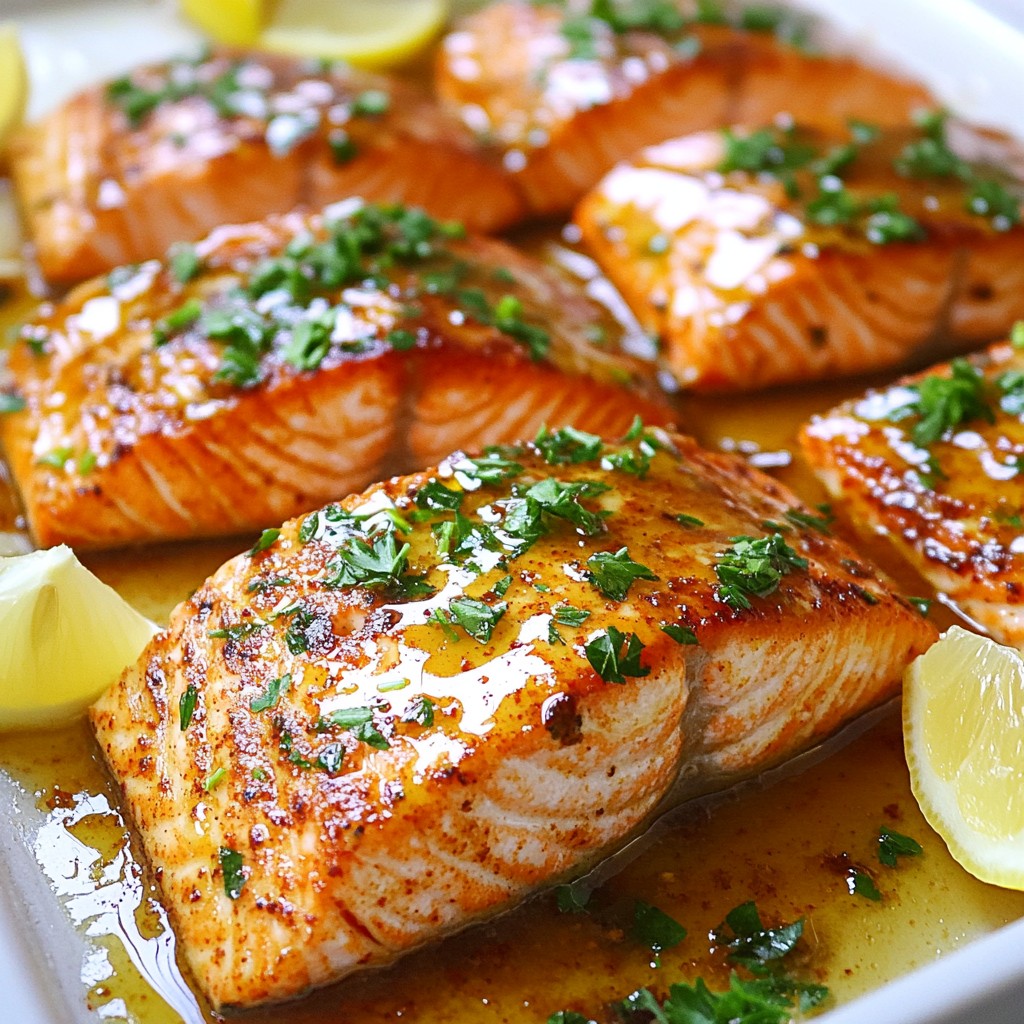
You can change the fish to suit your taste. Cod and salmon work great as swaps. Each type adds its unique flavor. If you need gluten-free options, try almond flour instead of breadcrumbs. This keeps the dish tasty and safe for those with gluten issues.
Flavor Profile Adjustments
Mix things up by using different cheeses. Cheddar or Gruyere can add a new twist. If you like spice, add chili powder or hot sauce to the breadcrumb mix. This gives your tilapia a warm kick that many will enjoy.
Cooking Methods
You can make this dish in an air fryer. Set it to 375°F (190°C) and cook for 8-10 minutes. This method gives you a crispy crust without using much oil. If you prefer pan-searing, heat oil in a skillet. Cook each side for about 4-5 minutes until golden brown. Both methods keep the fish moist and flavorful.
Storage Info
Storing Leftovers
To keep your Parmesan crusted tilapia fresh, follow these steps:
- Let the fish cool down to room temperature.
- Place the fillets in an airtight container.
- Store in the fridge for up to three days.
- If you use a glass container, ensure it is tightly sealed.
Reheating Tips
Reheating can bring life back to your leftovers. Here’s how:
- Oven Method: Preheat your oven to 350°F (175°C). Place the fillets on a baking tray. Heat for about 10-15 minutes until warmed through and crispy.
- Microwave Method: If you’re in a hurry, place a fillet on a microwave-safe plate. Cover it with a damp paper towel. Heat for 1-2 minutes, checking often to avoid sogginess.
Freezing Guidelines
Freezing is a great way to save your tilapia for later. Here’s how to do it:
- Wrap each fillet tightly in plastic wrap.
- Then, place them in a freezer-safe bag or container.
- Freeze for up to two months for the best quality.
- Thawing Tips: To thaw, place the fillets in the fridge overnight. For a quicker method, submerge the sealed bag in cold water for about an hour. This helps keep the texture nice when reheating.
FAQs
Can I use frozen tilapia for this recipe?
Yes, you can use frozen tilapia. Thaw it in the fridge overnight or under cold water. Make sure to pat the fillets dry before coating. This helps the crust stick better and keeps it crispy.
What can I substitute for the yogurt or mayonnaise?
If you want a substitute, try sour cream or cream cheese. Both give a nice texture. You can also use a vegan mayo or Greek yogurt for a lighter option. Just ensure it binds the crust well.
How can I make this dish low-carb?
To make it low-carb, skip the breadcrumbs. Use crushed pork rinds or ground almonds instead. This still gives a crispy texture without the carbs. You could also add more cheese to boost flavor and crunch.
Can I prepare this recipe ahead of time?
Yes, you can prep ahead. Coat the tilapia and store it covered in the fridge for up to 24 hours. When ready to cook, just bake it straight from the fridge. It will still turn out crispy and delicious.
What sides pair well with Parmesan crusted tilapia?
Several sides go well with this dish. Try serving it with sautéed spinach or roasted vegetables for color. You can also add a fresh salad or some rice for a complete meal. Don't forget lemon wedges for a zesty touch!
This blog covered making a tasty Parmesan crusted tilapia. We discussed the main ingredients like tilapia, cheese, and breadcrumbs. I shared tips for seasoning, and ideas for serving. You learned how to prepare the dish and variations to try. Lastly, I covered storage and reheating tips.
With these steps, you can enjoy a delicious meal. Cooking can be simple and fun, so dive in!