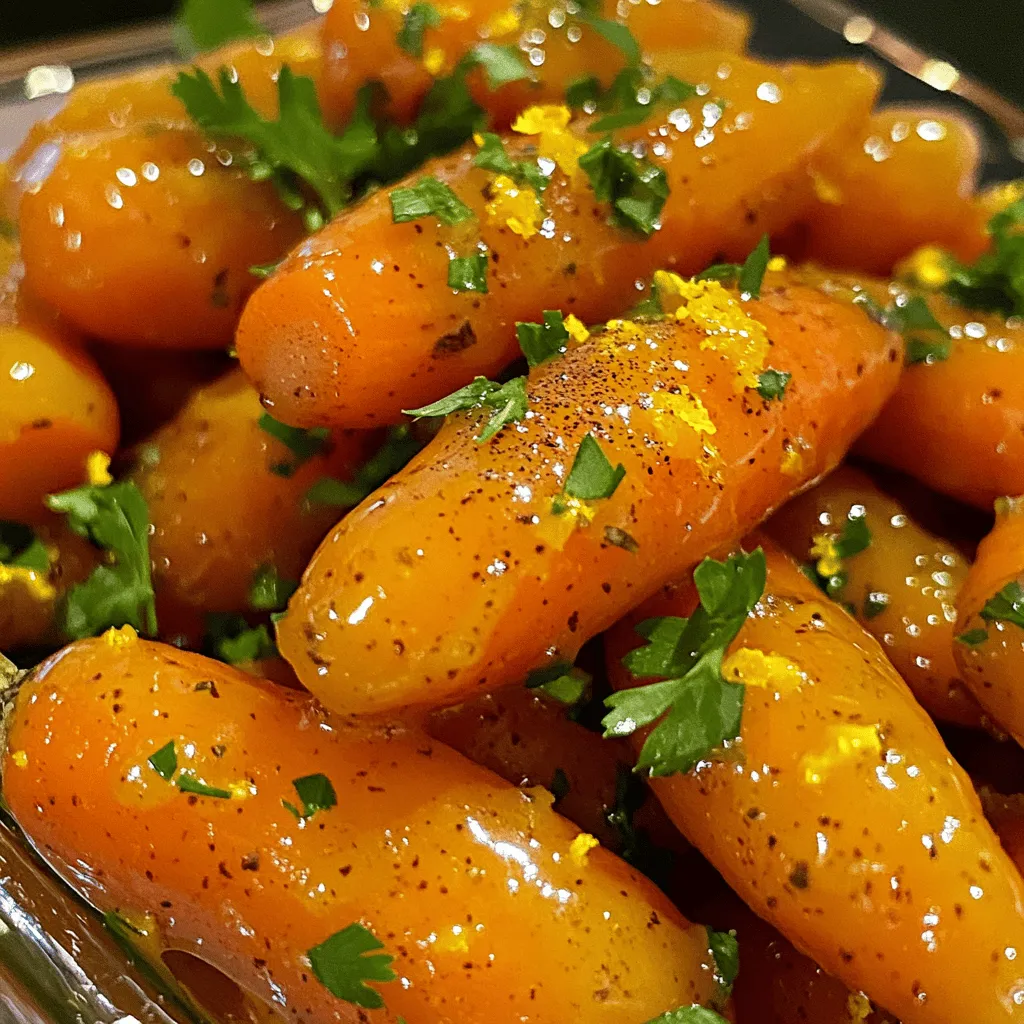
Are you ready to add a burst of flavor to your meals? My Orange Glazed Carrots recipe is both delightful and simple to make! With just a few fresh ingredients, you can transform ordinary carrots into a sweet and tangy side dish that steals the show. Follow along as I guide you through the steps to achieve perfect, glazed carrots that everyone will love. Let’s get started!
Ingredients
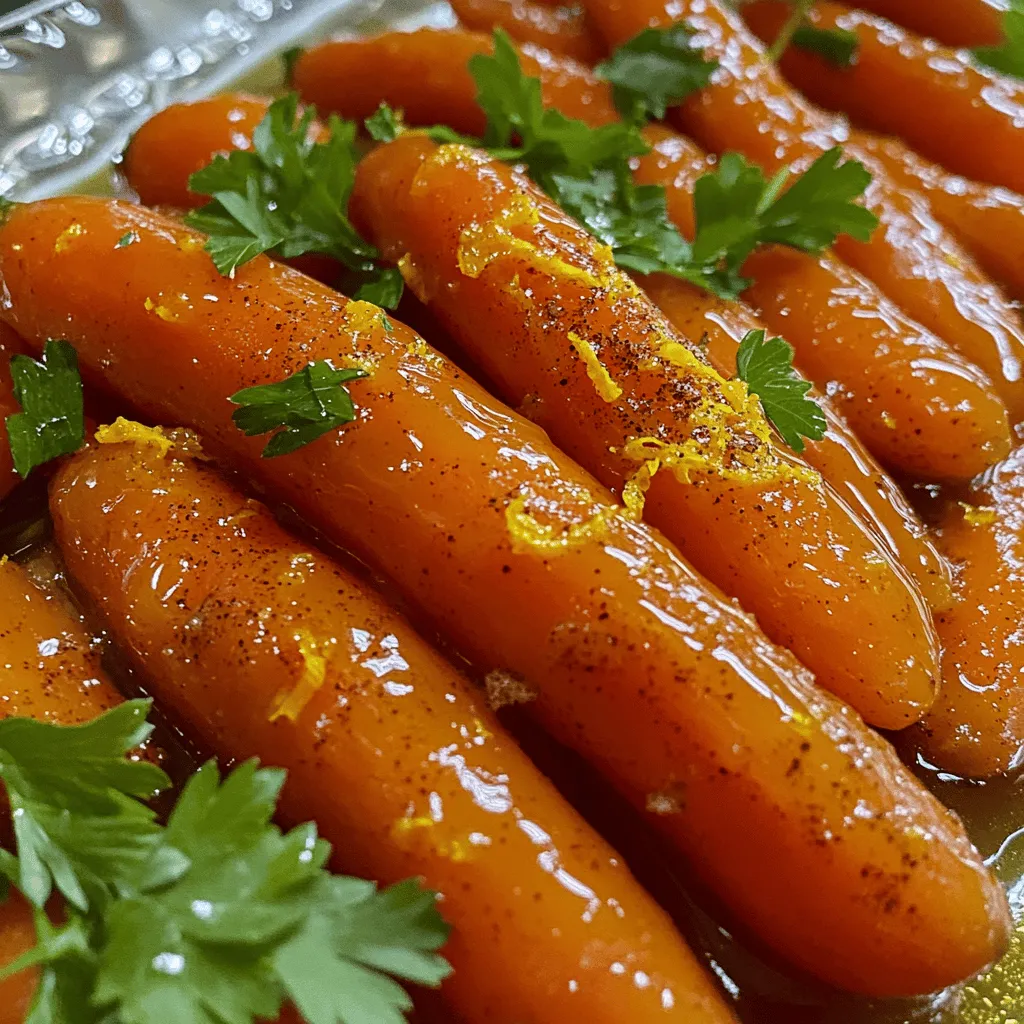
To make orange glazed carrots, gather these simple items:
– 1 lb baby carrots (or regular carrots cut into sticks)
– 1/2 cup freshly squeezed orange juice
– 2 tablespoons honey or maple syrup
– 2 tablespoons unsalted butter or coconut oil
– 1 teaspoon freshly grated orange zest
– 1/2 teaspoon ground cinnamon
– Salt and freshly ground black pepper
– Fresh parsley or mint leaves for garnish
These ingredients create a bright and flavorful dish. Fresh orange juice adds a zesty kick. Honey or maple syrup offers a sweet touch. The butter or coconut oil helps the glaze shine. Grated orange zest gives a burst of citrus flavor. Ground cinnamon adds warmth, balancing the sweetness. Don’t forget salt and pepper to enhance all the flavors. Finally, a sprinkle of fresh herbs adds color and freshness to the dish.
Step-by-Step Instructions
Preparation of Carrots
To start, we need to get our carrots ready. If you’re using regular carrots, peel them first. Then, cut them into sticks that are about 2-3 inches long. This size helps them cook evenly. Baby carrots are much easier; you can use them straight from the bag.
When cooking baby carrots, they usually need less time. They are tender and sweet right from the start. Regular carrots can take a bit longer to soften. Make sure to keep an eye on them while they cook.
Cooking Process
Now, let’s melt the butter or coconut oil. You’ll want to use a medium-sized saucepan. Heat it over medium heat until it starts to bubble. This will give a nice flavor to your dish.
Next, add the carrots to the pan. Sauté them for about 5 minutes. Stir them occasionally. You want them to start softening but not fully cooked just yet.
After that, pour in the freshly squeezed orange juice. Drizzle in the honey or maple syrup, depending on your sweet choice. Stir everything together so that the carrots are well coated in this tasty mix.
Final Flavor Enhancements
Now, it’s time to bring in the flavor. Add the freshly grated orange zest and the ground cinnamon. Stir this well to combine the flavors.
Next, season with a pinch of salt and pepper. This will enhance all the flavors in your dish. Taste it and adjust if needed.
To finish, let the mixture simmer for about 10-15 minutes. Stir it occasionally. This will make the carrots fork-tender and the glaze thick. You’ll see it become shiny and delicious, coating the carrots in a lovely glaze.Enjoy the cooking process!
Tips & Tricks
Perfecting Your Orange Glazed Carrots
To cook your carrots just right, timing matters. Here are some tips for different carrot sizes:
– Baby Carrots: Sauté for about 5-7 minutes.
– Regular Carrots: Cut into 2-3 inch sticks and cook for 10-12 minutes.
For the best glaze, keep an eye on the heat. Let your carrots simmer gently. This helps the glaze thicken and coat the carrots well. Stir them occasionally to avoid burning.
Enhancing Flavor
If you want to switch things up, try these alternatives for sweetness:
– Agave Syrup: A lighter option.
– Brown Sugar: Adds a nice depth.
Herbs can also boost the flavor. Consider adding fresh thyme or rosemary. They pair well with the sweet orange glaze, giving your dish a new twist.
Presentation Tips
To make your dish look fancy, serve the carrots in a shallow bowl.
– Use Extra Orange Zest: Sprinkle it on top for a pop of color.
– Citrus Wedge: Place one on the side for a decorative touch.
Garnish your carrots with fresh parsley or mint leaves. This not only adds color but also a fresh scent that enhances the dish.
Variations
Ingredient Swaps
You can swap baby carrots for other veggies. Try using parsnips or sweet potatoes. They add unique flavors and textures. For a similar taste, you can use butternut squash. Each swap gives a fresh twist to the dish.
Adjust the sweetness by changing the sweetener. Use agave syrup if you want a lighter taste. For a richer flavor, dark brown sugar works well too. This lets you customize your dish to your liking.
Flavor Combinations
Adding spices can really boost the taste. Nutmeg adds warmth, while ginger brings a nice kick. Both can elevate your orange glazed carrots. You can also mix in some garlic for depth.
Try incorporating other citrus flavors too. Lemon or lime juice can brighten the dish. These flavors pair nicely with the sweetness of the carrots. Experimenting with different combinations keeps it exciting.
Dietary Modifications
You can easily make this dish vegan. Just use coconut oil instead of butter. This keeps it rich and tasty without animal products.
If you need a gluten-free option, you’re in luck! This recipe is already gluten-free. Just make sure to check any packaged ingredients you use.
These swaps and adjustments let everyone enjoy your delicious orange glazed carrots.
Storage Info
Storing Leftovers
To keep your orange glazed carrots fresh, store them in an airtight container. Place them in the fridge right after cooling. Properly stored, they last about 3 to 4 days. If you want to keep them longer, consider freezing. For freezing, place them in a freezer-safe bag. They can last for up to 3 months in the freezer. Just remember to label the bag with the date.
Reheating Guidelines
When it’s time to enjoy your leftovers, you can reheat them on the stove or in the microwave. On the stove, use low heat and stir often to keep them from sticking. In the microwave, heat them in short bursts, stirring in between. To restore the glaze’s shine, add a small splash of orange juice or a tiny bit of butter while reheating. This will bring back the delicious flavor and texture.
FAQs
Common Questions about Orange Glazed Carrots
How can I make orange glazed carrots ahead of time?
You can prepare the carrots in advance. Cook them fully, then cool them down. Store them in the fridge in a sealed container. When ready to serve, just reheat them in a pan on low heat. This keeps the glaze nice and shiny.
Can I use orange juice concentrate instead of fresh juice?
Yes, you can use orange juice concentrate. Mix it with water to match the amount of fresh juice needed. This option works well when fresh juice is not available.
What are the best side dishes to serve with orange glazed carrots?
Orange glazed carrots pair well with roasted chicken or grilled fish. They also taste great with quinoa or couscous. Try serving them with a fresh salad for a balanced meal.
How do I know when the carrots are perfectly cooked?
The carrots are done when they are fork-tender. You should be able to pierce them easily with a fork but still feel a bit of firmness. The glaze should also be sticky and rich.
Cooking Tips
What’s the best way to prevent carrots from becoming mushy?
To avoid mushy carrots, cook them over medium heat. Don’t cook them too fast or too long. Keep an eye on them and stir occasionally. This helps them cook evenly.
Can I use frozen carrots, and how should I adjust the cooking time?
You can use frozen carrots, but they need longer to cook. Start with about 5-7 extra minutes. Add them to the pan while still frozen to keep their shape.
What can I use if I don’t have orange juice on hand?
If you don’t have orange juice, try using lemon juice or apple juice. Each option will give a different flavor, but they can still create a tasty glaze. Adjust the sweetness to your liking when using these alternatives.
In this blog post, we explored making delicious orange glazed carrots. We covered key ingredients, preparation steps, and cooking tips to help you succeed. We also shared variations for different diets and preferences. Finally, I offered storage and reheating advice to keep your dish fresh.
With these tips, you can create a tasty side that impresses everyone. Enjoy your cooking and make this dish a staple at your meals!