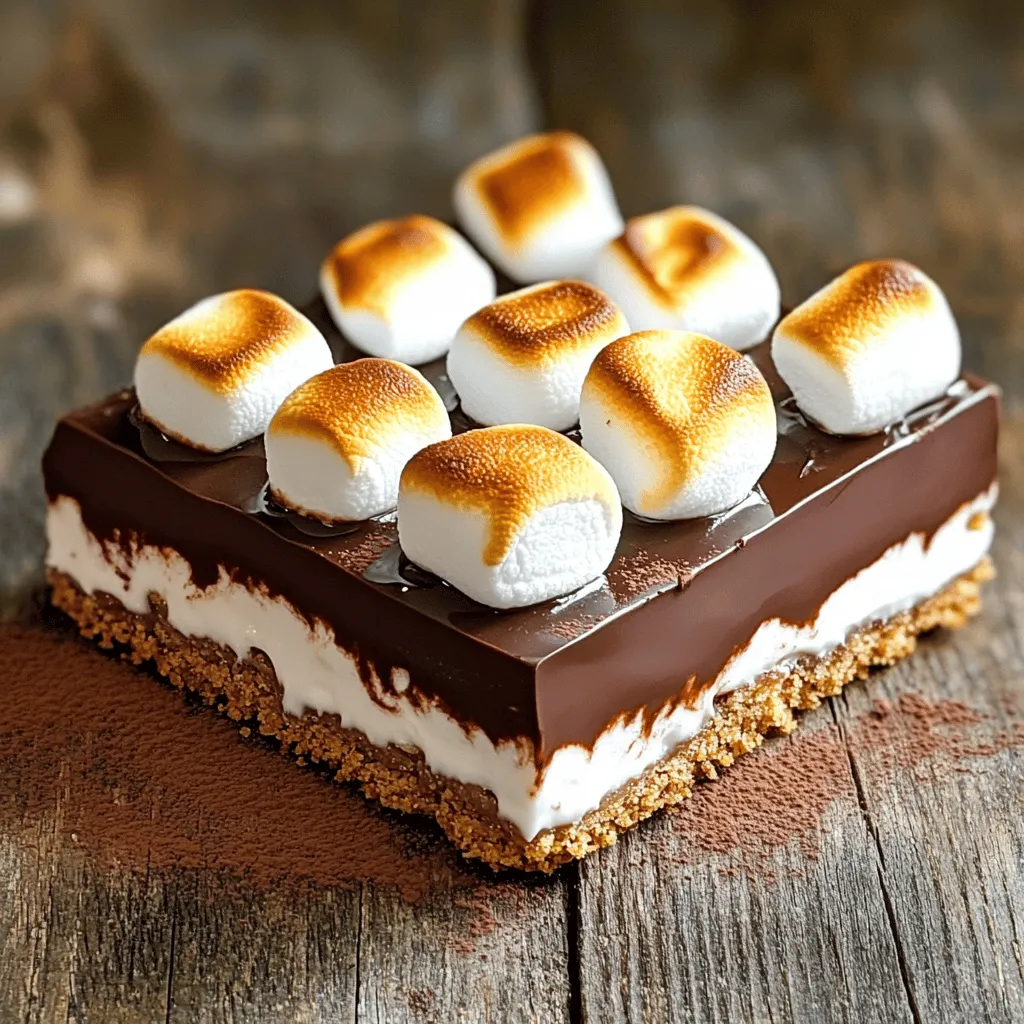
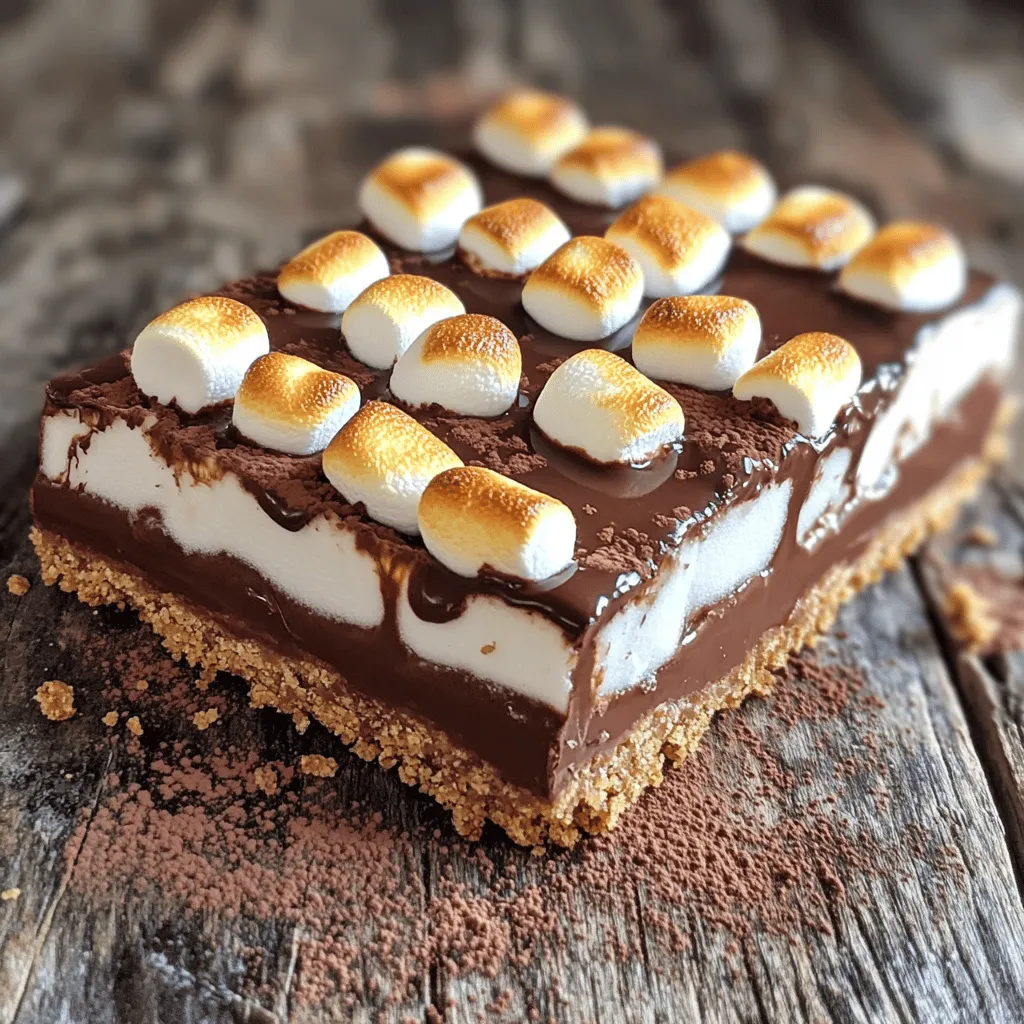
Craving a sweet treat without baking? You’re in for a tasty surprise! My No-Bake S’mores Bars bring all the fun of the campfire classic straight to your kitchen. They combine creamy chocolate, fluffy marshmallows, and crunchy graham crackers for a delightful snack. Follow my easy step-by-step recipe and discover tips, tricks, and variations to make your bars unique. Let’s dive into the sweet world of No-Bake S’mores Bars!
Ingredients
List of Required Ingredients
To make my no-bake s’mores bars, you need the following:
– 2 cups graham cracker crumbs
– 1/2 cup unsweetened cocoa powder
– 1/2 cup granulated sugar
– 1/2 cup unsalted butter, melted
– 1 cup mini marshmallows, plus extra for topping
– 1 cup milk chocolate chips
– 1/4 cup heavy cream
– 1/2 teaspoon vanilla extract
– Pinch of salt
Optional Ingredients for Customization
You can twist this recipe to fit your taste. Here are some ideas:
– Use dark chocolate chips for a richer flavor.
– Add peanut butter for a nutty kick.
– Swap out mini marshmallows for large marshmallows.
Tools and Equipment Needed
Gather these tools before you start:
– A large mixing bowl
– A 9×9-inch baking pan
– A spatula or wooden spoon
– A small saucepan
– An oven or broiler for toasting
– Measuring cups and spoons
These ingredients and tools will help you create a delicious treat that everyone will love.
Step-by-Step Instructions
Preparation of the Crust
To start, gather your ingredients. You need graham cracker crumbs, cocoa powder, sugar, and melted butter. In a large bowl, mix the graham cracker crumbs, cocoa powder, and sugar. Stir them well until they blend completely. Next, pour in the melted butter slowly. Use a spatula or your hands to mix until the dry ingredients look like damp sand. This mixture should hold together when you press it.
Now, take a 9×9-inch baking pan and transfer the mixture into it. Press the mixture evenly into the bottom of the pan. You want a firm and even layer for the crust.
Melting the Chocolate
Next, grab a small saucepan. Heat the heavy cream over medium heat until it simmers lightly. Then, remove it from the heat. Add the milk chocolate chips to the cream. Stir continuously until the chocolate melts and the mixture is smooth. This step is key for a rich chocolate flavor. Don’t forget to add the vanilla extract and a pinch of salt for extra taste.
Assembling and Toasting the Bars
Once your chocolate is ready, pour it over the crust. Spread it evenly with a spatula, covering every inch. Now, take the mini marshmallows and sprinkle them generously on top. Make sure they are spread out evenly for that classic s’mores look.
Next, place the pan under the broiler on high heat for 1-2 minutes. Keep a close eye on the marshmallows. You want them golden brown and toasty, not burnt. After broiling, let the pan cool at room temperature for 30-45 minutes. Then, refrigerate it for another 30 minutes. This helps the bars set.
Once set, slice the bars into squares and serve them. For a fun touch, serve them on a rustic board or colorful plate. Enjoy every bite of your no-bake s’mores bars!
Tips & Tricks
Common Mistakes to Avoid
When making no-bake s’mores bars, avoid these common mistakes:
– Using stale graham crackers: Always check that your graham crackers are fresh. Stale ones affect taste and texture.
– Not pressing the crust firmly enough: If it’s too loose, the bars may fall apart. Press down hard!
– Burning the marshmallows: Keep a close eye when broiling. Marshmallows can go from perfect to charred very quickly.
How to Achieve the Perfect Toasted Marshmallows
To achieve perfectly toasted marshmallows:
– Use a broiler: This method gives even heat. It makes marshmallows toasty and golden.
– Watch closely: Stay nearby and check every 30 seconds. This prevents burning and ensures a nice color.
– Rotate the pan: If your oven has hot spots, rotate the pan halfway through for even toasting.
Storing and Reheating Tips
For storing your no-bake s’mores bars:
– Use an airtight container: This keeps them fresh and prevents them from drying out.
– Refrigerate: They stay best in the fridge. They can last up to a week.
– Freezing: If you want to save some for later, wrap them well in plastic wrap and foil. They freeze well for up to a month. Reheat in the fridge overnight before serving.
Variations
Nutty Additions: Including Nuts or Nut Butter
You can add nuts to your no-bake s’mores bars for extra crunch. Try chopped walnuts or pecans. If you prefer nut butter, swirl in some creamy peanut or almond butter. This gives a rich taste and boosts protein. Just mix the nuts or nut butter into the crust or chocolate layer.
Flavor Twists: Adding Extracts or Other Chocolate Types
Want something different? You can change the flavor by adding extracts. A splash of almond or coconut extract gives a fun twist. You can also use dark chocolate instead of milk chocolate. This makes the bars a bit more rich and bittersweet. Just melt your choice of chocolate as you would with the milk chocolate.
Healthier Alternatives: Using Alternative Sweeteners
If you want a healthier treat, try using alternative sweeteners. Options like honey or maple syrup can replace granulated sugar. They add sweetness without refined sugar. You can also use sugar-free chocolate chips. This way, you enjoy the same great taste with less guilt.
Storage Info
Best Practices for Storing Leftovers
To keep your no-bake s’mores bars fresh, store them in an airtight container. This helps maintain their flavor and texture. Place a layer of parchment paper between the bars. This prevents them from sticking together. Keep the container in a cool, dry place or in the fridge for extra freshness.
How Long Do They Last?
These tasty bars can last up to a week when stored properly. If you keep them in the fridge, they may stay fresh a bit longer. However, I recommend enjoying them within five days for the best taste and texture.
Freezing for Later Enjoyment
You can freeze these s’mores bars for later. First, cut them into squares. Wrap each piece in plastic wrap or foil to prevent freezer burn. Place them in a freezer-safe container or bag. They can last for up to three months in the freezer. When you’re ready to eat, thaw them in the fridge overnight. Enjoy the convenience of a sweet treat anytime!
FAQs
Can I make No-Bake S’mores Bars ahead of time?
Yes, you can make No-Bake S’mores Bars ahead of time. They taste great after chilling in the fridge. If you store them in an airtight container, they stay fresh for about a week. This makes them perfect for parties or gatherings. Just remember to slice them before serving for easy enjoyment.
Can I use dark chocolate instead of milk chocolate?
Absolutely! Dark chocolate adds a rich flavor to your No-Bake S’mores Bars. If you prefer a less sweet taste, dark chocolate works well. Just make sure to melt it the same way as milk chocolate. The process stays the same, and the result will still be a delicious treat.
What can I substitute for graham crackers?
If you don’t have graham crackers, you have options! You can use digestive biscuits or even crushed cookies like Oreos. Each will give a unique taste to your dessert. Just crush them finely and mix them with the cocoa powder and sugar for the crust.
How do I adjust the recipe for a larger batch?
To make a larger batch of No-Bake S’mores Bars, simply double the ingredients. Use a bigger baking pan to hold the extra mix. For instance, a 9×13-inch pan works great. Keep an eye on the chilling time; it may take a bit longer to set. Check them often to get that perfect texture.
We explored how to make delicious no-bake s’mores bars. You learned about essential and optional ingredients, tools, and step-by-step instructions. I shared tips to avoid common mistakes and achieve perfect toasted marshmallows. We also discussed fun variations and proper storage methods.
Remember, with a few tweaks, you can create your own tasty treat. Enjoy experimenting and share this joy with friends!