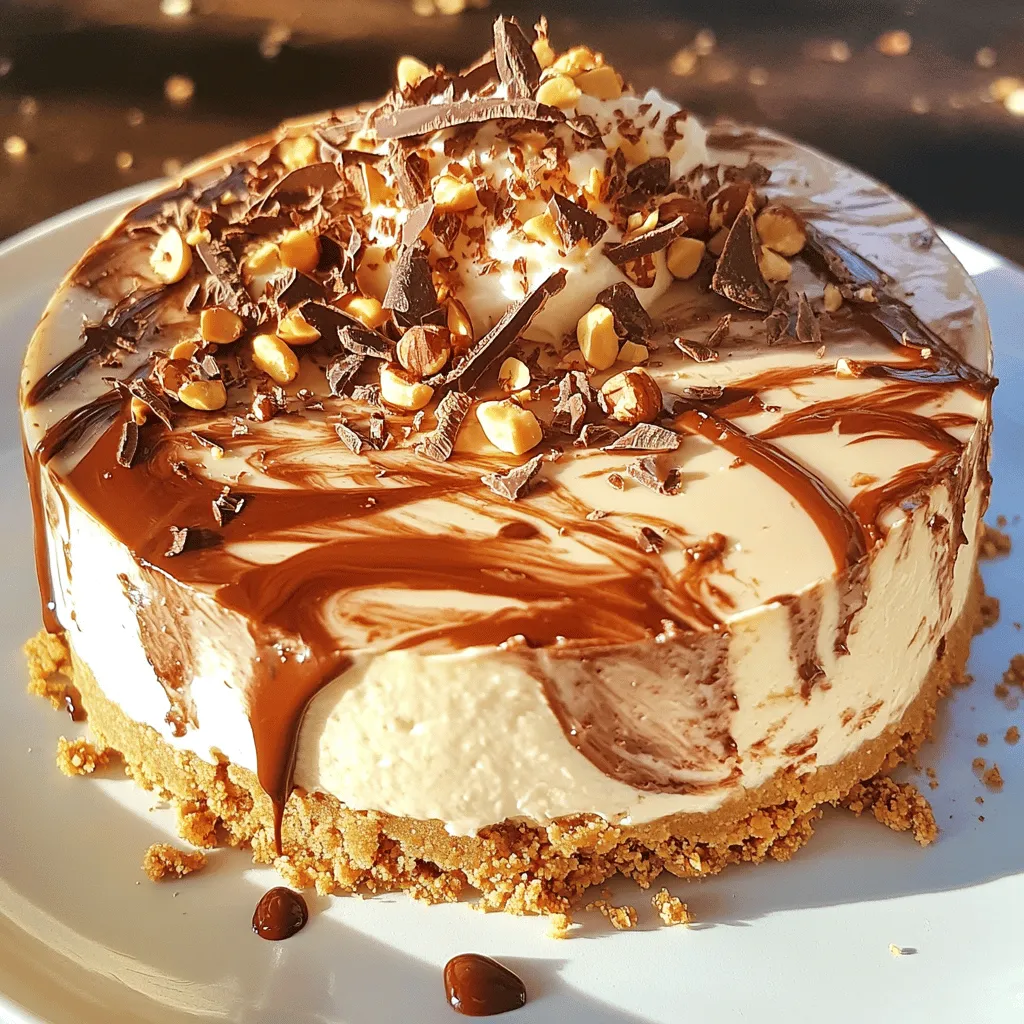
Are you ready to impress your friends and family with a dessert that’s both easy and delicious? This No-Bake Nutella Cheesecake combines smooth, creamy goodness with the rich flavor of Nutella. In just a few simple steps, you can create a treat that needs no baking and will have everyone asking for seconds. Let’s dive into this simple recipe, packed with tips and tricks for success!
Ingredients
Main Ingredients
– 1 ½ cups digestive biscuits, finely crushed
– ½ cup unsalted butter, melted
– 16 oz cream cheese, softened at room temperature
– 1 cup Nutella (plus extra for drizzling)
– 1 cup powdered sugar
– 1 teaspoon pure vanilla extract
– 1 cup heavy whipping cream, chilled
These ingredients create a rich and creamy cheesecake. The digestive biscuits give a nice crunch. The cream cheese makes it smooth, and Nutella adds a sweet, chocolatey flavor.
Optional Garnishes
– Chocolate shavings
– Crushed hazelnuts
– Fresh berries
These garnishes add a fun touch to your cheesecake. Chocolate shavings offer an extra treat. Crushed hazelnuts add a nice crunch and enhance the hazelnut flavor. Fresh berries bring color and a hint of tartness.
Equipment Needed
– 9-inch springform pan
– Mixing bowls
– Hand mixer
You will need a 9-inch springform pan to hold your cheesecake. Mixing bowls help you combine your ingredients. A hand mixer makes it easier to beat the cream cheese and whip the cream.
Step-by-Step Instructions
Preparing the Crust
Start by mixing the crushed digestive biscuits with the melted butter. You want every crumb to be coated in buttery goodness. This takes just a minute or two. Once mixed, transfer this mixture to your springform pan. Use the back of a flat-bottomed glass to press it down firmly. You need a solid base for your cheesecake. After pressing, place the pan in the fridge for about 15 to 20 minutes. This chill time helps the crust firm up.
Making the Nutella Cheesecake Filling
Next, let’s make the filling. In a large bowl, beat the softened cream cheese until it’s smooth. This should take around 2 to 3 minutes with an electric mixer. Once smooth, gradually add the Nutella, powdered sugar, and vanilla extract. Mix until everything combines perfectly. You’ll want a silky texture that looks divine.
Assembling and Chilling the Cheesecake
Now it’s time to whip the cream. In a separate bowl, whip the heavy cream until you see stiff peaks. This step is key to making your cheesecake light. Gently fold half of this whipped cream into the Nutella mixture. Then, fold in the rest of the whipped cream. Take your time with this; you want to keep it airy.
Pour this fluffy filling onto your chilled biscuit crust. Smooth the top with a spatula for a nice finish. Cover the pan with plastic wrap or a lid and refrigerate it. Let it chill for at least 4 hours, but overnight is best. This helps the cheesecake set properly.
Tips & Tricks
Achieving the Perfect Texture
To get a creamy and light cheesecake, focus on your whipped cream. Start by whipping the chilled heavy cream until it forms stiff peaks. This means the cream holds its shape well. It should take about 3-5 minutes.
When folding the whipped cream into the Nutella mixture, be gentle. Use a spatula and scoop from the bottom, turning the bowl as you mix. This helps keep the air in the cream, making your cheesecake fluffy.
Ingredient Substitutions
If you want a vegan version, swap cream cheese for a plant-based cream cheese. Use coconut cream instead of heavy cream. For a gluten-free option, replace digestive biscuits with gluten-free cookies. Just make sure they are finely crushed.
Presentation Suggestions
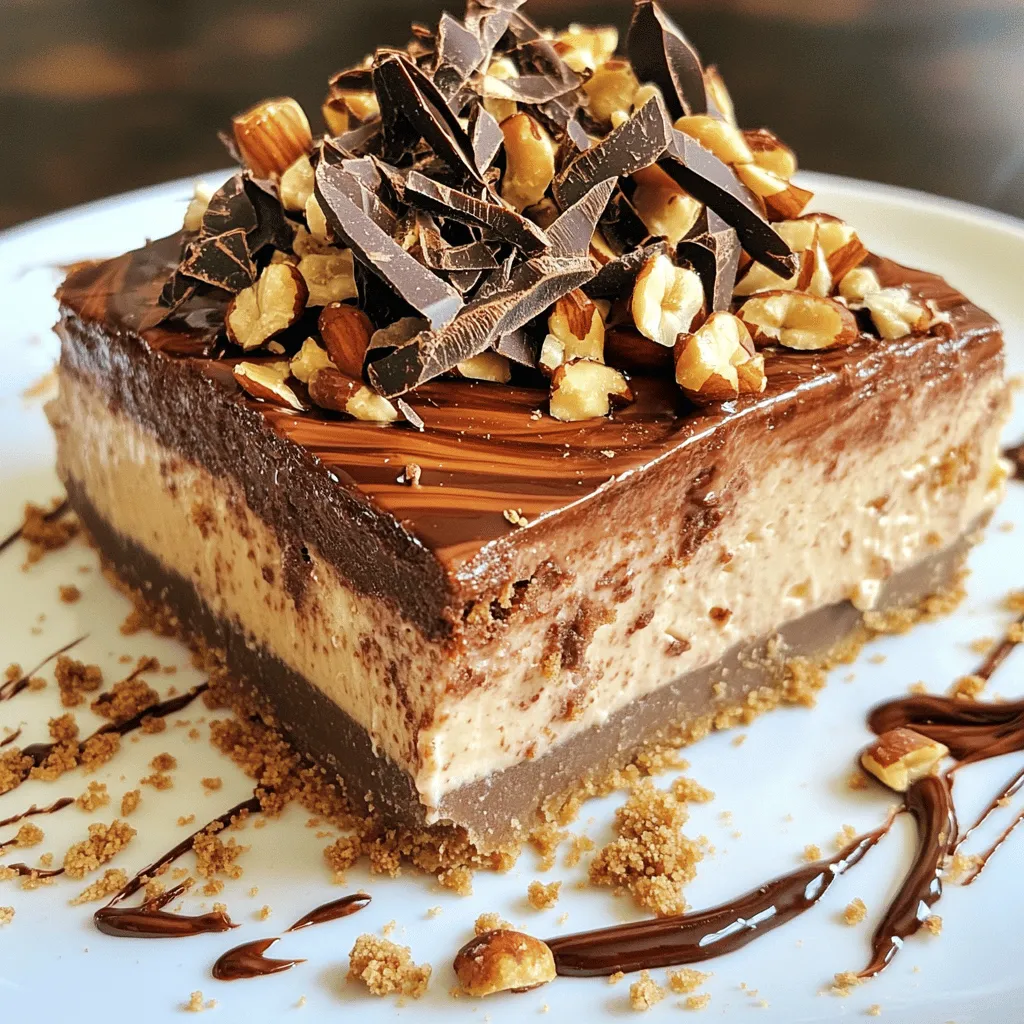
Presentation matters! Serve slices on dessert plates with a drizzle of extra Nutella or chocolate sauce. This adds a rich touch. You can also sprinkle fresh berries or a mint leaf on top for color. Use chocolate shavings and crushed hazelnuts as a final garnish. These little details make your cheesecake look gourmet and inviting.
Variations
Flavor Additions
You can make your no-bake Nutella cheesecake even more exciting. One way is to add flavors like coffee or hazelnut extract. Just a teaspoon of either can boost the taste. It adds a rich depth that pairs well with Nutella.
Another idea is to incorporate fruit purees. Think about adding raspberry or strawberry puree. This will give your cheesecake a fruity twist. It adds color and a fresh taste. You can swirl the puree into the cheesecake filling before chilling for a beautiful effect.
Different Types of Cheesecake Bases
The base of the cheesecake can change the whole vibe. A classic graham cracker crust is always a winner. It gives a nice crunch and sweetness. But if you want to try something new, consider a brownie crust. This adds a rich, chocolatey flavor. It makes the dessert feel even more indulgent.
You can also experiment with cookie crusts. Use Oreos or even gingersnaps for a unique base. Each choice brings a different taste and texture.
Dietary Modifications
If you have dietary needs, you can still enjoy this treat. For a nut-free version, simply swap Nutella for a nut-free chocolate spread. You can find many options in stores now.
For low-sugar adaptations, use sugar substitutes. There are many sweeteners that taste great. Look for ones that work well in desserts.
These variations let everyone enjoy this delicious no-bake Nutella cheesecake.
Storage Info
Best Practices for Storing
To keep your no-bake Nutella cheesecake fresh, start by refrigerating it. Place the cheesecake in an airtight container or cover it tightly with plastic wrap. Store it in the fridge for the best taste and texture.
If you want to freeze the cheesecake, slice it first. Wrap each slice in plastic wrap and then put them in a freezer-safe bag. This method helps keep the cheesecake fresh and easy to serve later.
How Long It Lasts
In the fridge, your no-bake Nutella cheesecake lasts about 5 to 7 days. Check for signs of spoilage. If you see any discoloration or an off smell, it’s best to toss it.
When stored properly in the freezer, the cheesecake can last for up to 3 months. Just remember, over time it may lose some flavor and texture.
Reheating Instructions
If you freeze the cheesecake, thaw it in the fridge overnight before serving. Avoid using the microwave, as it can ruin the texture.
For serving leftovers, take out the slices you want. Let them sit at room temperature for about 15 minutes before eating. This step helps bring back the creamy texture and rich flavor. Enjoy your delicious treat!
FAQs
Can I make this cheesecake ahead of time?
Yes, you can make this cheesecake ahead of time. I recommend chilling it for at least 4 hours, but overnight is best. This extra time helps the flavors blend well. You can prepare it a day or two before serving. Just keep it covered in the fridge for freshness.
Can I use a different type of chocolate spread?
Absolutely! You can use any chocolate spread you like. Brands like Jif or Reese’s offer great options. If you’re feeling adventurous, try a salted caramel spread for a twist. Just remember that the flavor will change based on what you choose.
How do I know when the cheesecake is set?
To check if your cheesecake is set, gently shake the pan. If the center jiggles a bit but holds its shape, it’s ready. You can also insert a toothpick into the center. It should come out clean or with a few creamy bits. This tells you the cheesecake has the right texture.
This Nutella cheesecake is simple and fun to make. We covered the key ingredients and tools you need. The step-by-step guide helps you create a delicious treat with perfect texture. I shared tips for customizing flavors and ensuring a great presentation. Don’t forget the storage tips for keeping your cheesecake fresh. Most important, you can make this ahead or adapt it to fit different diets. Enjoy the process and impress your friends with this tasty dessert!