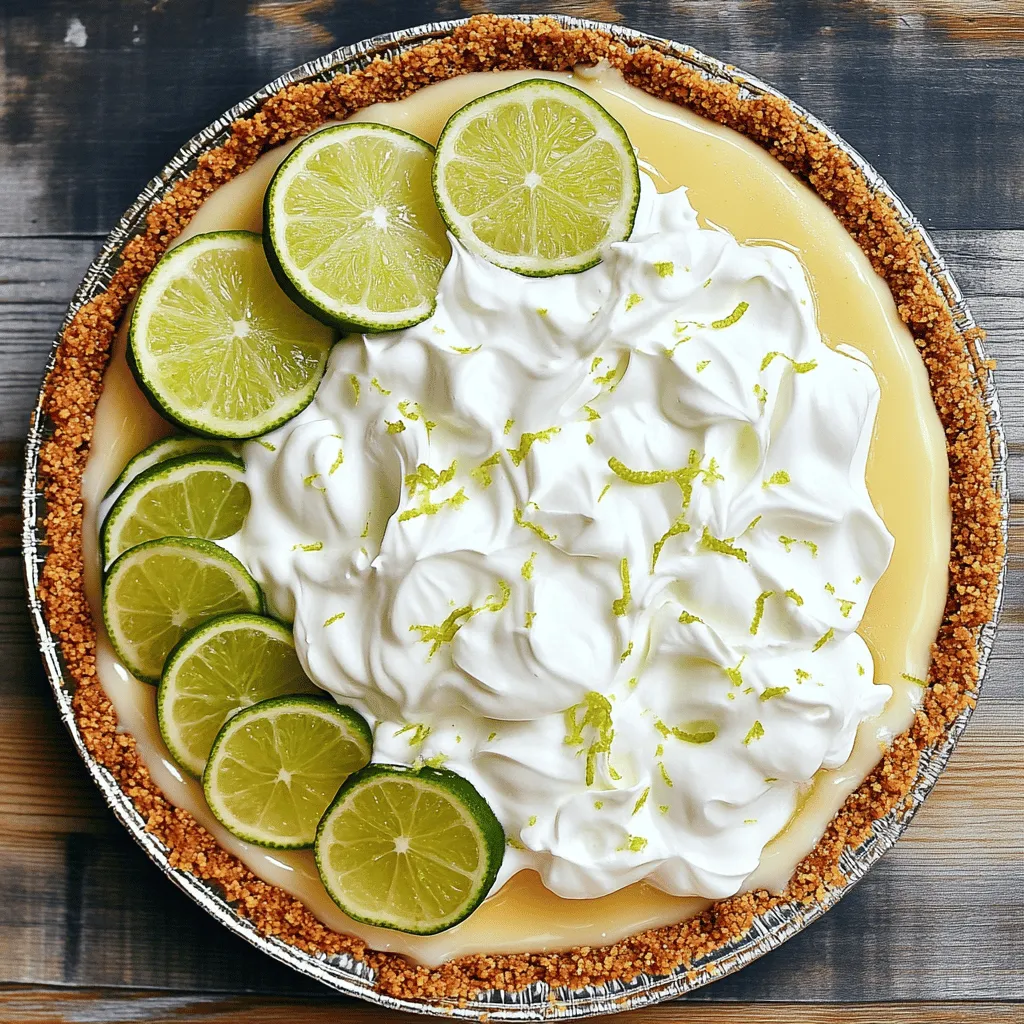
If you crave a dessert that’s easy, cool, and bursting with flavor, then this No Bake Key Lime Pie is for you! This delightful treat combines creamy sweetened condensed milk with zesty lime juice, all nestled in a crunchy graham cracker crust. Perfect for hot days, it’s quick to prepare and requires no oven. Join me as I guide you through the simple steps to create this refreshing dessert that everyone will love!
Ingredients
To create a No Bake Key Lime Pie, you need fresh and simple ingredients. Here’s what you’ll need:
– 1 ½ cups graham cracker crumbs
– ½ cup unsweetened shredded coconut
– ⅓ cup granulated sugar
– ½ cup unsalted butter, melted
– 2 (14 oz) cans sweetened condensed milk
– ¾ cup freshly squeezed key lime juice (about 15-20 key limes)
– 1 tablespoon lime zest (plus more for garnish)
– 1 cup heavy whipping cream
– 2 tablespoons powdered sugar
– Key lime slices for garnish
These ingredients come together to make a creamy and tangy dessert. The graham cracker crumbs and coconut form a crunchy crust. The sweetened condensed milk and key lime juice give the pie its smooth filling. Whipping cream adds lightness, making each bite delightful. For the best flavor, always use fresh key limes instead of bottled juice. Each ingredient plays an essential role in crafting this tasty treat.
Step-by-Step Instructions
Make the Crust
– In a medium bowl, combine 1 ½ cups of graham cracker crumbs, ½ cup of unsweetened shredded coconut, and ⅓ cup of granulated sugar.
– Pour in ½ cup of melted unsalted butter and stir until the mixture looks like wet sand.
– Firmly press this crumb mixture into the bottom and sides of a 9-inch pie dish.
– Chill the crust in the refrigerator for at least 30 minutes to set properly.
Prepare the Filling
– In a large mixing bowl, mix 2 cans of sweetened condensed milk with ¾ cup of freshly squeezed key lime juice.
– Add 1 tablespoon of lime zest for extra flavor. Whisk until smooth.
Whip the Cream
– In a separate bowl, use an electric mixer to whip 1 cup of heavy cream.
– Start on medium speed until soft peaks form.
– Gradually add 2 tablespoons of powdered sugar. Continue whipping until stiff peaks form.
Combine Mixtures
– Carefully fold the whipped cream into the lime mixture using a rubber spatula.
– Use a gentle motion to keep the whipped cream airy and ensure a smooth blend.
Fill the Crust
– Spoon the lime filling into the prepared crust.
– Use a spatula to smooth the top evenly.
– Cover the pie with plastic wrap and refrigerate for at least 4 hours, or until firm.
Serve
– Once set, slice the pie into wedges.
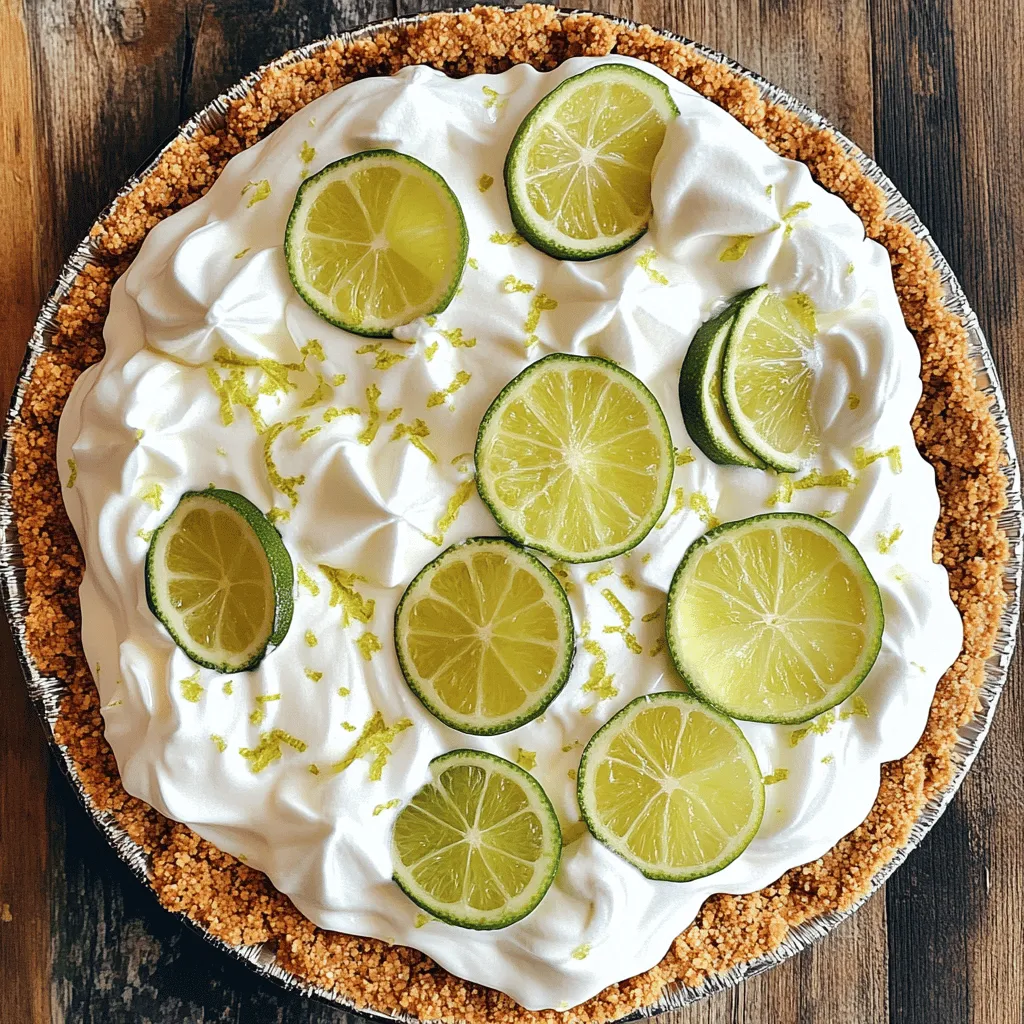
– Garnish with lime zest and key lime slices for a fresh look.
Tips & Tricks
Perfecting the Texture
To get the best texture, focus on your whipped cream. Whipping cream to soft peaks means it holds its shape but is still smooth. Stiff peaks stand tall and firm. Both are key for a light pie. When you fold whipped cream into the filling, use a gentle motion. This helps keep air in the cream, making your pie light and fluffy.
Enhancing Flavor
Lime zest adds a punch of flavor. I suggest using fresh zest for the best taste. If the pie is too tart, you can adjust the sweetness. Try adding a bit more sugar or using sweetened condensed milk. Taste as you go to find the right balance.
Accentuating Presentation
Presentation matters! Serve each slice on a nice plate. A dollop of whipped cream on top adds a nice touch. You can sprinkle more lime zest for color. Fresh mint leaves make a great garnish, too. They add a pop of green and a hint of freshness. For a fun twist, add key lime slices on the side. These small details make your pie even more inviting.
Variations
Vegan No Bake Key Lime Pie
You can easily make a vegan version of this pie. Start by substituting dairy ingredients. Use coconut cream instead of heavy cream. For the filling, swap sweetened condensed milk with coconut milk. This keeps the creamy texture while making it plant-based.
For whipped cream, consider using store-bought vegan whipped cream. Alternatively, whip coconut cream with a bit of powdered sugar. Both options will add a light touch to your pie.
Gluten-Free Option
If you need a gluten-free pie, you can change the crust. Use almond flour or gluten-free graham crackers. Make sure to mix them with melted coconut oil instead of butter. This keeps the crust tasty and firm.
Also, check for gluten in your sweetened condensed milk. Most brands are gluten-free, but it’s good to read labels.
Flavored Variations
Feel free to get creative with flavors! You can add different fruit zests to the filling. Try orange, lemon, or grapefruit zest for a twist. Each adds a unique taste to your pie.
You can also swirl in chocolate or berry puree. Just drop spoonfuls into the filling and gently swirl with a knife. This creates pretty patterns and extra flavor.
Storage Info
Refrigeration Tips
To store leftovers, cover the pie with plastic wrap. This keeps it fresh and prevents odors. You can also use a pie keeper for better storage. The pie stays good in the fridge for about 3 to 4 days. After that, the filling may lose its creamy texture.
Freezing Instructions
To freeze the pie, wrap it tightly with plastic wrap and then foil. This helps avoid freezer burn. You can freeze it for up to 2 months. When you’re ready to eat, thaw it in the fridge overnight. This method helps maintain its smooth texture. Avoid thawing at room temperature, as it may become too soft. Enjoy your delightful treat later with just the right creaminess!
FAQs
How do I know when the pie is set?
You can tell if the pie is set by its firmness. After chilling, gently touch the filling with your finger. If it feels firm and holds its shape, it is ready. You should not see any jiggle. The top may look slightly shiny but should feel solid. Letting it chill for at least four hours helps it firm up nicely.
Can I make this pie in advance?
Yes, you can make this pie in advance! I recommend chilling it for at least four hours. For best results, you can store it in the fridge for up to three days. Just cover it tightly with plastic wrap to keep it fresh. This pie tastes even better the next day as the flavors blend nicely.
Is it okay to use bottled key lime juice?
Using bottled key lime juice is fine, but fresh juice is best. Fresh key limes give a bright, zesty flavor. Bottled juice can taste a bit flat or artificial. If you use bottled juice, look for one that says “100% juice” for a better taste. If you can, squeeze fresh limes for a real treat.
How to prevent the crust from getting soggy?
To keep the crust from becoming soggy, bake it briefly before adding the filling. Bake it at 350°F for about 10 minutes. This helps firm it up. Also, make sure the filling is not too wet. Press the crust tightly into the pie dish to create a strong base. Chilling the crust before adding the filling also helps.
What can I use instead of heavy whipping cream?
If you want to substitute heavy whipping cream, you have options. You can use coconut cream for a dairy-free choice. Whipped topping is another easy option. For a lighter version, try Greek yogurt. Remember, each option will change the flavor slightly, but they can still make a tasty pie.
This blog post covers how to make a delicious no-bake key lime pie. We discussed the ingredients, step-by-step instructions, and helpful tips for the perfect texture and flavor. You can also explore variations like vegan and gluten-free options. Storing leftovers properly and preparing the pie in advance were also shared. In conclusion, enjoy your baking and experiment with different flavors to make this dessert your own. With practice, you’ll impress friends and family with your tasty key lime pie.