Looking for a tasty, healthy snack? You’ll love these Lemon Garlic Roasted Chickpeas! Crispy, zesty, and full of flavor, they are perfect for munching on any time of day. Easy to make with simple ingredients, this recipe will have you enjoying chickpeas like never before. Grab your baking sheet and let’s dive into this fun and nutritious treat that’s good for you, too!
Ingredients
Required Ingredients for Lemon Garlic Roasted Chickpeas
– 1 can (15 oz) chickpeas, drained and thoroughly rinsed
– 2 tablespoons extra virgin olive oil
– 1 teaspoon garlic powder
– ½ teaspoon smoked paprika
– ½ teaspoon ground cumin
– Zest of 1 fresh lemon
– 2 tablespoons freshly squeezed lemon juice
– Salt and freshly ground black pepper to taste
– Fresh parsley, finely chopped (for garnish)
When you make lemon garlic roasted chickpeas, the main star is the chickpeas. They provide protein and fiber. The olive oil keeps them crisp and adds flavor. Garlic powder brings a punch, while smoked paprika offers a warm, rich taste. Cumin adds earthiness, while lemon zest and juice brighten up the dish. A sprinkle of salt and pepper rounds it all out. Finally, fresh parsley adds color and freshness.
Suggested Equipment
– Baking sheet and parchment paper
– Mixing bowl and kitchen towel
For this recipe, you will need a few tools. A baking sheet lined with parchment paper helps with easy cleanup and prevents sticking. A mixing bowl is perfect for tossing the chickpeas with oil and spices. A kitchen towel helps dry the chickpeas, making them crispier.
Nutritional Information
– Caloric content per serving
– Health benefits of chickpeas
One serving of lemon garlic roasted chickpeas has about 120 calories. Chickpeas are not just tasty; they are full of nutrients. They have protein, fiber, and many vitamins. Eating chickpeas can help keep you full and satisfied. They are also good for your heart and digestive health. Plus, they are low in fat, making them a smart snack choice.
Step-by-Step Instructions
Preparation Steps
1. First, preheat your oven to 400°F (200°C). This helps the chickpeas crisp up nicely.
2. Line a baking sheet with parchment paper. This makes for easy cleanup and prevents sticking.
3. Next, spread the rinsed chickpeas on a clean kitchen towel.
4. Gently pat them dry with another towel. This step is key! Removing moisture makes them crispy.
Mixing Ingredients
1. In a large mixing bowl, combine the dried chickpeas with 2 tablespoons of olive oil.
2. Add 1 teaspoon of garlic powder, ½ teaspoon of smoked paprika, and ½ teaspoon of ground cumin.
3. Zest one fresh lemon and squeeze in 2 tablespoons of lemon juice.
4. Season with salt and pepper to taste.
5. Toss everything together well. You want every chickpea to be coated in flavor.
Roasting Process
1. Pour the seasoned chickpeas onto the lined baking sheet. Spread them out in a single layer. This spacing helps them roast evenly.
2. Place the baking sheet in the oven. Roast for 25-30 minutes until they are golden brown.
3. Remember to shake the pan halfway through. This ensures all sides get nice and crispy.
4. Once done, take them out and let them cool for about 5 minutes. Taste and adjust seasoning if needed.
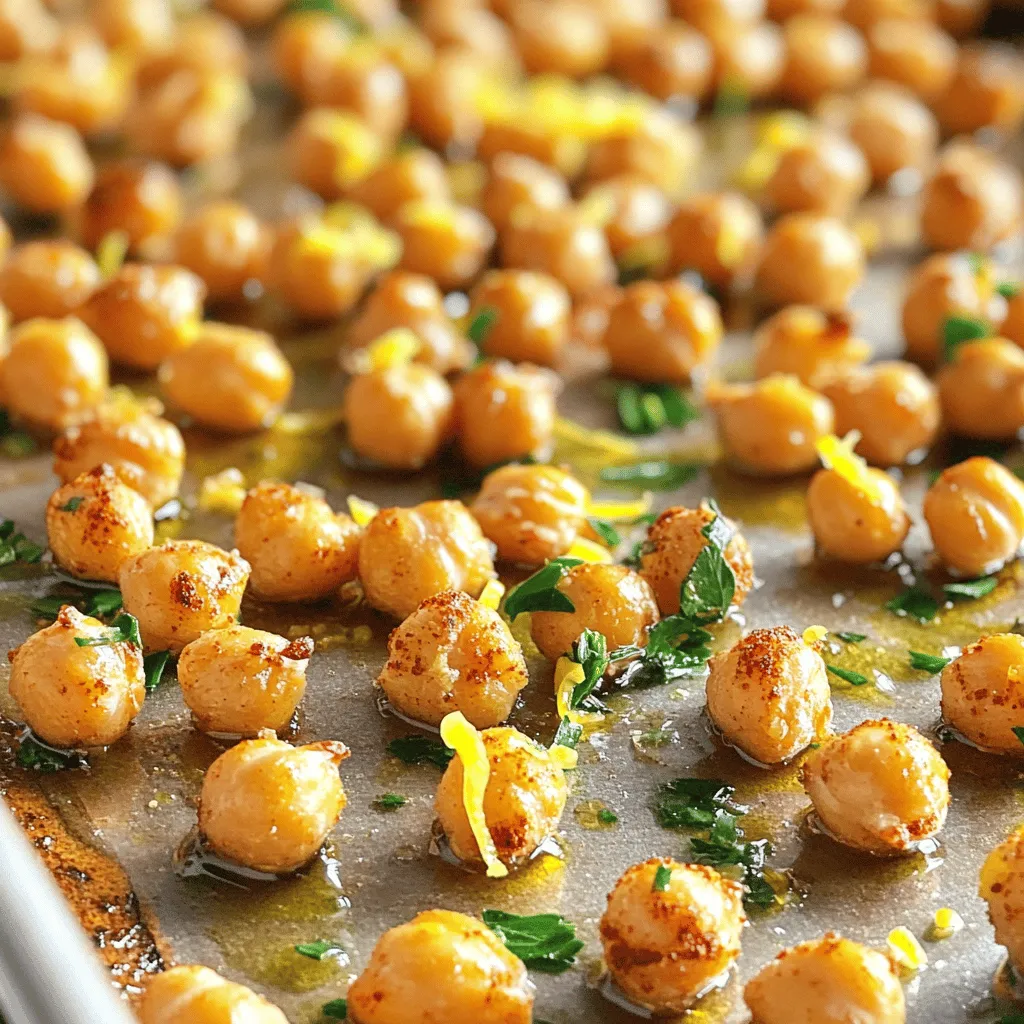
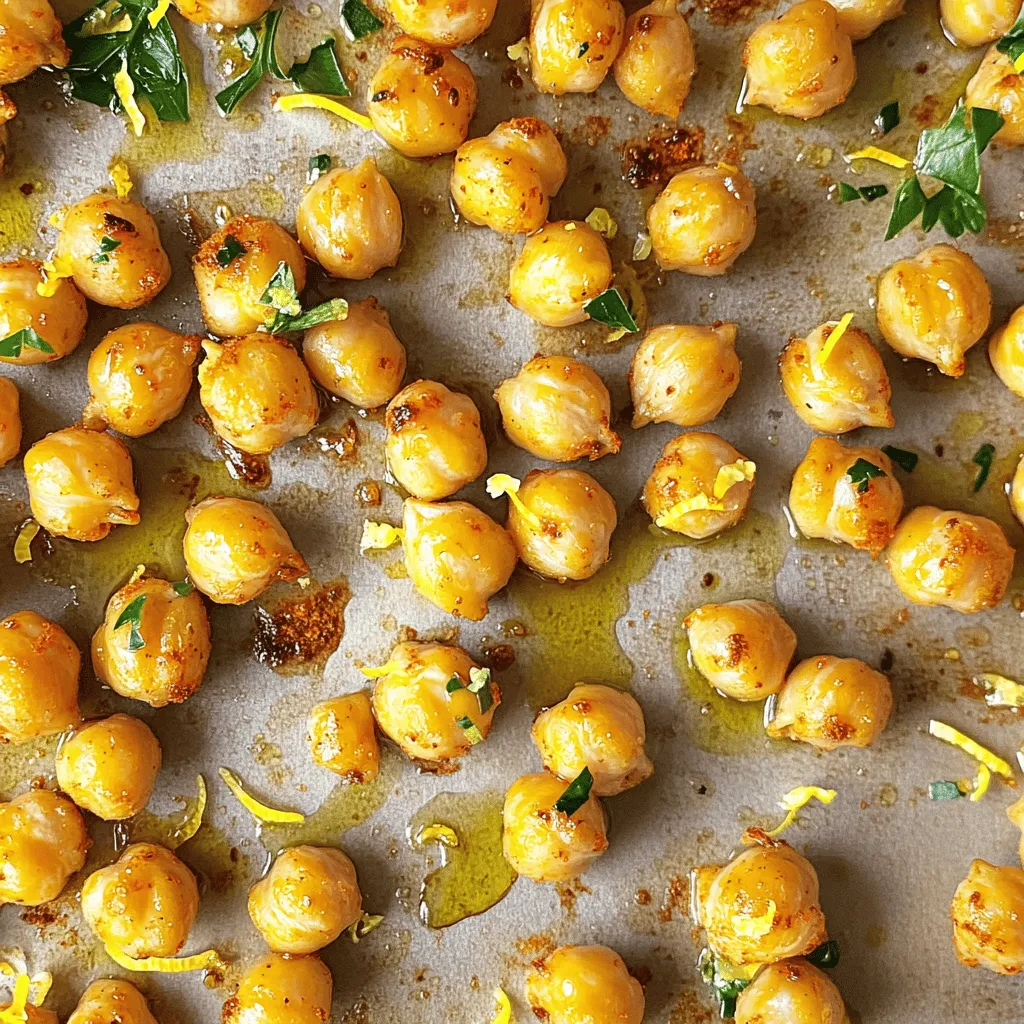
5. Just before serving, sprinkle finely chopped parsley on top for color and flavor.
Tips & Tricks
Achieving Extra Crispiness
To get that perfect crunch, start by drying the chickpeas well. After rinsing, spread them on a clean kitchen towel. Pat them dry gently until no moisture remains. This step is key. Too much water means less crispiness.
Next, use the right oven temperature. Preheat your oven to 400°F (200°C). This high heat helps the chickpeas roast quickly. The result? A golden brown and crunchy snack that you won’t want to stop eating.
Flavor Enhancements
Want to boost the taste? You can add more spices or herbs to the mix. Consider adding cayenne pepper for heat or rosemary for a fresh twist. You can also try other citrus flavors, like lime or orange. Each brings a new taste and keeps things exciting.
Presentation Ideas
When serving, think about how to wow your guests. Use a vibrant dish or bowl to showcase the chickpeas. For gatherings, pair them with tzatziki or hummus. This adds fun and flavor to your snack table.
To make it even prettier, sprinkle chopped fresh parsley on top. This adds color and a fresh aroma to your dish. Enjoy your lovely, crispy lemon garlic roasted chickpeas!
Variations
Flavor Variations
You can spice up your chickpeas easily. Try adding cayenne pepper for a kick. This small change gives your snack a bold, zesty flavor. If you prefer herbs, mix in rosemary or thyme. These herbs add a fresh taste that complements the lemon perfectly.
Cooking Method Alternatives
If you want to save time, use an air fryer. It cooks the chickpeas faster and gives them a nice crunch. You can also roast them on the stovetop. This method offers a different texture, making them crispy on the outside and soft inside.
Diet-Friendly Adjustments
These chickpeas are vegan and gluten-free, making them great for many diets. If you want to lower the salt, simply cut back on the added salt. You can still enjoy a tasty snack while sticking to your dietary needs.
Storage Info
Best Storage Practices
To keep your lemon garlic roasted chickpeas fresh, store them in an airtight container. This helps keep out air and moisture. If you have leftovers, let them cool completely before sealing.
For best results, place a paper towel at the bottom of the container. This will help absorb any moisture that might make them soggy. Keep the container in a cool, dry place, like a pantry.
Reheating Methods
When you want to enjoy your roasted chickpeas again, the oven works best. Preheat your oven to 350°F (175°C). Spread the chickpeas on a baking sheet and heat for about 10 minutes. This will help them regain crunchiness.
Avoid using the microwave. It can make them soft and chewy. If you do use it, heat them in short bursts and check often.
Shelf Life
Refrigerated roasted chickpeas last about 3-4 days. If you notice any off smells or a change in texture, it’s best to toss them. Watch for signs of spoilage like a slimy feel or mold, which means they are no longer safe to eat.
FAQs
How long to roast chickpeas for optimal crispiness?
Roast chickpeas at 400°F (200°C) for 25-30 minutes. This time gives them a nice crunch. Remember to shake the pan halfway through to ensure even roasting. If you like them extra crispy, you can leave them in for a few more minutes. Just watch them closely to avoid burning.
Can I use dried chickpeas instead of canned?
Yes, you can use dried chickpeas. Start by soaking them overnight. After soaking, cook them until tender. This takes about 1-2 hours. Once cooked, follow the same steps in the recipe. Make sure to dry them well before roasting to get that perfect crunch.
What dishes pair well with Lemon Garlic Roasted Chickpeas?
These chickpeas make a great snack on their own. You can also add them to salads for extra crunch. They pair nicely with dips like tzatziki or hummus. Try serving them with grilled meats or roasted vegetables for a tasty meal.
In this guide, we explored how to make delicious Lemon Garlic Roasted Chickpeas. We covered the ingredients, equipment, and step-by-step instructions. You learned tips to achieve extra crispiness and variations to enhance flavor. Remember the best storage practices to keep them fresh and tasty.
Enjoy these chickpeas as a snack or meal addition. They’re healthy and packed with flavor. With this recipe, you can impress friends and family at any gathering. Happy cooking!