Are you ready to whip up a dessert that’s both bright and refreshing? Key Lime Pie Bars blend tangy lime goodness with a crunchy crust. You can make these sweet treats in no time, and they impress every guest. In this article, I’ll share easy steps, handy tips, and fun variations. Let’s dive into this simple delight that will elevate your dessert game!
Why I Love This Recipe
- Bright and Tangy Flavor: The refreshing taste of key limes brings a vibrant burst of citrus that perfectly balances the sweetness of the condensed milk.
- Easy to Make: With simple ingredients and straightforward steps, these bars are quick to whip up, making them perfect for a last-minute dessert.
- Perfect for Any Occasion: Whether it’s a summer barbecue or a holiday gathering, these key lime pie bars are a crowd-pleaser that everyone will love.
- Chill and Serve: The bars can be made ahead of time and stored in the fridge, allowing for stress-free entertaining and a cool treat on warm days.
Ingredients
Key Ingredients for Key Lime Pie Bars
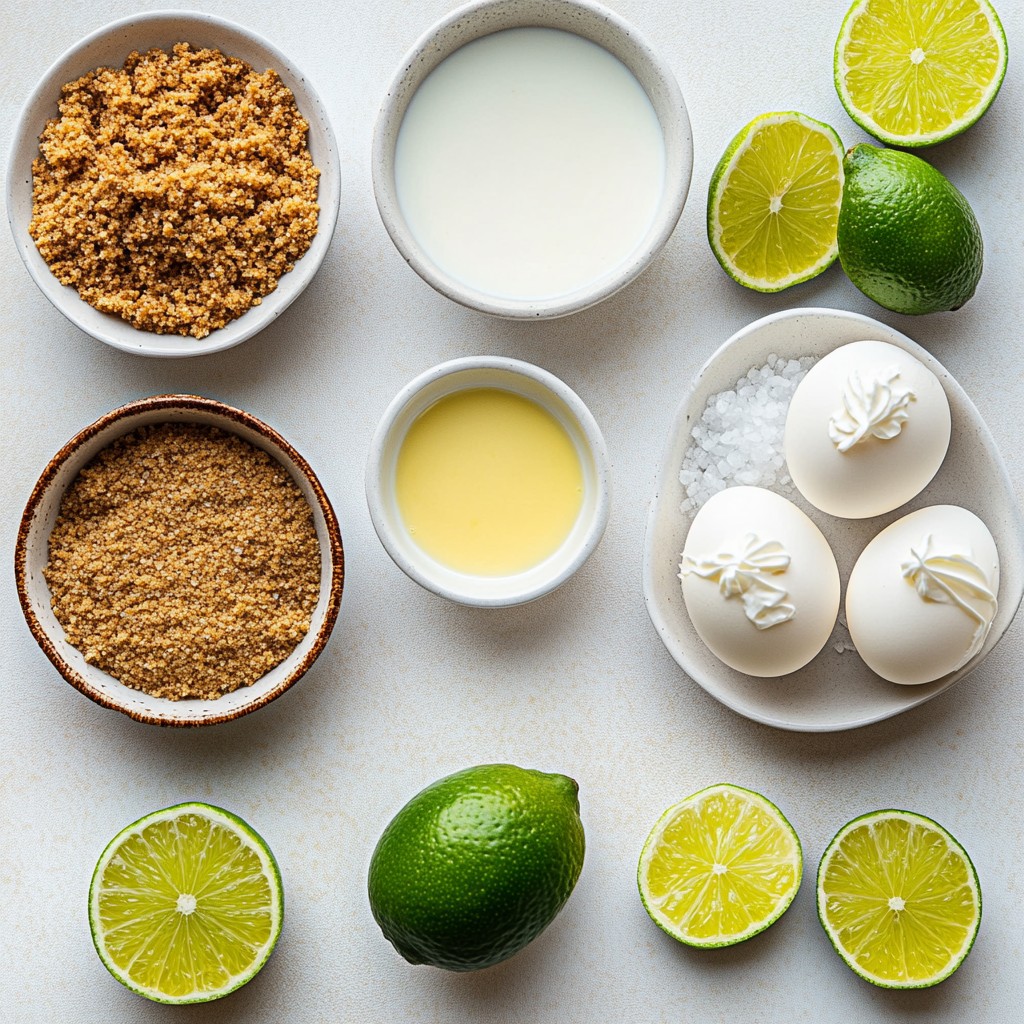
To make your Key Lime Pie Bars, you need a few key ingredients. Here’s the list:
- 1 cup graham cracker crumbs
- 1/4 cup granulated sugar
- 1/2 cup unsalted butter, melted
- 2 cups sweetened condensed milk
- 3/4 cup fresh key lime juice (about 5-7 key limes)
- 2 large eggs
- Zest of 2 key limes
- 1/4 teaspoon fine salt
These ingredients combine to create a sweet and tangy treat. The graham cracker crumbs form a crunchy base. The sweetened condensed milk gives the filling its creamy texture. Fresh key lime juice adds that bright and zesty flavor.
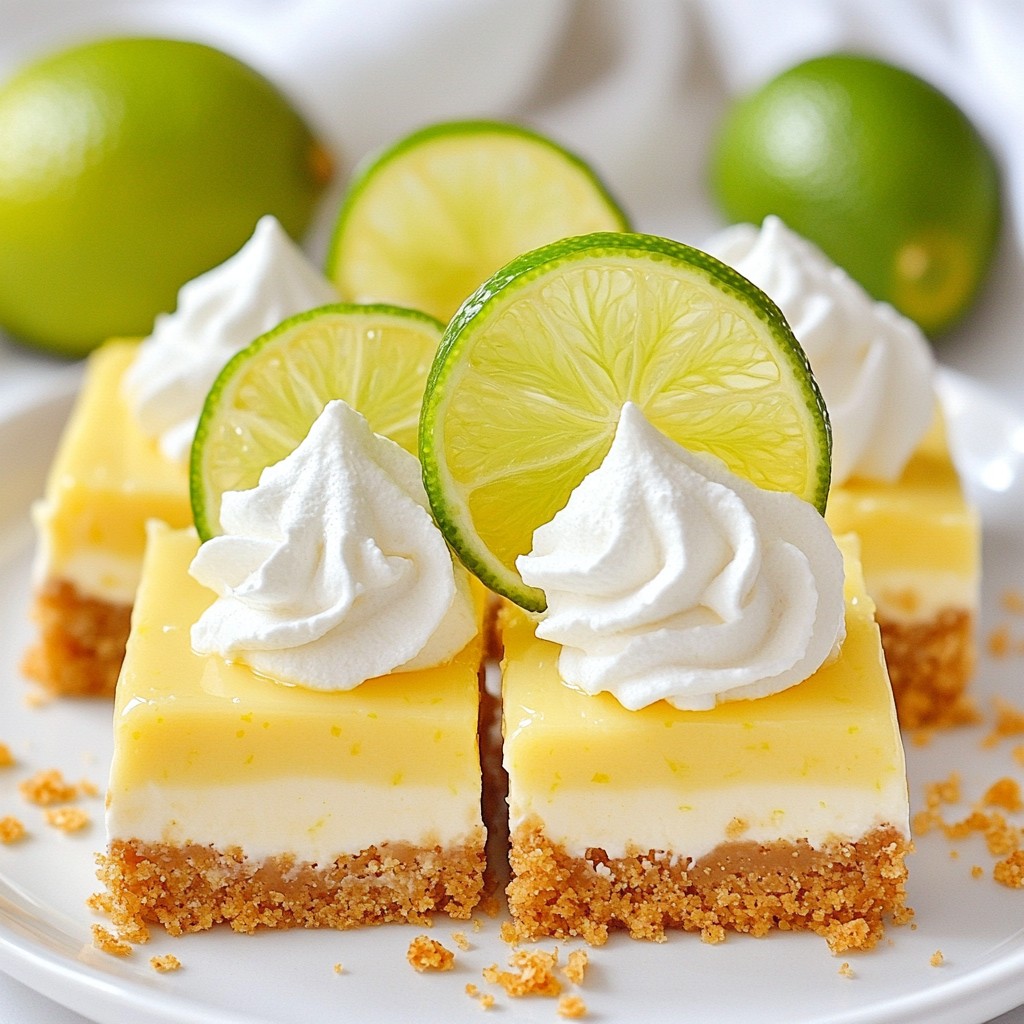
Optional Toppings and Garnishes
To enhance your Key Lime Pie Bars, you can add some fun toppings. Here are a few ideas:
- Whipped cream for a light, fluffy touch
- Lime slices to add color and extra zing
- Additional lime zest for a burst of freshness
These toppings make each bite even more delightful. They also add a nice visual appeal when serving. Enjoy creating your perfect Key Lime Pie Bars!
Step-by-Step Instructions
Prepping the Oven and Baking Dish
First, set your oven to 350°F (175°C). Preheating helps the bars cook evenly. Next, grab an 8x8 inch baking dish. Grease it lightly or line it with parchment paper. This step makes it easier to lift out the bars later.
Making the Graham Cracker Crust
In a medium bowl, mix 1 cup of graham cracker crumbs with 1/4 cup of granulated sugar. Pour in 1/2 cup of melted unsalted butter. Stir until the mix looks like wet sand. Transfer this mixture to your baking dish. Press it down firmly with your fingers or the back of a measuring cup. Bake the crust for about 10 minutes, then let it cool.
Preparing the Key Lime Filling
In a separate bowl, whisk together 2 cups of sweetened condensed milk and 3/4 cup of fresh key lime juice. Add 2 large eggs, the zest of 2 key limes, and 1/4 teaspoon of fine salt. Whisk until smooth with no lumps. This filling gives your bars their bright, tangy flavor.
Baking and Cooling the Key Lime Pie Bars
Carefully pour the key lime filling over the cooled crust. Spread it evenly with a spatula. Return the dish to the oven and bake for 15-20 minutes. The filling should be set but still jiggle slightly in the center. Once done, let the bars cool at room temperature. Cover them with plastic wrap and chill in the fridge for at least 2 hours.
Serving Suggestions
When the bars are chilled, use a sharp knife to cut them into squares or bars. For a fun touch, top each bar with a dollop of whipped cream. You can also add lime slices or a sprinkle of lime zest for color. Serve these bars on a nice platter to impress your guests.
Tips & Tricks
Common Mistakes to Avoid
When making key lime pie bars, a few mistakes can spoil your treat. Here are some to watch for:
- Overmixing the filling: You want it smooth but not overdone. Mix just until combined.
- Not using fresh limes: Fresh key limes give the best taste. Bottled juice lacks flavor.
- Underbaking the filling: The bars should jiggle slightly but be set. Adjust your baking time if needed.
Enhancing Flavor with Additional Ingredients
Want to make your bars even better? Here are some ideas:
- Add coconut: Mix in some shredded coconut for a tropical twist.
- Use different citrus: Try lemon or grapefruit juice for a unique flavor.
- Spice it up: A pinch of ginger or a splash of vanilla can add depth.
Presentation Tips for Serving
A nice presentation makes your bars shine. Here are some tips:
- Use a stylish platter: A bright plate can make your bars pop.
- Garnish with lime zest: Sprinkle lime zest over whipped cream for color.
- Cut evenly: Use a sharp knife for clean edges, making them look professional.
These tips will help you create delicious key lime pie bars that look and taste fantastic!
Pro Tips
- Use Fresh Key Limes: Fresh key limes provide the best flavor. If you can’t find them, regular limes can be a good substitute, but the taste will differ slightly.
- Chill for Perfection: Allow the bars to chill for at least 2 hours before cutting. This helps them set properly and makes slicing easier.
- Test for Doneness: When baking, the filling should be set but still have a slight jiggle in the center. This ensures a creamy texture.
- Garnish for Impact: Enhance presentation by garnishing with whipped cream and lime zest. It adds a pop of color and extra flavor.
Variations
Different Crust Options
You can switch up the crust for your key lime pie bars. Here are a few tasty ideas:
- Chocolate Cookie Crust: Use crushed chocolate cookies instead of graham crackers.
- Nut Crust: Blend nuts like almonds or pecans for a gluten-free option.
- Oreo Crust: Crushed Oreos make a sweet, chocolatey base that pairs well with lime.
Alternative Fillings and Flavor Twists
Feel free to experiment with the filling. Here are some fun twists:
- Coconut Key Lime Bars: Add shredded coconut to the filling for a tropical touch.
- Berry Infusion: Mix in berries like raspberries or strawberries for a fruity flavor.
- Ginger Lime Bars: Add ginger to the filling for a spicy kick.
Healthier Substitutions
Want to make your key lime pie bars a bit healthier? Try these swaps:
- Greek Yogurt: Replace some of the sweetened condensed milk with Greek yogurt for creaminess.
- Honey or Maple Syrup: Use honey or maple syrup instead of granulated sugar for natural sweetness.
- Whole Wheat Flour: If making a crust, use whole wheat flour for added fiber.
Storage Info
How to Store Key Lime Pie Bars
To keep your Key Lime Pie Bars fresh, store them in the fridge. Use an airtight container to prevent drying out. These bars stay tasty for up to a week. Always cover them well with plastic wrap or foil to keep them moist.
Freezing Instructions for Long-Term Storage
You can freeze Key Lime Pie Bars for later enjoyment. Cut the bars into squares before freezing. Place them in a single layer on a baking sheet. Once frozen, transfer the squares to a freezer-safe bag. They can last for about three months in the freezer. When ready to eat, thaw them in the fridge overnight.
Best Practices for Reheating and Serving
Reheating Key Lime Pie Bars is not common, as they taste best cold. If you want to serve them warm, let them sit out for a bit. This brings out the flavor. Add a dollop of whipped cream on top for extra delight. Garnish with lime slices or zest to make them look pretty. Enjoy every bite!
FAQs
Can I use bottled key lime juice?
Yes, you can use bottled key lime juice. However, fresh juice gives the best flavor. Fresh key limes are tart and fragrant. Bottled juice may taste less bright. If you choose bottled, look for 100% key lime juice.
How do I know when the bars are done baking?
The bars are done when the filling is set. It should have a slight jiggle in the center. Bake for 15 to 20 minutes. Keep an eye on them to avoid overbaking. They will firm up as they cool.
What’s the best way to cut Key Lime Pie Bars?
To cut the bars, use a sharp knife. Dip the knife in hot water for a cleaner cut. Wipe the knife after each slice. This helps keep the edges neat and tidy. Cut them into squares or rectangles based on your preference.
How long do Key Lime Pie Bars last in the fridge?
Key Lime Pie Bars last about 4 to 5 days in the fridge. Store them in an airtight container. This keeps them fresh and tasty. If you want to keep them longer, consider freezing them.
Key lime pie bars are easy to make and fun to share. We explored the main ingredients, from the crust to the filling. Each step ensures great taste and texture. I shared tricks to avoid common mistakes and ideas for delicious variations. Proper storage tips keep your bars fresh longer. With these tricks, you can create tasty treats everyone will love. Enjoy your baking journey!