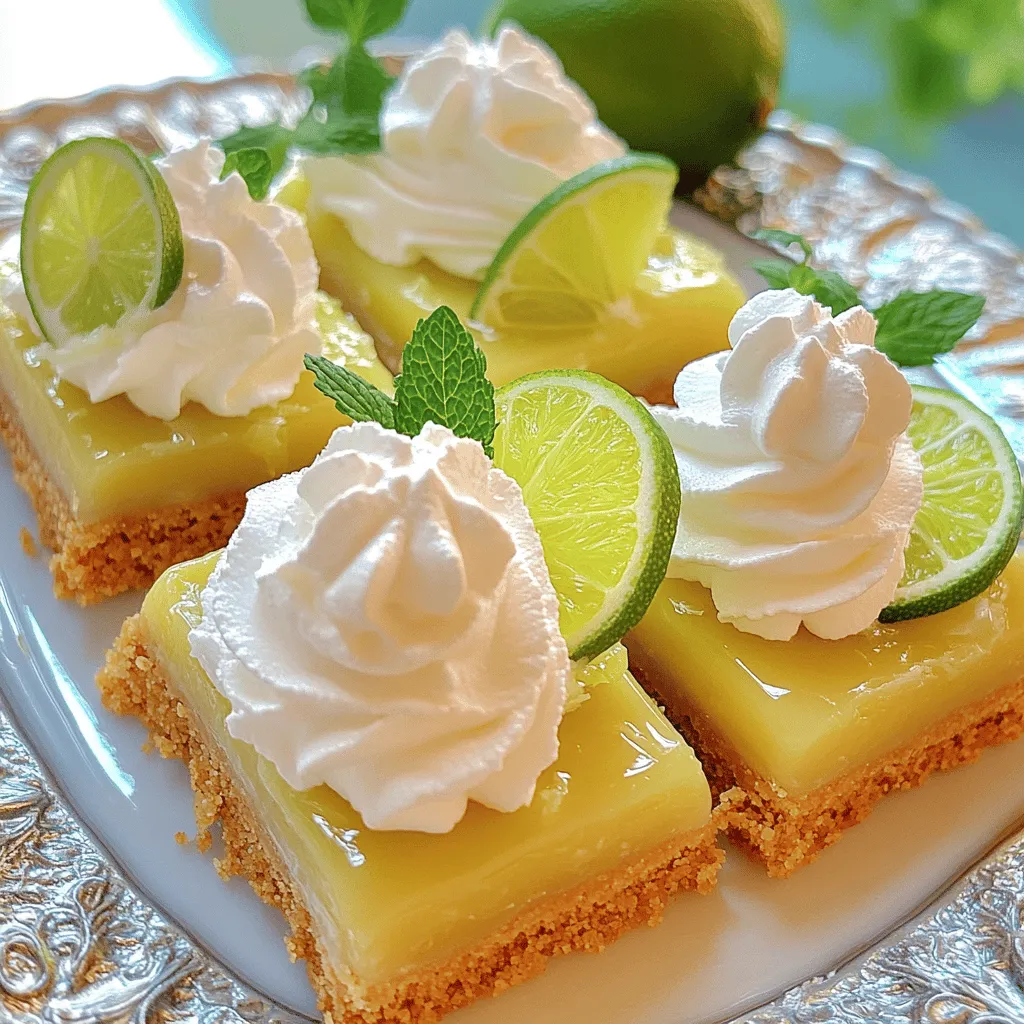
Are you ready to wow your taste buds? Key Lime Pie Bars are a sunny burst of flavor, making for a perfect dessert. In this article, I’ll guide you through each step of crafting these delightful citrus treats. From the crumbly crust to the zesty filling, you’ll learn all the tips to ensure they shine. Let’s dive into this easy recipe that’s sure to impress family and friends!
Ingredients
Main Ingredients List
– 1 cup graham cracker crumbs
– 1/4 cup granulated sugar
– 1/2 teaspoon ground cinnamon
– 1/2 cup unsalted butter, melted
– 2 (14-ounce) cans sweetened condensed milk
– 1/2 cup fresh key lime juice (or regular lime juice)
– 1 tablespoon lime zest
– 4 large egg yolks
– 1 cup heavy whipping cream
– 2 tablespoons powdered sugar
– Lime slices, for garnish
– Fresh mint leaves, for garnish
Accurate Measurements
For great Key Lime Pie Bars, measure accurately. Use a dry measuring cup for dry items. Level off the top with a straight edge. For liquids, use a liquid measuring cup. Pour until the liquid reaches the desired line. This will keep your bars from being too runny or too thick. Fresh ingredients make a big difference. Fresh key limes taste better than bottled juice. Always check the date on your cream for the best flavor.
Special Ingredient Notes
When choosing limes, key limes are best. They have a unique, tart taste that shines in this recipe. If you can’t find them, regular limes work too. For dietary needs, you can swap sweetened condensed milk with coconut milk. You can also use a dairy-free cream option for the whipped cream. These swaps keep the flavor while fitting your needs.
Step-by-Step Instructions
Preparation Steps
1. Preheat the oven: Start by preheating your oven to 350°F (175°C). This step is key for an even bake.
2. Making the crust: In a medium bowl, mix graham cracker crumbs, granulated sugar, and ground cinnamon. Stir these ingredients well. Slowly add melted butter. The mix should feel like wet sand. Press this mixture into a greased 9×9 inch pan. Make sure the crust is even.
Baking Steps
1. Baking the crust: Place the crust in the oven. Bake for 8-10 minutes. You want a lightly golden color. Once done, take it out and let it cool.
2. Preparing the filling: In a large bowl, whisk sweetened condensed milk, fresh key lime juice, lime zest, and egg yolks. Whisk until smooth. Make sure there are no lumps in your filling.
Final Steps
1. Baking the filling: Pour the filling over the cooled crust. Use a spatula to spread it evenly. Return the pan to the oven. Bake for 15-20 minutes. The filling should be set but still jiggle a bit in the center.
2. Cooling and chilling: Let the bars cool completely at room temperature. Once cool, put them in the fridge for at least 3 hours. Chilling helps the texture.
Now your key lime pie bars are ready for a tasty treat!Enjoy!
Tips & Tricks
Perfecting the Recipe
To make great Key Lime Pie Bars, avoid these common mistakes:
– Overmixing the filling: Whisk just until smooth. Too much mixing adds air and can make the bars puffy.
– Not cooling the crust: A hot crust can lead to a soggy bottom. Always let it cool.
– Using old ingredients: Fresh key limes or lime juice makes a big difference in taste.
Ensure your crust is firm by:
– Pressing down hard: Use the back of a measuring cup to compact the crust.
– Baking long enough: A golden color means it’s ready. This will help keep it firm.
Whipped Cream Secrets
Making the perfect whipped cream is easy. Here’s how you do it:
– Chill your bowl and beaters: Cold tools help the cream whip faster.
– Use heavy whipping cream: This has the right fat content for stiff peaks.
For flavoring your whipped cream, try:
– Adding vanilla extract: Just a teaspoon will enhance the taste.
– Zesting a lime: This adds a fresh twist that pairs well with the bars.
Presentation Ideas
Creative plating options can impress your guests. Here are some ideas:
– Use a decorative platter: Arrange the bars neatly for an eye-catching look.
– Drizzle lime juice: A light drizzle over the whipped cream adds a zesty touch.
Using garnishes effectively can enhance your dish:
– Garnish with lime slices: Place them on top for a pop of color.
– Add fresh mint leaves: These can brighten the plate and add flavor.Enjoy making your dessert!
Variations
Gluten-Free Option
To make gluten-free key lime pie bars, swap the graham cracker crumbs with gluten-free graham cracker crumbs or almond flour. Both options work well. If using almond flour, add a bit of coconut oil to help bind the crust. This keeps the crust firm and delicious.
Vegan Key Lime Bars
To create vegan bars, replace the egg yolks with flaxseed meal or silken tofu. For the creaminess, use coconut cream instead of heavy whipping cream. You can also find vegan sweetened condensed milk at stores or make your own with coconut milk and sugar. This way, you keep the flavor and texture rich without dairy.
Different Flavor Ideas
You can change the flavor by adding shredded coconut to the crust. This gives a tropical twist. For a citrus mix, try using blood oranges or tangerines in place of some lime juice. Mixing different flavors adds fun and surprises to each bite. Feel free to experiment with your favorite citrus fruits!
Storage Info
How to Store
To keep your Key Lime Pie Bars fresh, place them in an airtight container. Store them in the refrigerator. This helps maintain their creamy texture. If you want to save them for later, you can freeze them. Cut the bars first and wrap them tightly in plastic wrap. Place the wrapped bars in a freezer bag, removing as much air as possible.
Shelf Life
When stored properly, these bars last up to one week in the fridge. For the best taste, eat them within three days. If frozen, they can stay good for about three months. Look for signs of spoilage. If you see any mold or an off smell, it’s best to throw them away. Freshness is key for the best flavor!
Reheating Instructions
You can serve these bars chilled or at room temperature. I prefer them cold, as it enhances the flavors. If you want them at room temperature, take them out of the fridge for about 30 minutes before serving. This way, the creamy filling softens a bit, making every bite even more delightful.
FAQs
How long do Key Lime Pie Bars last in the fridge?
Key lime pie bars can last about one week in the fridge. Store them in an airtight container to keep them fresh. If you see any signs of moisture or texture change, it’s best to toss them. Always check for any odd smells or discoloration before eating.
Can I make these bars ahead of time?
Yes, you can prepare these bars ahead of time. I recommend making them a day before you plan to serve. Once baked and cooled, chill them in the fridge. This allows the flavors to meld beautifully. Just remember to add the whipped cream right before serving for the best texture.
Is it necessary to use fresh lime juice?
Using fresh lime juice is key for flavor. It brings a bright, zesty taste that bottled juice can’t match. Fresh juice enhances the overall experience of the dessert. Plus, the texture benefits from the natural acidity of fresh limes. If you’re in a pinch, bottled juice works, but fresh is best!
Key lime pie bars are simple and delicious. You learned about the main ingredients, how to measure them, and the best methods to prepare and bake. I shared tips to avoid mistakes and make the perfect whipped cream. You can even explore gluten-free and vegan options to suit your needs.
Remember, using fresh ingredients and proper storage keeps your bars tasty. With these insights, you can create delicious treats for any occasion. Enjoy making and sharing these delightful key lime pie bars!