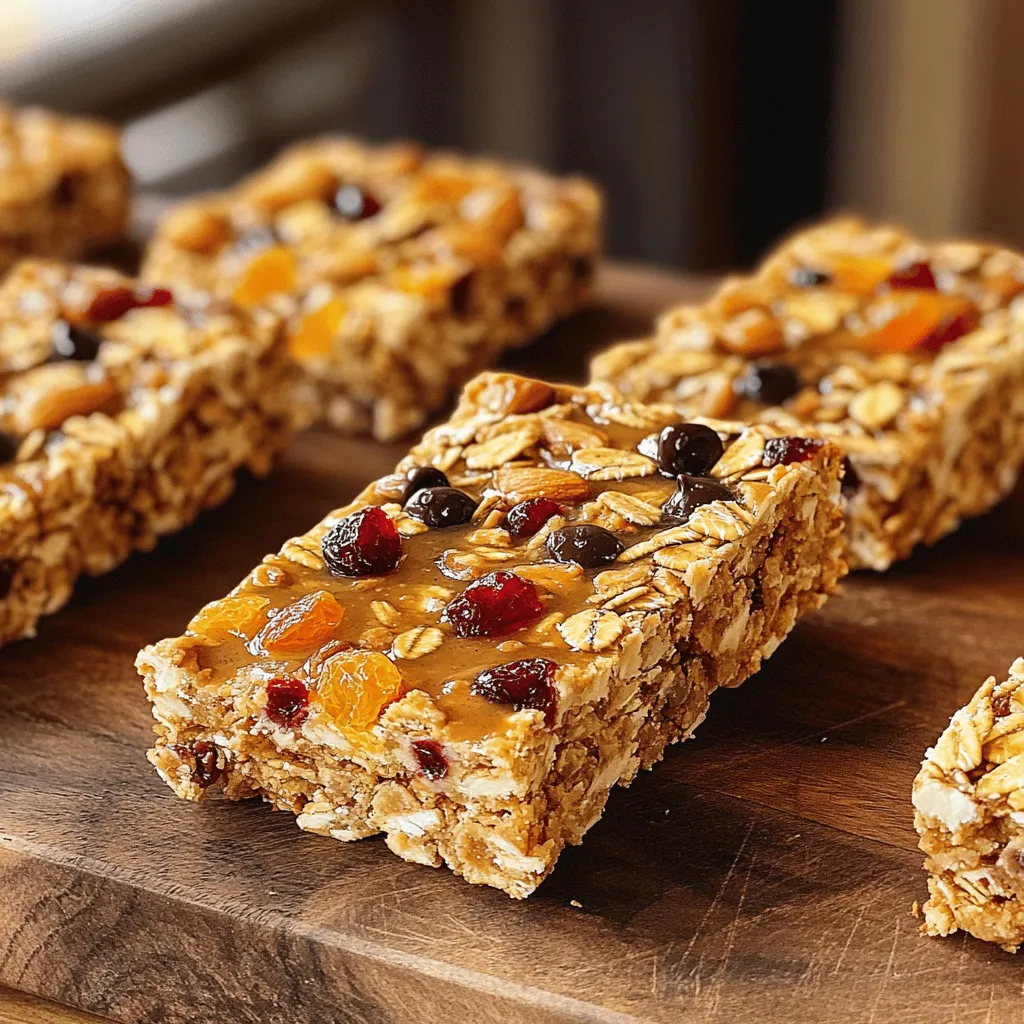
Are you tired of store-bought snacks loaded with sugar? It’s time to take matters into your own hands! In this easy recipe, I will show you how to make delicious homemade granola bars that are healthy and tasty. With just a few simple ingredients, you can create a perfect snack for any time of day. Let’s dive into the world of homemade snacking and satisfy your cravings with something wholesome!
Ingredients
Complete List of Ingredients
Here is what you need for my homemade granola bars:
– 2 cups rolled oats
– 1 cup mixed nuts (almonds, cashews, walnuts, coarsely chopped)
– 1/2 cup honey or maple syrup
– 1/4 cup creamy peanut butter or almond butter
– 1/2 cup dried fruits (choose from cranberries, apricots, or raisins)
– 1/4 cup mini dark chocolate chips (optional for a sweet crunch)
– 1/2 teaspoon pure vanilla extract
– 1/4 teaspoon sea salt
– 1/4 teaspoon ground cinnamon
Ingredient Substitutions and Options
You can mix things up with these options:
– Nuts: Use your favorite nuts. Pecans or hazelnuts work well, too.
– Sweeteners: Swap honey for agave syrup or brown sugar for a different taste.
– Nut Butters: Almond butter is a great choice if you want a nutty flavor.
– Dried Fruits: Try banana chips or coconut flakes for a tropical twist.
– Chocolate: Use white chocolate chips or omit them for a healthier option.
Nutritional Information
Each granola bar has about:
– Calories: 150
– Protein: 4 grams
– Fat: 7 grams (mostly healthy fats from nuts)
– Carbohydrates: 20 grams
– Fiber: 2 grams
These bars are a great snack option. They give you energy without added junk.Enjoy your healthy snacking!
Step-by-Step Instructions
Preparation Steps
First, you need to prep your baking dish. Preheat your oven to 350°F (175°C). Line an 8×8 inch baking dish with parchment paper. Leave some paper hanging over two sides. This helps you lift the bars out later.
Next, in a large bowl, mix your dry ingredients. Add 2 cups of rolled oats, 1 cup of mixed nuts, 1/4 teaspoon of sea salt, and 1/4 teaspoon of ground cinnamon. Stir until the mix is even.
Then, you will make the sticky blend. In a microwave-safe bowl, combine 1/2 cup of honey or maple syrup and 1/4 cup of creamy peanut butter. Heat it for about 30 seconds. Stir until it is smooth. Now, add 1/2 teaspoon of pure vanilla extract. Mix again.
Baking Instructions
Now, pour the sticky blend over the dry mix. Stir it well until all the oats and nuts are coated. If you want to add some sweetness, fold in 1/2 cup of dried fruits and 1/4 cup of mini dark chocolate chips.
Transfer the mixture to your prepared baking dish. Use a spatula or your damp hands to press it down firmly. Make it as even as you can.
Now, place the dish in the oven. Bake for 20 to 25 minutes. Look for a light golden brown color on the edges.
Cooling and Cutting Directions
After baking, take the dish out and let it cool completely. This step is important! Once cool, lift the whole mixture out using the parchment paper. Place it on a cutting board.
Now, it’s time to cut your bars. Use a sharp knife to slice them into your desired size. Store the granola bars in an airtight container at room temperature for one week. For longer freshness, put them in the fridge.
Tips & Tricks
How to Perfect the Texture
To get the best texture, focus on the mix. Use fresh oats and nuts. This keeps the bars chewy yet firm. Press the mixture down tightly in the pan. This helps the bars hold together. Bake them until the edges are golden brown. This gives a nice crunch. Let them cool completely before cutting.
Common Mistakes to Avoid
One big mistake is adding too many dried fruits. This can make the bars too soft. Another mistake is not pressing the mix firmly. If it’s loose, the bars might fall apart. Also, avoid using old nuts. Fresh nuts add flavor and crunch. Lastly, don’t skip the sea salt. It enhances all the flavors.
Enhancing Flavor with Additions
You can add many fun ingredients to change the flavor. Try adding seeds like chia or flax for extra nutrition. You can also mix in spices like nutmeg or ginger for warmth. Dried coconut gives a tropical twist. If you love chocolate, add more mini dark chocolate chips. Each of these additions can make your bars unique and tasty.

Variations
Different Nut and Seed Combinations
You can change the nuts and seeds in your granola bars. Use what you love! Try almonds, cashews, or walnuts. Each nut adds a unique taste. For seeds, pumpkin or sunflower work well. Mix and match until you find your favorite combo!
Flavoring Options (spices, extracts, etc.)
Adding spices and extracts can make your granola bars special. Cinnamon gives warmth. Nutmeg adds depth. You can also try vanilla or almond extract for a sweet note. A pinch of salt balances the flavors. Experiment with what you have at home for fun new tastes!
Allergy-Friendly Alternatives
If you have allergies, it’s easy to adapt this recipe. Swap nuts for seeds like sunflower or pumpkin. Use sunflower butter instead of peanut or almond butter. For sweetness, try agave syrup or brown rice syrup. Always check labels to avoid allergens. This way, everyone can enjoy your homemade treat!
Storage Info
Best Practices for Storing Granola Bars
I recommend storing your granola bars in an airtight container. This keeps them fresh and tasty. If you leave them out, they may become dry and lose their flavor. For best results, place parchment paper between layers. This helps prevent them from sticking together. Try to keep them in a cool, dark place, like a pantry or cupboard.
How to Freeze for Long-Term Storage
Freezing granola bars is easy and a great way to make them last. First, cut the bars into your desired size. Wrap each bar tightly in plastic wrap or foil. Then, place them in a freezer-safe bag. Be sure to label it with the date. You can freeze them for up to three months. When you’re ready to eat, just take out a bar and let it thaw at room temperature.
Signs of Spoilage
Check your granola bars for signs of spoilage before eating. If they smell off or have an unusual color, it’s best to toss them. Also, if you notice mold or an odd texture, do not eat them. Fresh granola bars should be chewy and have a pleasant nutty aroma.
FAQs
How do I make homemade granola bars crunchy?
To make your granola bars crunchy, bake them longer. Aim for a golden brown color. Press the mixture firmly into the pan before baking. This helps the bars hold together and stay crunchy. Let them cool completely before cutting. If they seem soft, return them to the oven for a few extra minutes.
Can I make these granola bars gluten-free?
Yes, you can easily make gluten-free granola bars. Simply choose certified gluten-free oats. Many brands offer gluten-free oats that are safe for those with gluten sensitivity. You can also use gluten-free nut butter. This way, you can enjoy tasty snacks without worry.
What is the best way to cut granola bars?
To cut granola bars, first let them cool completely. Lifting the bars out using the parchment paper helps. Place them on a cutting board. Use a sharp knife to cut them into squares or rectangles. For clean cuts, wipe the knife with a damp cloth between cuts. This makes sure the bars stay neat and pretty.
In this blog post, we covered how to make the best granola bars. We explored each ingredient, shared step-by-step instructions, and provided tips for perfecting texture and flavor. We also discussed variations to fit your taste and needs, plus storage tips to keep them fresh. Remember, you can make these bars your own by adding different flavors or using allergy-friendly options. Enjoy your tasty and healthy treat, and keep experimenting to find your perfect blend!