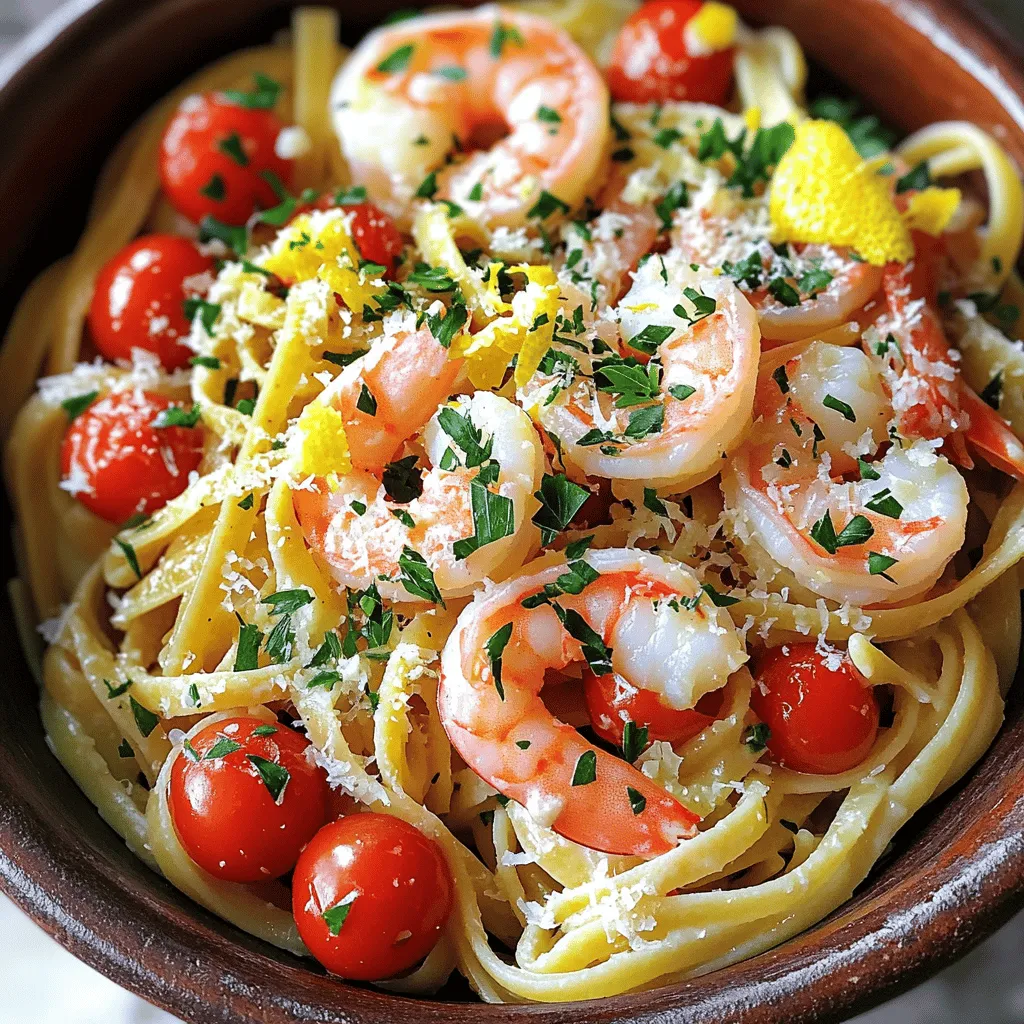
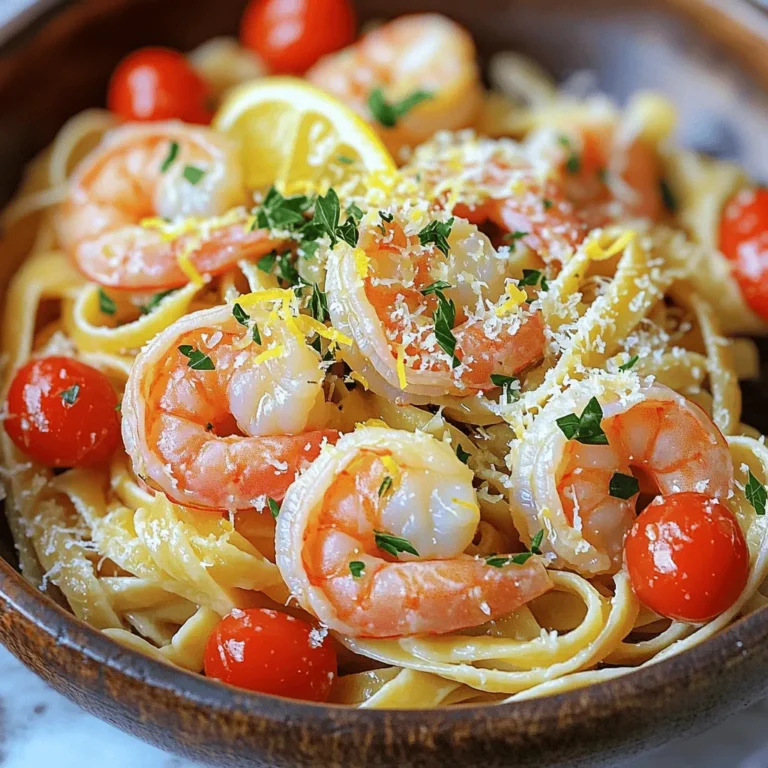
Looking for a quick and tasty dinner idea? Garlic shrimp pasta is the answer! It combines large shrimp, garlic, and fresh cherry tomatoes in a simple, savory dish. This easy recipe is perfect for busy nights and tastes amazing. In this article, I’ll share the ingredients, step-by-step instructions, and tips to make it just right. Let’s dive in and get cooking!
Ingredients
Main Ingredients
– 8 oz linguine or spaghetti
– 1 lb large shrimp, peeled and deveined
– 4 tablespoons unsalted butter, divided
Flavor Enhancers
– 4 cloves garlic, minced
– 1 teaspoon red pepper flakes (adjust to taste)
– 1 lemon, juiced and zested
Fresh Elements
– 1 cup cherry tomatoes, halved
– ¼ cup fresh parsley, chopped
– Salt and pepper to taste
I love this dish because it blends simple ingredients into a fresh meal. The pasta serves as a base, while the shrimp adds a nice protein boost. Unsalted butter gives richness to the sauce and helps the garlic shine.
Garlic is a key flavor here. I use minced garlic for a strong aroma. Red pepper flakes bring just the right heat. You can adjust them based on your spice level. Fresh lemon juice and zest add brightness.
Cherry tomatoes bring sweetness and color. When cooked, they burst, mixing with the sauce. Fresh parsley not only adds a pop of green but also a fresh taste. Finally, salt and pepper balance all the flavors.
Step-by-Step Instructions
Cooking the Pasta
First, you need to boil salted water in a large pot. When the water boils, add your linguine or spaghetti. Cook it until it is al dente, which takes about 8-10 minutes. Before you drain the pasta, reserve half a cup of the pasta water. This water adds flavor and helps bind the sauce later. After that, drain the pasta and set it aside. Keep it warm while you prepare the rest.
Sautéing the Shrimp
Now, grab a large skillet and heat two tablespoons of butter over medium heat. Once the butter melts and bubbles, add the large shrimp. Season the shrimp with salt, pepper, and red pepper flakes for a little kick. Cook them for 2-3 minutes on each side until they turn pink and opaque. After cooking, carefully remove the shrimp from the skillet and place them on a plate.
Creating the Garlic Sauce
In the same skillet, without cleaning it, add the remaining two tablespoons of butter. Then, add the minced garlic. Sauté the garlic for about one minute until it smells great and starts to soften. Be careful not to let it burn! Next, introduce the halved cherry tomatoes to the skillet. Cook for another 3-4 minutes until the tomatoes soften and their skins burst. This will make a tasty sauce.
Combining Ingredients
Now it’s time to bring everything together. Return the cooked shrimp to the skillet with the garlic sauce. Add the drained pasta, reserved pasta water, lemon juice, and lemon zest. Toss everything together gently over medium heat for about 2 minutes. This helps blend all the flavors. Finally, stir in the chopped parsley and taste. Adjust the seasoning with more salt or pepper if needed. Serve this delicious dish right away. For an extra touch, you can sprinkle some grated Parmesan cheese on top.
Tips & Tricks
Perfecting Shrimp Cooking
To know when shrimp is done, look for a pink hue. The shrimp should curl into a C shape. If it looks grey or curls tightly, it is overcooked. Avoid cooking shrimp too long; it takes about 2-3 minutes per side. Common mistakes include not thawing frozen shrimp fully or overcrowding the pan. Both can lead to uneven cooking. Give each shrimp some space in the skillet.
Pasta Cooking Tips
Cooking pasta to al dente is key. This means it should be firm to the bite. Overcooked pasta can become mushy. To prevent sticky pasta, stir it often while cooking. Adding a little olive oil to the water can help. Be sure to reserve some pasta water before draining. This starchy water helps to bind the sauce later.
Serving Suggestions
For an ideal presentation, serve the pasta in shallow bowls. This lets the colorful shrimp and tomatoes shine. Top with fresh parsley for a pop of green. A lemon wedge on the side adds zest and charm. Pair your dish with a crusty bread or a glass of white wine to enhance your meal. These simple touches make your garlic shrimp pasta feel special.

Variations
Creamy Garlic Shrimp Pasta
To make creamy garlic shrimp pasta, add heavy cream to the recipe. Use about 1 cup of cream after cooking the garlic. Stir in the cream with the garlic before adding the shrimp. This change adds a rich texture and flavor. You can also use half-and-half for a lighter option. Remember to adjust the heat to keep the cream from boiling. It should gently simmer to blend well with the garlic.
Spicy Garlic Shrimp Pasta
If you like heat, try spicy garlic shrimp pasta. You can add more red pepper flakes for a kick. For extra spice, consider using diced jalapeños or a splash of hot sauce. The heat level is up to you. If you want a milder taste, remove the seeds from the peppers. You can also swap shrimp for spicy sausage for a different flavor.
Vegetarian Alternatives
For a vegetarian version, substitute shrimp with protein-rich options. Tofu or chickpeas work great. Both provide a nice texture and soak up flavors well. To keep the dish fresh, use seasonal veggies like zucchini or bell peppers. You can also add a splash of soy sauce for depth. Adjust the garlic and lemon to enhance the flavors in this version.
Storage Info
Refrigeration Guidelines
To store leftovers, let the pasta cool first. Place it in an airtight container. Keep it in the fridge for up to three days. This helps keep the flavors fresh. Before serving, reheat gently on the stove or in the microwave. Add a splash of water or olive oil to keep it moist.
Freezing Instructions
Garlic shrimp pasta can freeze well, but shrimp may change texture. If you want to freeze it, do so without the shrimp. Store the pasta and sauce together in a freezer-safe bag. It lasts up to three months. To reheat, thaw it in the fridge overnight. Warm it in a skillet, adding a little water for the best taste.
Recommended Storage Containers
Use glass or BPA-free plastic containers for meal prep. These help keep the pasta fresh. Avoid using metal containers, as they can react with the food. When storing, make sure the lid seals well. This keeps air out and flavors in. For extra freshness, place a paper towel in the container to absorb moisture.
FAQs
How do I prevent the shrimp from becoming rubbery?
To keep shrimp tender, do not overcook them. Cook shrimp for 2-3 minutes on each side until they turn pink. Remove them from heat as soon as they are done. This quick cooking time helps keep shrimp juicy and soft.
Can I use frozen shrimp for this recipe?
Yes, you can use frozen shrimp. Thaw them first by placing them in cold water. Once thawed, pat them dry to remove excess moisture. This helps them cook evenly and prevents extra water from diluting the sauce.
What side dishes pair well with garlic shrimp pasta?
Garlic shrimp pasta works well with many sides. Here are some tasty options:
– A simple green salad
– Garlic bread for dipping
– Steamed broccoli or asparagus
These sides add color and flavor to your meal.
How can I enhance the flavors in this recipe?
You can boost flavors by adding a splash of white wine when cooking the garlic. Fresh herbs like basil or thyme also add depth. If you like heat, try adding more red pepper flakes. A sprinkle of lemon zest right before serving brightens the dish.
Is this garlic shrimp pasta gluten-free?
This garlic shrimp pasta is not gluten-free if you use regular linguine or spaghetti. To make it gluten-free, choose gluten-free pasta made from rice or corn. These options keep the dish tasty and enjoyable for everyone.
This blog post covered how to make delicious garlic shrimp pasta. You learned about the main ingredients, flavors, and fresh elements that bring the dish to life. The step-by-step guide made cooking easier, while tips helped avoid common mistakes. Variations showed you how to customize the recipe, and storage info ensures your leftovers taste great.
In my experience, with practice, you’ll master this dish. Enjoy sharing it with friends and family!


