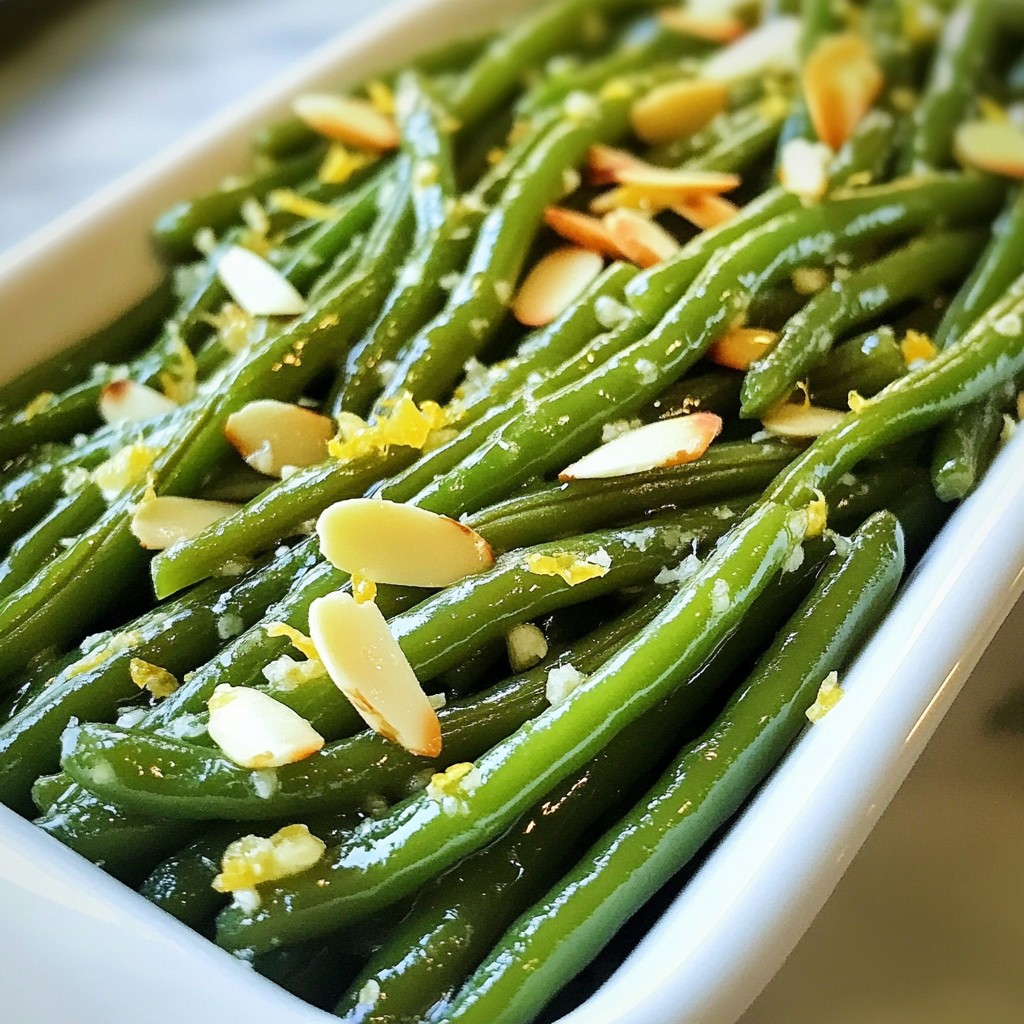
Garlic Butter Green Beans are a simple, tasty side dish you can make in minutes. With just a few fresh ingredients, you can transform plain green beans into a flavor-packed treat. In this guide, I'll show you how to make this dish, plus share tips for storage and tasty variations. Whether you’re an expert cook or a beginner, you’ll find it easy to add this dish to your meals. Let's dive in!
Why I Love This Recipe
- Fresh and Vibrant: This recipe highlights the natural beauty and flavor of fresh green beans, making them the star of the dish.
- Quick and Easy: With a total prep and cooking time of just 20 minutes, this recipe is perfect for busy weeknights.
- Flavorful Twist: The combination of garlic, lemon, and butter creates a mouthwatering flavor that elevates simple green beans.
- Nutty Crunch: Toasted slivered almonds add a delightful crunch that complements the tender green beans beautifully.
Ingredients
Complete List of Ingredients
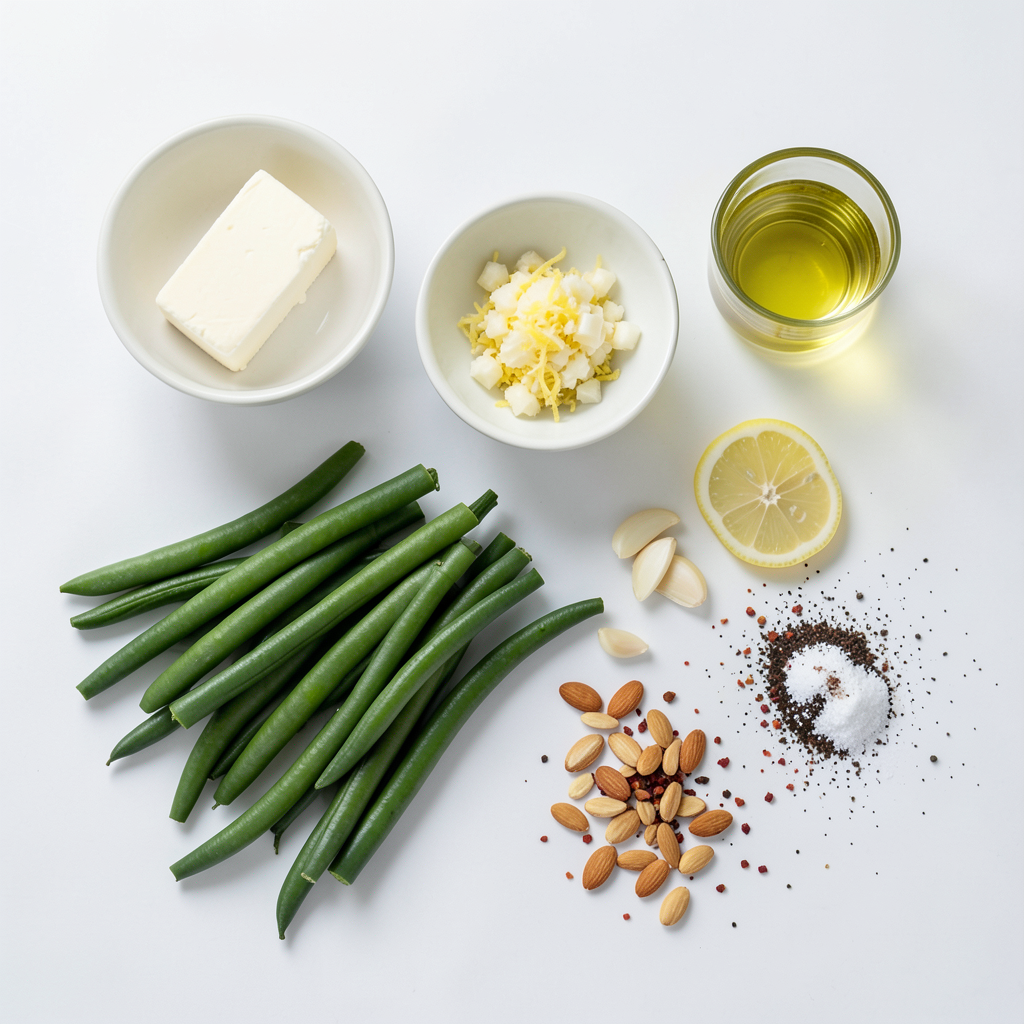
To make garlic butter green beans, you need:
- 1 pound fresh green beans, trimmed and cleaned
- 4 tablespoons unsalted butter, cut into pieces
- 4 cloves garlic, finely minced
- 1 teaspoon freshly grated lemon zest
- 1 tablespoon freshly squeezed lemon juice
- 1 teaspoon extra virgin olive oil
- Sea salt and freshly cracked pepper, to taste
- ¼ teaspoon red pepper flakes (optional, for a hint of heat)
- 2 tablespoons slivered almonds, toasted (for garnish)
Ingredient Substitutions
You can swap some ingredients if needed:
- Use olive oil instead of butter for a dairy-free option.
- Try garlic powder instead of fresh garlic if you’re short on time.
- For a nut-free version, omit the slivered almonds or use pumpkin seeds.
- Lemon juice can be replaced with lime juice for a different zest.
Seasonal Variants of Ingredients
You can adjust this dish based on what’s in season:
- In spring, use tender young green beans for a sweeter taste.
- In summer, add fresh cherry tomatoes for color and flavor.
- In fall, toss in roasted butternut squash for a hearty twist.
- In winter, consider using frozen green beans if fresh ones are not available.
These options keep the dish fresh and exciting!
Step-by-Step Instructions
Preparation Steps for Green Beans
First, wash the fresh green beans under cool running water. This step makes sure they are clean and ready to cook. Next, trim the ends of the green beans. This helps them look neat on the plate. Set the prepared beans aside while you get the water ready.
In a large pot, bring water to a rolling boil. Don't forget to add a good amount of salt to the water. This helps the beans stay bright and tasty. Once the water is boiling, carefully add the green beans. Blanch them for about 3 to 4 minutes. You want them to turn a vibrant green but still be crisp.
After blanching, drain the green beans in a colander. Then, transfer them to a bowl filled with ice water. This ice bath stops the cooking process and keeps their bright color. Let them cool for a few minutes, then drain again and set aside.
Cooking the Garlic Butter Mixture
Now it’s time to make the garlic butter. In a large skillet, melt the butter over medium heat. Keep an eye on it so it gets bubbly but doesn't brown. Once melted, add the olive oil. This blend helps the butter stay nice and smooth.
Add the finely minced garlic to the skillet. Sauté for about 1 to 2 minutes. Stir often until the garlic smells good and turns lightly golden. Be careful not to let it burn, as burnt garlic can taste bitter.
Final Assembly and Serving Suggestions
Next, toss in the blanched green beans. Pour in the lemon zest and lemon juice, too. Gently stir everything together so the green beans get coated with that tasty garlic butter mixture.
Season the dish with sea salt and freshly cracked pepper. If you like a bit of heat, sprinkle in some red pepper flakes. Sauté for an additional 3 to 5 minutes. This allows the green beans to heat through and soak up all those wonderful flavors.
Once done, remove the skillet from heat. Carefully transfer the green beans to a serving dish. For a lovely touch, garnish with toasted slivered almonds. This adds a nice crunch and nutty flavor. Serve right away and enjoy this flavorful side dish!
Tips & Tricks
Blanching Techniques for Perfect Green Beans
Blanching makes green beans bright and crisp. Start by boiling water in a large pot. Add a good amount of salt to the water. Once it boils, add the green beans. Blanch them for 3 to 4 minutes. You want them bright green but still crunchy. After the time is up, drain the beans right away. Quickly put them in a bowl of ice water. This stops cooking and keeps their color. Let them sit in the ice bath for a few minutes. Then drain them again. This technique makes your green beans pop!
Enhancing Flavor with Additional Ingredients
You can easily add more flavor to your garlic butter green beans. Consider adding some red pepper flakes for a spicy kick. A sprinkle of freshly grated Parmesan cheese brings richness. You can also squeeze a bit more lemon juice for brightness. Toasted nuts, like slivered almonds, add crunch and depth. If you like, try adding some fresh herbs, like parsley or thyme. These small tweaks make a big difference in taste!
Common Mistakes to Avoid
One common mistake is overcooking the garlic. It can turn bitter if left too long. Keep an eye on it and remove it from heat as soon as it’s golden. Another mistake is not salting the water enough when blanching. Salt helps keep the beans vibrant and enhances their flavor. Be careful not to skip the ice bath. It is crucial for keeping the green beans bright and crisp. Lastly, don’t rush the sautéing step. Let the beans soak up all the garlic butter goodness for the best taste.
Pro Tips
- Blanching for Brightness: Blanching the green beans before sautéing helps to lock in their vibrant color and crispness. Make sure to plunge them into an ice bath immediately after cooking to stop the cooking process.
- Butter and Oil Combination: Mixing butter with olive oil not only enhances the flavor but also prevents the butter from burning, allowing for a perfect sauté without bitterness.
- Garlic Timing: Add garlic to the skillet after the butter has melted but before it browns. This ensures you get the maximum flavor without the risk of burning the garlic, which can turn bitter.
- Garnishing with Nuts: Toasted slivered almonds not only add a crunchy texture but also enhance the dish’s flavor profile. Toast them lightly in the skillet before garnishing for an extra nutty aroma.
Variations
Vegan Version of Garlic Butter Green Beans
You can easily make garlic butter green beans vegan. Simply swap the butter for vegan butter or olive oil. Use the same amount. The flavors will still shine through. You can also add nutritional yeast for a cheesy touch. This adds great flavor and nutrients.
Adding Protein: Chicken or Shrimp Variants
Want to make this dish a meal? Adding protein is simple. For chicken, cut it into small pieces. Sauté it in the skillet before adding the garlic. Cook until golden brown. For shrimp, add it after the garlic is fragrant. Cook until the shrimp turns pink. Both options add heartiness.
Spicing It Up: Alternative Seasonings
Feel free to change the seasonings! Try adding a teaspoon of soy sauce for a savory twist. You can also use garlic powder for a deeper garlic flavor. If you enjoy heat, add more red pepper flakes or some cayenne pepper. Each option brings a new taste to this dish.
Storage Info
How to Store Leftover Garlic Butter Green Beans
To store leftover garlic butter green beans, first let them cool down. Place them in an airtight container. Keep them in the fridge. They will stay fresh for up to three days. Make sure to label the container with the date. This way, you can track how long they have been in the fridge.
Reheating Instructions for Best Results
When it's time to reheat, I recommend using a skillet. Heat a bit of oil or butter in the pan over low heat. Add the green beans and stir gently. This helps them heat evenly. You can also add a splash of water to create steam. Cover the skillet for a few minutes. This method keeps the beans crisp and flavorful.
Freezing Green Beans for Later Use
Freezing green beans is a great way to preserve them. Start by blanching them first, just like in the recipe. Once cooled, drain and dry them well. Spread the beans on a baking sheet in a single layer. Freeze them for about an hour. After they are frozen, transfer the beans to a freezer bag. Remove as much air as possible. You can store them in the freezer for up to six months. When you're ready to use them, you can cook them straight from frozen.
FAQs
Can I use frozen green beans for this recipe?
Yes, you can use frozen green beans. They are convenient and save time. Just cook them according to package directions. However, frozen beans may be softer than fresh ones. I recommend blanching them briefly to keep some crunch.
How long can I keep garlic butter green beans in the fridge?
You can store garlic butter green beans in the fridge for up to three days. Make sure to place them in an airtight container. This helps keep them fresh and tasty. When you're ready to eat, just reheat gently on the stove.
What can I serve with garlic butter green beans?
Garlic butter green beans pair well with many dishes. Here are some ideas:
- Roast chicken for a classic combo.
- Grilled steak adds a nice touch.
- Serve with baked fish for a light meal.
- They also go great with pasta for a veggie boost.
These options make your meal balanced and full of flavor!
In this blog post, we explored making delicious garlic butter green beans. You learned about key ingredients and their substitutes. I shared step-by-step instructions to prepare and cook them perfectly. You also found tips to avoid mistakes and enhance flavors.
As you try this recipe, feel free to experiment with variations and storage tips. Enjoy your green beans knowing you can easily adjust for taste or diet. The goal is to make cooking easy and fun. Happy cooking!