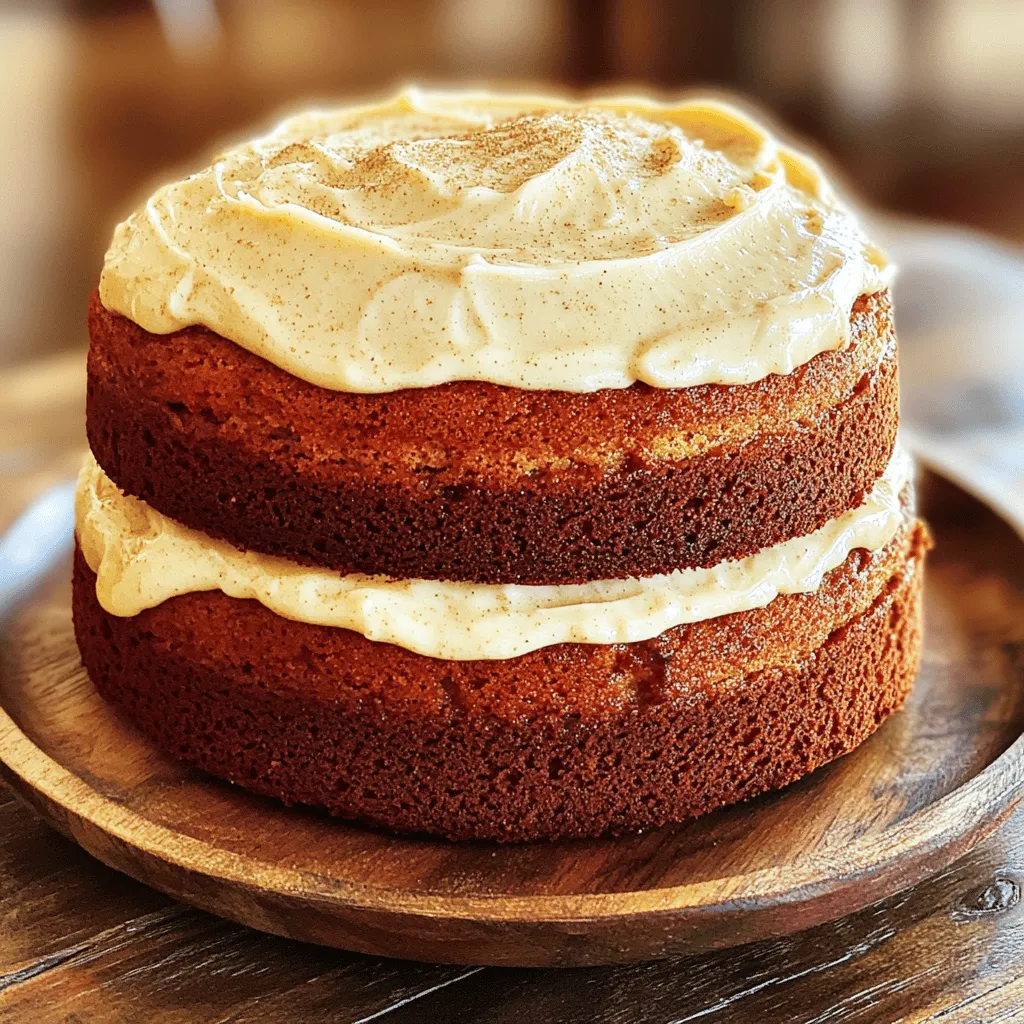
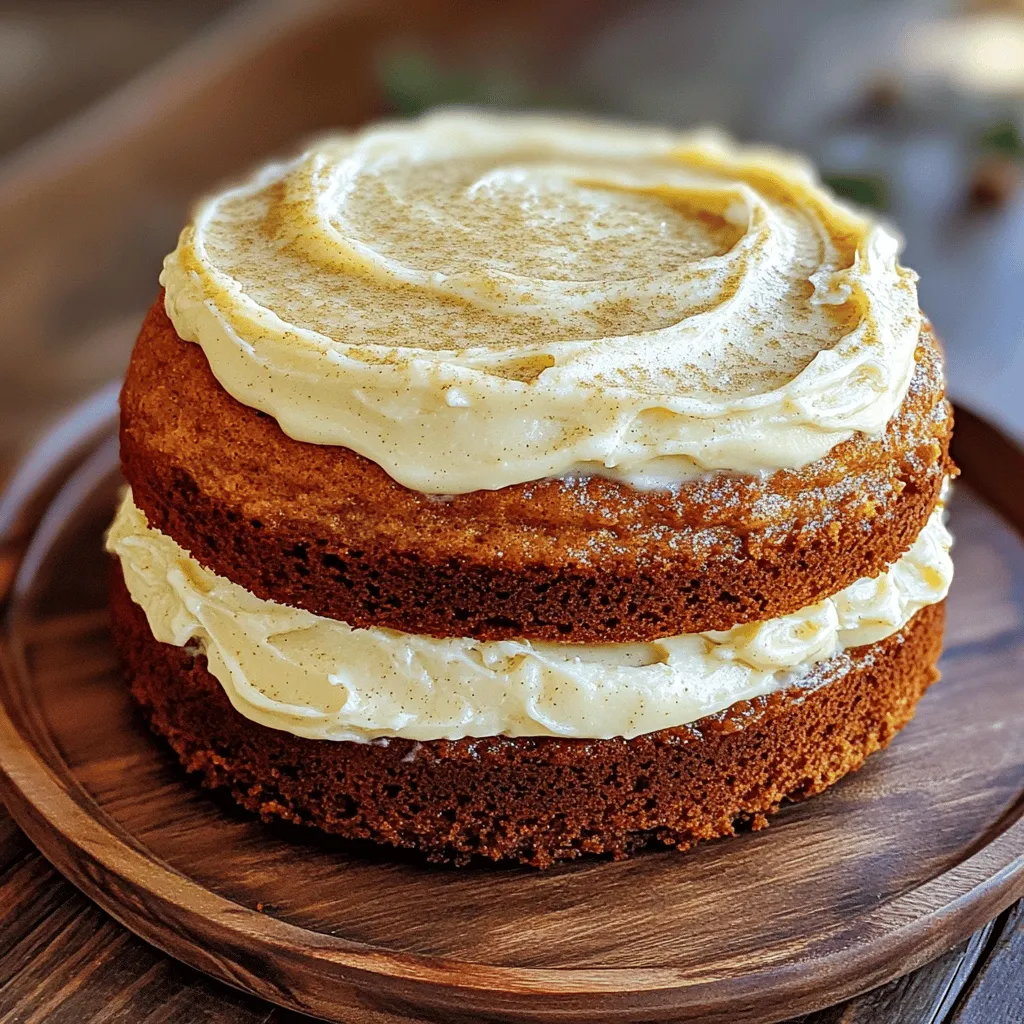
Are you ready to spice up your holiday dessert table? My Eggnog Cake recipe is here to impress! It’s rich, moist, and bursting with festive flavor. This cake is perfect for any holiday gathering, whether it’s Christmas or Thanksgiving. Plus, I’ll share tips for dietary alternatives and creative variations. Join me, and let’s bake a delightful dessert that your friends and family will love!
Ingredients
List of Ingredients
To make a delicious Eggnog Cake, you need the following ingredients:
– 2 cups all-purpose flour
– 1 ½ teaspoons baking powder
– ½ teaspoon baking soda
– ½ teaspoon salt
– 1 teaspoon ground nutmeg
– 1 teaspoon ground cinnamon
– ½ cup unsalted butter, softened to room temperature
– 1 cup granulated sugar
– 3 large eggs, at room temperature
– 1 cup non-alcoholic eggnog
– 1 teaspoon pure vanilla extract
– 1 cup powdered sugar (for frosting)
– 2 tablespoons unsalted butter, softened (for frosting)
– 2 tablespoons non-alcoholic eggnog (for frosting)
– Additional ground nutmeg for garnish
If you have dietary restrictions, here are some alternatives:
– Use gluten-free flour to make it gluten-free.
– Substitute eggs with flaxseed meal or applesauce for a vegan option.
– For a lower-sugar version, use a sugar substitute.
Measurement Conversions
When baking, it’s crucial to measure ingredients accurately. Here are some helpful conversions:
– 1 cup of all-purpose flour = 120 grams
– 1 cup of granulated sugar = 200 grams
– 1 stick of butter = 113 grams
For the best results, use a kitchen scale. It ensures you get the right amount every time. When measuring flour, spoon it into the cup, then level it off with a knife. This method prevents packing, which can lead to dense cake.
Step-by-Step Instructions
Preparation Steps
1. Preheat the Oven: Set your oven to 350°F (175°C).
2. Prepare Cake Pans: Grease two 9-inch round cake pans with butter. Dust them with flour to avoid sticking.
3. Combine Dry Ingredients: In a bowl, whisk together the flour, baking powder, baking soda, salt, nutmeg, and cinnamon. Mix well and set aside.
4. Cream Butter and Sugar: In a large bowl, cream the softened butter and granulated sugar using an electric mixer. Mix on medium speed for about 3-4 minutes until light and fluffy.
5. Add Eggs and Vanilla: Add the eggs one at a time, mixing well after each. Pour in the vanilla extract and mix until combined.
6. Mix Wet and Dry Ingredients: Gradually add the dry mixture to the wet ingredients. Alternate with the eggnog. Start and end with the dry mix. Mix until just combined; do not over-mix.
Baking Process
1. Fill Cake Pans Evenly: Divide the batter between the prepared cake pans. Use a spatula to smooth the tops.
2. Bake the Cakes: Place the pans in the oven and bake for 25-30 minutes. Test for doneness by inserting a toothpick into the center; it should come out clean.
3. Cool the Cakes: After baking, let the cakes cool in the pans for 10 minutes. Then, turn them out onto wire racks to cool completely.
Frosting Preparation
1. Mix the Frosting Ingredients: While the cakes cool, make the frosting. In a clean bowl, combine powdered sugar, softened butter, and eggnog. Whisk until smooth and creamy.
2. Achieve the Perfect Consistency: If the frosting is too thick, add a little more eggnog. If it’s too runny, add more powdered sugar. You want it spreadable but not watery.
Tips & Tricks
Baking Tips
– How to avoid over-mixing: Mix the batter until just combined. Stop when no dry flour shows. This keeps your cake light and fluffy.
– Ensuring cakes rise evenly: Use room temperature ingredients. This helps the batter mix well. Always level your cake pans with a spatula.
Frosting Tips
– Techniques for smooth frosting application: Start with a crumb coat. This is a thin layer of frosting that seals in crumbs. Chill the cake before adding the final coat.
– Ideas for decorating the cake: Use a piping bag for fun designs. Top with ground nutmeg or festive sprinkles for a cheerful look.
Serving Suggestions
– Best accompaniments for Eggnog Cake: Serve with whipped cream or vanilla ice cream. They add creaminess to each bite.
– Pairing with beverages for holiday gatherings: Enjoy with hot cocoa or spiced cider. These drinks enhance the holiday spirit.
Variations
Flavor Variations
You can change the taste of your eggnog cake in fun ways. Adding chocolate gives it a rich twist. Just mix in some cocoa powder when you combine the dry ingredients. You can also add spices like ginger or cloves for a warm flavor.
Fruits can make your cake even better. Try adding chopped apples or pears for a sweet touch. You can also add cranberries for a tart burst. Just make sure to adjust the liquid in your recipe to keep the cake moist.
Dietary Variations
For those needing gluten-free options, you can swap all-purpose flour with a gluten-free blend. Look for blends that include xanthan gum for the best results. This keeps the cake fluffy and light.
If you want a vegan cake, replace the eggs with flax eggs or applesauce. Use a plant-based eggnog for the liquid. For the frosting, swap butter with vegan butter and use non-dairy milk. This way, everyone can enjoy a piece!
Themed Variations
You can make your eggnog cake for any holiday. For Christmas, add festive decorations like holly or edible glitter. For Thanksgiving, consider using pumpkin spice in the batter. This gives it a seasonal touch.
Creative decorations can also change the vibe of the cake. Use whipped cream for a fun topping or sprinkle nuts for crunch. You can find many ways to dress up your cake for any event. The choice is yours!
Storage Info
How to Store
To keep your eggnog cake fresh, use a few simple tricks. First, let the cake cool completely. Wrap it tightly in plastic wrap or foil. This helps keep moisture in and prevents drying out. You can also place it in an airtight container. Store the cake in the fridge if you plan to eat it within a week.
Recommended containers include glass or plastic cake domes. These allow you to see the cake while keeping it safe. If you use a cake box, make sure it is sealed well. This will help maintain its flavor and texture.
Freezing Instructions
If you want to save your eggnog cake for later, freezing is easy. Start by wrapping slices in plastic wrap. Make sure they are tightly sealed to avoid freezer burn. Then, place the wrapped slices in a freezer bag or an airtight container. Label the bag with the date for easy tracking.
To thaw the cake, remove it from the freezer. Place it in the fridge overnight. If you’re in a hurry, you can leave it on the counter for about 2-3 hours. This keeps the cake moist and tasty. Remember, thawed cake is best enjoyed within a few days for the best flavor.Enjoy your delicious eggnog cake!
FAQs
Common Questions
What is Eggnog Cake?
Eggnog cake is a festive dessert that tastes like classic eggnog. It usually has flavors of nutmeg and cinnamon. The cake is moist and rich, perfect for holiday gatherings.
Can I use store-bought eggnog?
Yes, you can use store-bought eggnog. It saves time and works well in the recipe. Just ensure it’s non-alcoholic if you want a family-friendly cake.
Troubleshooting
Why did my cake sink in the middle?
A cake may sink if it is underbaked. Make sure to bake until a toothpick comes out clean. It can also sink if you open the oven too soon.
What can I do if my frosting is too runny?
If your frosting is too runny, add more powdered sugar. Mix until you reach a thicker consistency. You can also chill it for a few minutes to help it set.
Serving Suggestions
How long can Eggnog Cake sit out?
Eggnog cake can sit out for up to two hours. After that, refrigerate it to keep it fresh.
Tips for serving at room temperature vs. chilled
Serving at room temperature brings out the flavors. Chilled cake is refreshing and easy to slice. I recommend trying both ways to see which you prefer.
Eggnog Cake is a festive treat, perfect for holidays. We covered ingredients, including alternatives for diets. Accurate measurements help ensure great results every time. I detailed each baking step, from mixing to frosting. Helpful tips will prevent common mistakes and elevate your cake. Remember, you can customize flavors and themes to match any celebration. Store your cake right, and it will taste fresh longer. Whether serving or freezing, follow the steps for success. Enjoy making and sharing this delightful dessert with loved ones.