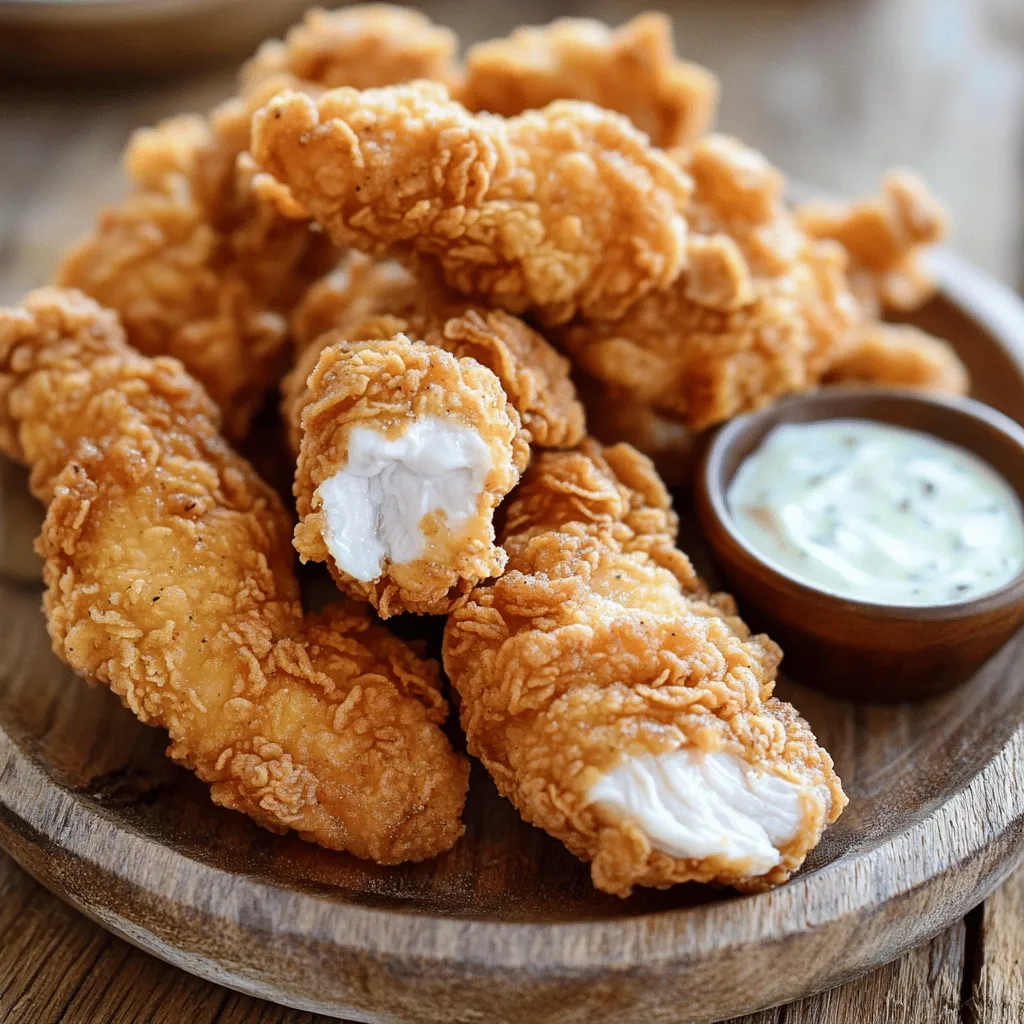
Looking for a quick and tasty dinner? You’re just a few steps away from crispy buttermilk chicken tenders that everyone will love! In this guide, I’ll show you how to marinate, coat, and fry your chicken to golden perfection. With simple ingredients and easy methods, this dinner idea will become your new go-to. Let’s dive into the secrets for making your tenders deliciously crispy!
Ingredients
To make the best crispy buttermilk chicken tenders, gather these simple ingredients:
– 1 pound chicken tenderloins
– 1 cup buttermilk
– 1 teaspoon garlic powder
– 1 teaspoon onion powder
– 1 teaspoon smoked paprika
– 1 teaspoon salt
– 1/2 teaspoon black pepper
– 1 cup all-purpose flour
– 1/2 teaspoon baking powder
– 1/2 teaspoon cayenne pepper (optional, for extra heat)
– Vegetable oil, for frying
Each ingredient plays a key role in taste and texture. The buttermilk tenderizes the chicken and adds flavor. The spices bring warmth and depth, while the flour coating ensures a crispy finish. The cayenne pepper adds a fun kick, but feel free to skip it if you prefer a milder taste.
For the frying, choose a good vegetable oil that can handle high heat. This will help achieve that golden, crispy crust we all love.
Step-by-Step Instructions
Marinating the Chicken
To start, I prepare the buttermilk marinade. I combine 1 cup of buttermilk, 1 teaspoon of garlic powder, 1 teaspoon of onion powder, 1 teaspoon of smoked paprika, 1 teaspoon of salt, and 1/2 teaspoon of black pepper in a large bowl. I whisk until it blends well. This marinade gives the chicken great flavor and makes it tender.
Next, I add 1 pound of chicken tenderloins to the bowl. I make sure each piece is fully covered in the buttermilk mix. Then, I cover the bowl tightly and place it in the refrigerator. I let it marinate for at least 1 hour. For the best taste, I recommend marinating overnight.
Preparing the Coating
While the chicken marinates, I prepare the coating. In a separate bowl, I mix 1 cup of all-purpose flour, 1/2 teaspoon of baking powder, and a pinch of salt. For a spicy kick, I can add 1/2 teaspoon of cayenne pepper. I whisk these dry ingredients together until they are well combined.
After the marinating time, I take the chicken out of the fridge. I let any excess buttermilk drip off the chicken. Then, I dredge each tenderloin in the flour mixture. I make sure to press lightly for even coverage. After coating, I place the tenders on a wire rack to rest.
Cooking the Chicken
Now, it’s time to cook! I heat about 1 inch of vegetable oil in a large skillet over medium-high heat. I wait until the oil reaches 350°F (175°C). A quick test is to drop in a little flour. If it sizzles, the oil is ready.
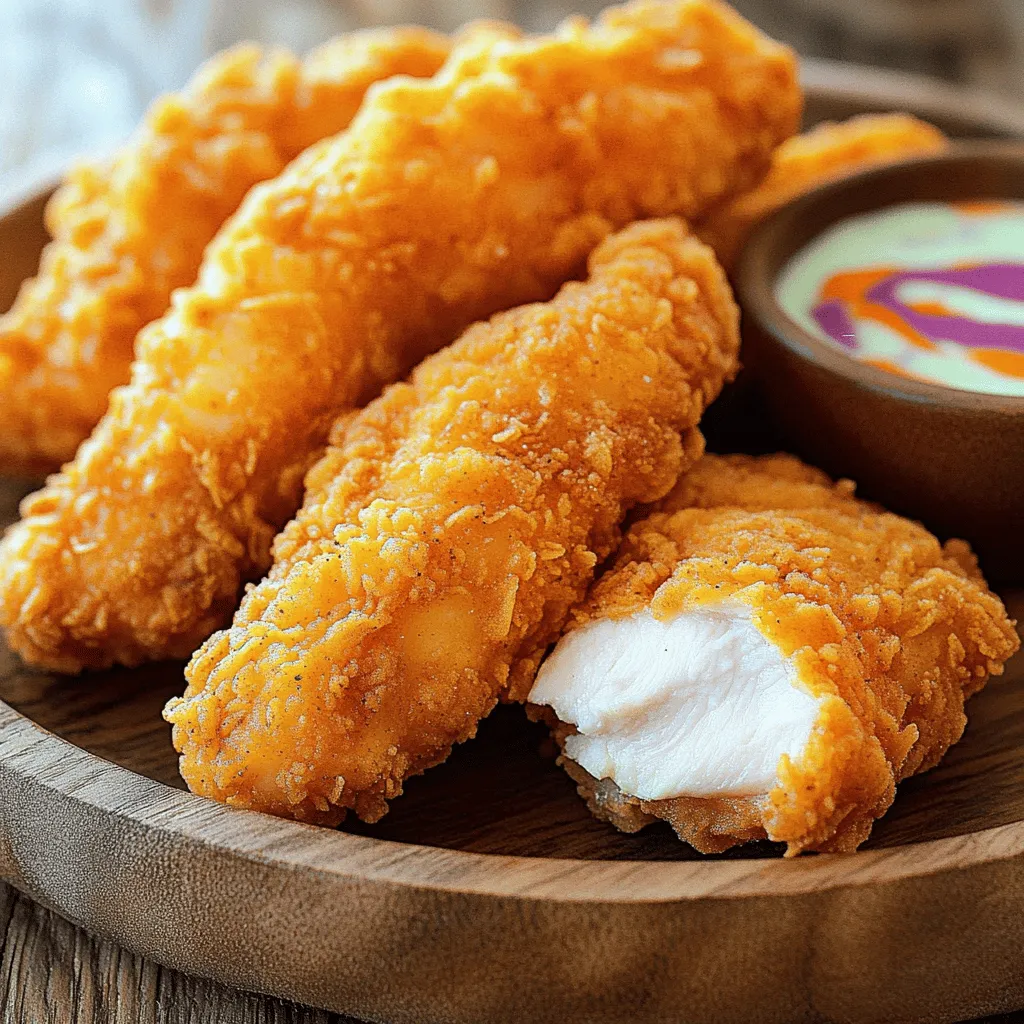
I carefully add the breaded chicken tenders to the hot oil. I avoid overcrowding the pan to ensure even cooking. I fry the tenders for about 4-5 minutes on each side. They should turn a golden brown, and their internal temperature should reach 165°F (74°C).
Once cooked, I remove the chicken tenders from the oil and place them on a plate lined with paper towels. This helps drain any excess oil. I enjoy serving these crispy buttermilk chicken tenders hot with my favorite dipping sauces.
Tips & Tricks
Achieving the Perfect Crisp
Marinating is key for great flavor. Leave the chicken in the buttermilk mix for at least one hour. For the best results, try marinating overnight. This helps the meat soak up the spices and become tender.
To keep your coating crisp, avoid wet hands. Use one hand for the wet buttermilk and the other for the dry flour mix. This will help you coat the chicken without making a mess. Let the coated tenders rest on a wire rack before frying. This helps the crust stick better.
Cooking Equipment Suggestions
Choose a heavy frying pan, like cast iron or stainless steel. These pans heat evenly and help cook the chicken well. Make sure your pan has high sides to reduce splatter.
Using a thermometer is smart. Heat the oil to 350°F (175°C). You can test the oil by dropping in a small piece of flour. If it sizzles, it’s ready! This step ensures the chicken cooks through and stays juicy.
Variations
Flavor Additions
You can change the flavor of your chicken tenders with different spices. Here are a few ideas:
– Cumin: This adds a warm, earthy taste.
– Chili powder: For a smoky, spicy kick.
– Italian seasoning: Great for a herby touch.
Want some heat? Add cayenne or hot sauce. Just a pinch of cayenne can change everything. If you like it spicy, try a splash of hot sauce in the buttermilk mix. This brings bold flavor to the dish.
Alternative Cooking Methods
You can bake your chicken if you want a healthier option. Preheat your oven to 400°F (200°C). Place the coated chicken on a baking sheet. Spray it lightly with cooking oil. Bake for about 20-25 minutes, flipping halfway through.
Air frying is another great option. Preheat your air fryer to 400°F (200°C). Cook the chicken tenders in a single layer for about 10-12 minutes. Check for that golden brown color. Both methods give you crispy chicken without all the oil.
For the full experience, try the recipe in the link for Crispy Buttermilk Chicken Tenders. It’s simple and delicious!
Storage Info
How to Store Leftovers
To keep your crispy buttermilk chicken tenders fresh, choose the right containers. I recommend using airtight containers. They help keep moisture out, which is key for crispiness. You can also use resealable plastic bags. Just make sure to squeeze out any air before sealing.
When it comes to storage, the fridge is best for short-term. Place the chicken in the fridge if you plan to eat it within three days. For longer storage, the freezer is your friend. Wrap the tenders tightly in plastic wrap and place them in a freezer bag. They can last up to three months in the freezer.
Reheating Tips
Reheating is all about restoring that lovely crunch. The oven works best for this. Preheat it to 375°F (190°C). Place the chicken tenders on a baking sheet lined with parchment paper. Heat them for about 10 to 15 minutes. This will help them regain their crispiness.
If you’re in a hurry, the microwave is an option, but it may make them soggy. If you choose this method, only heat them for about 30 to 45 seconds. You can also try reheating in a skillet. Just add a little oil and heat them over medium heat for 5 to 7 minutes. This helps to keep them crispy and delicious.
FAQs
How long should I marinate the chicken for best results?
Marinate the chicken for at least 1 hour. For the best flavor and tenderness, marinate overnight. The longer the chicken sits in the buttermilk, the more it soaks up the flavors. This time lets the spices work their magic, ensuring each bite is juicy and tasty.
Can I use something other than buttermilk?
Yes, you can use substitutes like yogurt or milk mixed with vinegar. If you use regular milk, add 1 tablespoon of vinegar for each cup. This will mimic the tangy taste of buttermilk. Another option is sour cream, which gives a rich flavor. Each substitute will change the taste slightly but still yield a delicious result.
Why are my chicken tenders not crispy?
There are a few common problems that lead to soggy chicken. First, ensure the oil is hot enough before frying. Use a thermometer to check for 350°F. Second, do not overcrowd the pan. This can lower the oil temperature and cause steaming. Lastly, let the coated chicken rest on a wire rack before frying. This helps the coating stick better and get crispy.
To sum up, we explored how to make crispy chicken tenders, from ingredients to cooking tips. You learned about marinating chicken in buttermilk and the best dry ingredients for coating. We discussed frying methods for a perfect crisp and shared variations to try. Finally, we covered storage tips and answers to common questions.
These steps help you enjoy delicious chicken tenders at home. Now, get cooking and impress everyone with your tasty results!