Classic apple pie is a warm hug on a plate. With tender apples and a flaky crust, it’s a dessert that never fails to delight. In this post, I’ll share the secret to making this timeless favorite right at home. You don’t need to be a pro baker; just follow my simple steps! Get your apron on, because I’m about to guide you in creating the most irresistible apple pie ever.
Ingredients
When I make classic apple pie, I always gather the freshest ingredients. Here’s what you need:
– 2 ½ pounds Granny Smith apples, peeled, cored, and sliced
– 1 ½ cups granulated sugar
– 2 tablespoons freshly squeezed lemon juice
– 2 teaspoons ground cinnamon
– ½ teaspoon ground nutmeg
– 1 tablespoon all-purpose flour
– 1 tablespoon unsalted butter, cut into small cubes
– 1 large egg
– 1 tablespoon milk
– 1 package of refrigerated pie crusts
Using Granny Smith apples gives the pie a perfect tartness. The sugar balances this with sweetness. Fresh lemon juice brightens the flavor and keeps the apples from browning. Cinnamon and nutmeg add warmth and spice. The flour helps thicken the filling as it bakes.
The butter adds richness that makes each bite delightful. For the crust, you can use a store-bought option or make your own. This recipe will yield a beautiful, golden pie that melts in your mouth.Enjoy every moment of making this classic dessert!
Step-by-Step Instructions
Preheat the Oven
First, preheat your oven to 425°F (220°C). This step is key for a crispy crust.
Prepare the Apple Filling
Next, grab a large mixing bowl. Add the sliced Granny Smith apples, granulated sugar, lemon juice, ground cinnamon, ground nutmeg, and flour. Toss gently until the apples are well coated. Let this sit for about 15 minutes. This process allows the apples to release their juices and enhances the flavor.
Prepare the Pie Crust
Roll out one pie crust on a floured surface. Fit it into a 9-inch pie pan. Make sure the edges hang over the rim slightly; this will help when sealing the pie.
Fill the Pie
Pour the apple filling into the pie crust. Spread it evenly. Place small cubes of butter on top of the apples. This adds richness to the pie.
Top with Second Crust
Carefully lay the second pie crust over the filling. Crimp the edges of both crusts together tightly. Use a sharp knife to cut slits in the top crust. This helps steam escape while baking.
Create the Egg Wash
In a small bowl, beat the egg and milk together. Brush this mixture generously over the top crust. This gives the pie a nice golden color.
Bake the Pie
Place the pie in the preheated oven. Bake for 15 minutes at 425°F (220°C). Then, reduce the temperature to 350°F (175°C). Continue baking for 35-45 more minutes. The apples should be tender, and the crust should be golden brown.
Cooling
Once the pie is baked, take it out of the oven. Let it cool on a wire rack for at least 30 minutes. This helps the filling set and allows for cleaner slices.
Tips & Tricks
Choosing the Right Apples
Use Granny Smith apples for the best flavor. They are tart and hold their shape well. You can mix in other apples too. For a sweeter taste, add Honeycrisps or Fujis. Aim for about 2 ½ pounds total apples for a full pie.
Achieving the Perfect Crust
A good crust makes a pie shine. Chill your pie crust before rolling it out for the best texture. Use cold butter for flakiness. Don’t overwork the dough; handle it gently. This keeps your crust light and crisp.
Tips for a Golden Finish
For a golden crust, use an egg wash. Beat one egg with a tablespoon of milk. Brush this mix on the top crust before baking. This gives it a nice shine and color. Also, make slits in the top crust to let steam escape.
Ways to Avoid Soggy Bottom Crust
To keep your bottom crust crisp, pre-bake it for a few minutes. This helps seal in moisture. Another trick is to sprinkle flour or cornstarch on the bottom before adding the filling. This absorbs excess juice and keeps your crust from getting soggy.
Variations
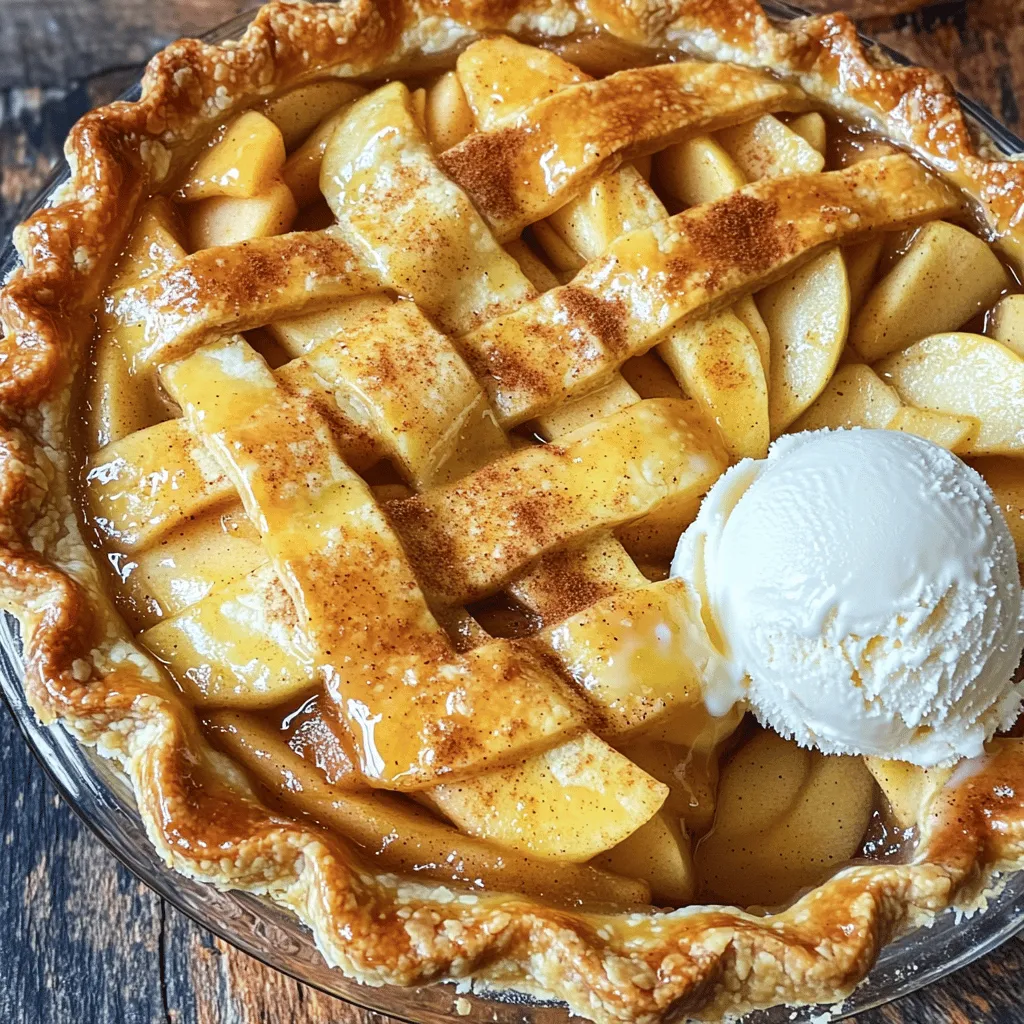
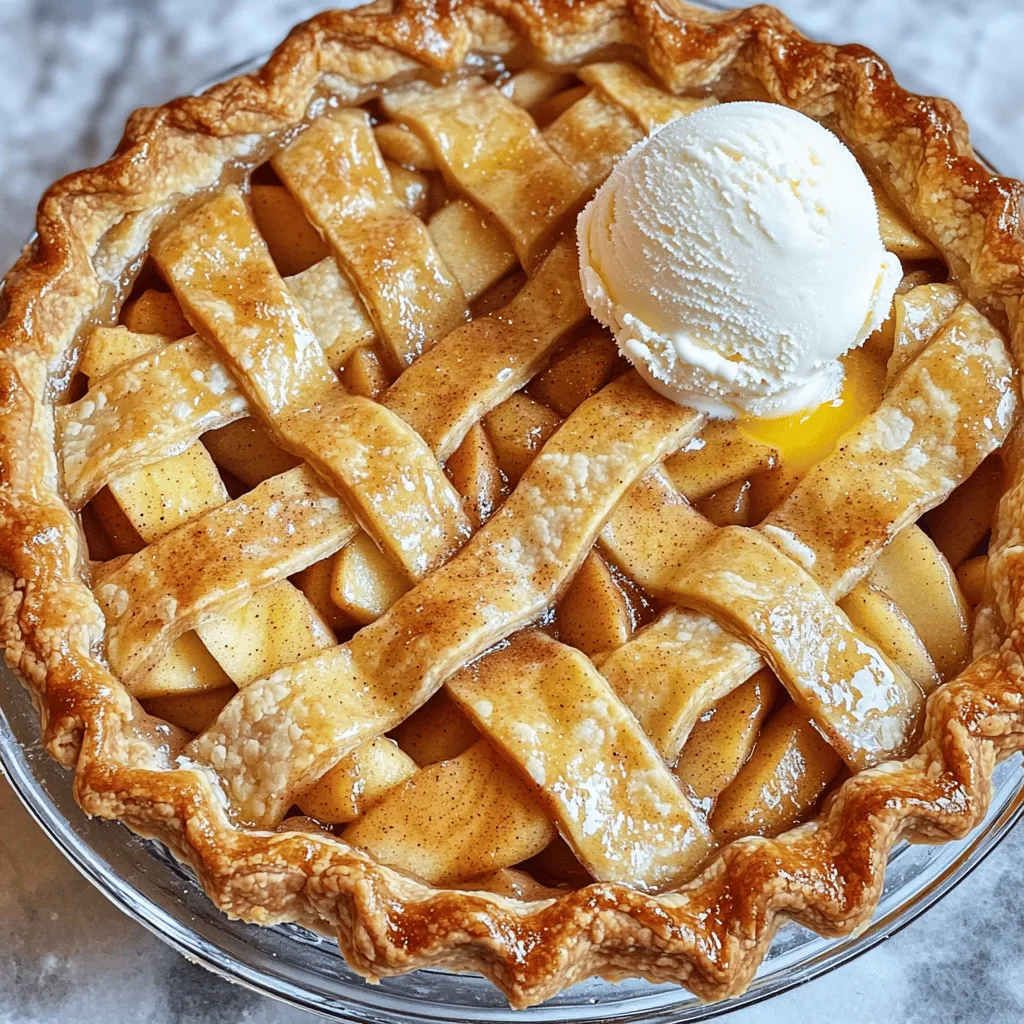
Lattice Crust
A lattice crust adds a beautiful touch to your apple pie. To make it, roll out your pie crust and cut it into thin strips. Lay half of the strips across the pie in one direction. Then, weave the other half of the strips over them. This design lets the filling peek through, making it look fancy!
Streusel Topping
If you love a crunchy topping, try a streusel. Mix together flour, brown sugar, oats, and butter. Sprinkle this mixture over the apple filling instead of a second crust. The streusel gives a sweet crunch to each bite. It’s a great twist on the classic pie!
Caramel Apple Pie
For a sweet surprise, add caramel to your apple filling. Melt some caramel candies and mix them in with the apples. This will make your pie extra rich and gooey. You can also drizzle more caramel on top before serving. It’s a treat that’s hard to resist!
Gluten-Free Pie Crust Options
If you need a gluten-free option, there are many ready-made crusts available. You can also make your own with almond flour or coconut flour. Just replace the all-purpose flour with your choice of gluten-free flour. This way, everyone can enjoy your classic apple pie.
Storage Info
How to Store Leftover Pie
To store leftover pie, first let it cool completely. Place it in a pie dish or an airtight container. Cover it tightly with plastic wrap or aluminum foil. Store the pie in the fridge for up to four days. The cool air helps keep the flavors fresh.
Freezing Instructions
If you want to save your pie for later, freezing works great. Wrap the cooled pie tightly in plastic wrap. Then, place it in a freezer bag or container. It can stay frozen for up to three months. When you’re ready to eat, let it thaw in the fridge overnight.
Reheating Tips
To reheat your pie, preheat your oven to 350°F (175°C). Remove the pie from the fridge or freezer. If it’s frozen, let it thaw first. Place it in the oven for about 15-20 minutes. This warms it through and keeps the crust nice and crisp. Serve it warm for the best taste!
FAQs
How long does Classic Apple Pie last?
Classic apple pie lasts about 3 to 4 days when stored in the fridge. It can stay fresh if you cover it well. If you want it to last longer, you can freeze it. Frozen apple pie can last up to 6 months. Just make sure to wrap it tightly.
Can I use other types of apples?
Yes, you can use other apples! While Granny Smith apples are tart and hold their shape, you can try Honeycrisp, Fuji, or Braeburn. Each type brings a unique taste. Mix different apples for a more complex flavor, which can make your pie even better.
What can I serve with Classic Apple Pie?
Classic apple pie tastes great with ice cream or whipped cream. A scoop of vanilla ice cream on warm pie is a favorite. You can also serve it with caramel sauce or a sprinkle of cinnamon. These extras add sweetness and make it a real treat.
Can I make the pie ahead of time?
Yes, you can make the pie ahead of time. You can prepare the filling and crust the day before. Just cover them and store in the fridge. If you want to bake it later, you can freeze the unbaked pie. When ready, bake it straight from the freezer.
How can I tell when the pie is done baking?
You can tell the pie is done when the crust is golden brown and the filling bubbles. Check the apples by poking through the slits in the crust. If they are soft, your pie is ready. A good rule is to bake it for 35-45 minutes at 350°F after the initial high heat.
You learned how to make a classic apple pie using simple ingredients. We covered each step, from prepping the apples to baking the perfect crust. Remember to choose the right apples and avoid a soggy bottom. You can also try fun variations to keep things fresh. Store leftovers properly to enjoy later. Making this pie can bring joy to any gathering. Follow these steps, and your pie will be a hit! Enjoy the baking process and the delicious bites.