Craving a sweet treat that hits all the right spots? Let me introduce you to Chocolate Peanut Butter Banana Ice Cream Delight! This creamy dessert combines the rich flavors of chocolate and peanut butter with the natural sweetness of ripe bananas. With just a few simple ingredients and easy steps, you’ll whip up a delicious ice cream that’s as nutritious as it is indulgent. Get ready to chill out with this tasty, guilt-free delight!
Why I Love This Recipe
- Healthy Indulgence: This ice cream is made with wholesome ingredients, making it a guilt-free treat that satisfies your sweet tooth.
- Easy to Make: With just a few simple steps, you can whip up this delicious dessert in no time, perfect for a quick summer treat.
- Vegan and Dairy-Free: This recipe is naturally dairy-free, catering to vegan diets while still delivering a creamy texture.
- Customizable Flavors: You can easily adjust the sweetness or add other mix-ins like nuts or fruits to suit your taste preferences.
Ingredients
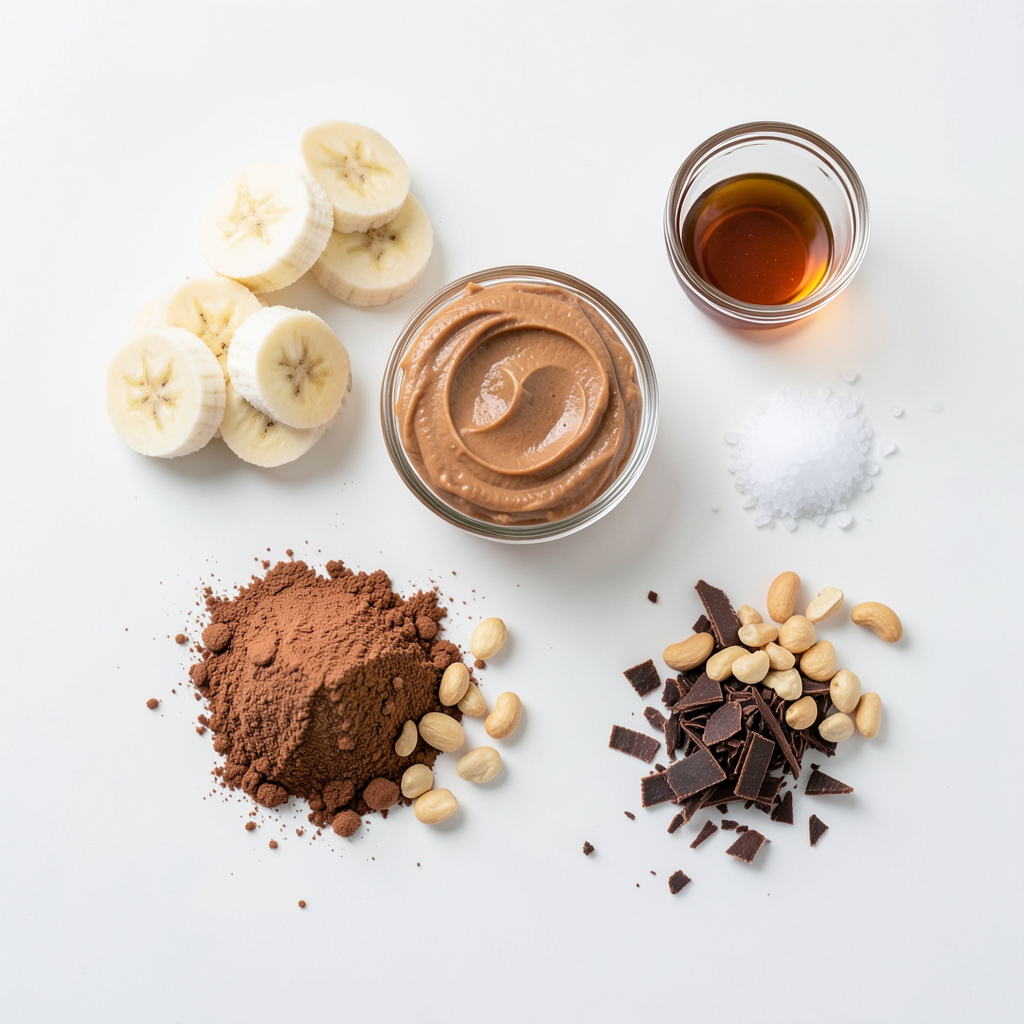
When making Chocolate Peanut Butter Banana Ice Cream, you need a few key ingredients. Here’s what you will gather:
- 4 ripe bananas, sliced and frozen
- 1/2 cup creamy peanut butter
- 1/4 cup unsweetened cocoa powder
- 1/4 cup maple syrup (or honey)
- 1 teaspoon vanilla extract
- A pinch of sea salt
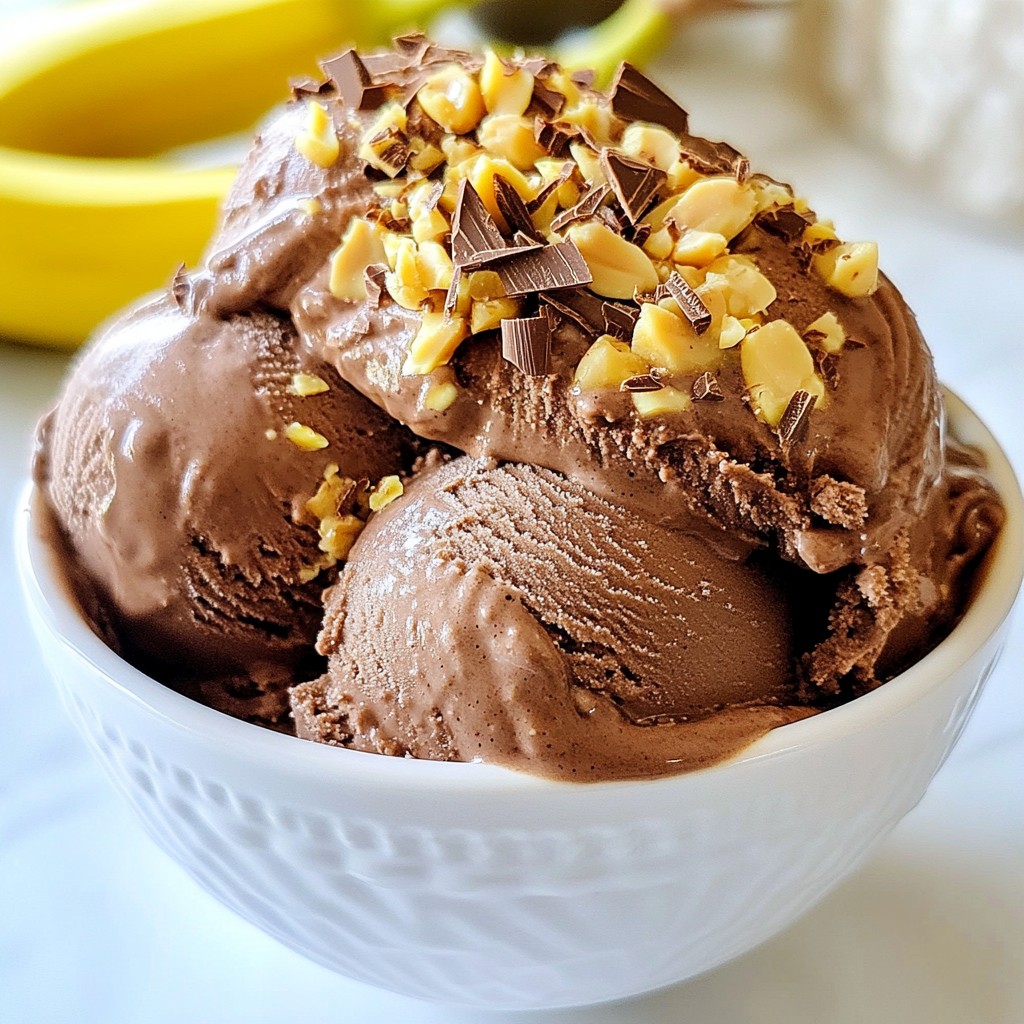
- Chopped peanuts and chocolate shavings for garnish
These ingredients work together to create a rich and creamy dessert. The ripe bananas serve as the base, giving the ice cream its smooth texture. The creamy peanut butter adds a nutty flavor that pairs well with chocolate. Unsweetened cocoa powder provides a rich chocolate taste, while maple syrup or honey adds sweetness. A touch of vanilla extract brings all the flavors to life, and sea salt enhances the taste.
For the garnish, chopped peanuts add a delightful crunch. Chocolate shavings not only look great but also add more chocolate flavor. This combination makes the ice cream a treat everyone will love.
Step-by-Step Instructions
Preparing the Bananas
- Start by peeling the ripe bananas.
- Slice them into coins.
- Place the slices on a tray in one layer.
- Freeze the banana slices for about 2-3 hours.
Blending the Mixture
- Transfer the frozen bananas to a blender.
- Add creamy peanut butter and cocoa powder.
- Pour in maple syrup or honey and vanilla extract.
- Add a pinch of sea salt for flavor.
- Blend on high until the mix is smooth.
- Stop to scrape down the sides if needed.
Finalizing the Ice Cream
- Taste the mixture to check sweetness.
- Add more maple syrup if you want it sweeter.
- Transfer the ice cream to a freezer-safe container.
- Spread it evenly and smooth the top.
- Cover and freeze for 1-2 hours.
- This allows it to firm up for the best texture.
Tips & Tricks
Ensuring the Best Texture
To get smooth ice cream, you must freeze the bananas fully. If they are not frozen solid, your ice cream will be icy. Slice the bananas into coins and freeze them for 2-3 hours. This step is key for creaminess. When blending, use a high-speed blender or food processor. Stop to scrape down the sides and ensure all the bananas mix well. A well-blended mix creates that rich, creamy texture everyone loves.
Flavor Adjustments
Sweetness is important in this ice cream. You can use maple syrup or honey, depending on your taste. If you want it sweeter, simply add more syrup and blend again. You can also explore other flavors. Try adding a splash of almond extract or a sprinkle of cinnamon. These small changes can make a big difference in taste.
Garnishing Ideas
Garnishes can make your ice cream stand out. While chopped peanuts and chocolate shavings are great, think outside the box. You can add sliced strawberries, crushed cookies, or even a drizzle of caramel sauce. For a fun touch, serve in colorful bowls. Use a scoop to create perfect round balls of ice cream. This way, your dessert looks as good as it tastes.
Pro Tips
- Use Ripe Bananas: The riper the bananas, the sweeter your ice cream will be. Look for bananas with brown spots for maximum sweetness and flavor.
- Experiment with Nut Butters: Feel free to substitute the peanut butter with almond butter or cashew butter for a different flavor profile.
- Adjust the Cocoa: If you prefer a richer chocolate flavor, add more cocoa powder gradually until you reach your desired taste.
- Garnish Creatively: In addition to chopped peanuts and chocolate shavings, consider adding sliced strawberries or a drizzle of caramel for extra indulgence.
Variations
Dairy-Free Alternatives
You can make this ice cream dairy-free. Swap creamy peanut butter with coconut cream for a rich taste. Coconut cream adds a silky texture that blends well. For milk, choose almond, oat, or cashew milk. These options keep the ice cream smooth without dairy.
Additional Flavor Combinations
Want to mix it up? Add flavors like mint or espresso for a twist. Mint gives a fresh taste, while espresso adds a coffee kick. You can also try different nut butters. Almond or cashew butter work well and change the flavor profile.
Ingredient Swaps
If you want a sweeter taste, swap maple syrup for agave or stevia. Agave is sweeter, so use less. Stevia is low-calorie and great for sugar control. You can also change the cocoa powder. Dark cocoa gives a richer flavor, while milk chocolate adds sweetness.
Storage Info
Best Practices for Storing Ice Cream
To keep your ice cream fresh, use an airtight container. Glass or plastic containers work well. Make sure the container is deep enough to hold your ice cream. After scooping, press a piece of wax paper on the surface before sealing. This step helps keep air out and keeps your ice cream creamy.
Freezer Shelf Life
Your chocolate peanut butter banana ice cream lasts about two weeks in the freezer. After that, it may lose flavor and texture. Watch for ice crystals forming on the surface; this is freezer burn. Freezer burn makes the ice cream icy and less tasty. To avoid this, ensure your container is sealed tightly.
Re-freezing Tips
If your ice cream melts, you can refreeze it. First, stir it well to mix the texture. Then, put it back in the container. After refreezing, the texture may change. It could become a bit grainy but still delicious. If you want a smoother texture, blend it again before serving.
FAQs
Can I make this recipe without an ice cream maker?
Yes, you can make this ice cream without an ice cream maker. First, follow the normal recipe steps. After blending, pour the mixture into a container. Then, freeze the mixture. Stir every 30 minutes for the first 2 hours. This helps break up ice crystals, making the ice cream smooth.
How long does it take to freeze the ice cream?
It takes about 1-2 hours to freeze the ice cream. If you want a soft serve, check after 1 hour. For a firmer texture, wait closer to 2 hours. The longer you freeze it, the harder it gets.
What can I use instead of bananas?
If you don’t want to use bananas, there are options. You can use frozen mangoes or avocados. Both give a creamy texture. Keep in mind, flavors will change a bit. Mangoes add sweetness, while avocados make it rich.
Is this recipe suitable for vegans?
Yes, this recipe is vegan-friendly. All the listed ingredients are plant-based. Use maple syrup instead of honey to keep it vegan. Check your peanut butter for added ingredients to ensure it’s pure. This way, you can enjoy a tasty treat without worry.
You now know how to make tasty banana peanut butter ice cream at home. We covered key ingredients and step-by-step instructions. Tips can help you achieve the best texture and flavor. You can even try fun variations and easy storage tips. This recipe is flexible and perfect for everyone. Enjoy your homemade treat and share it with friends!