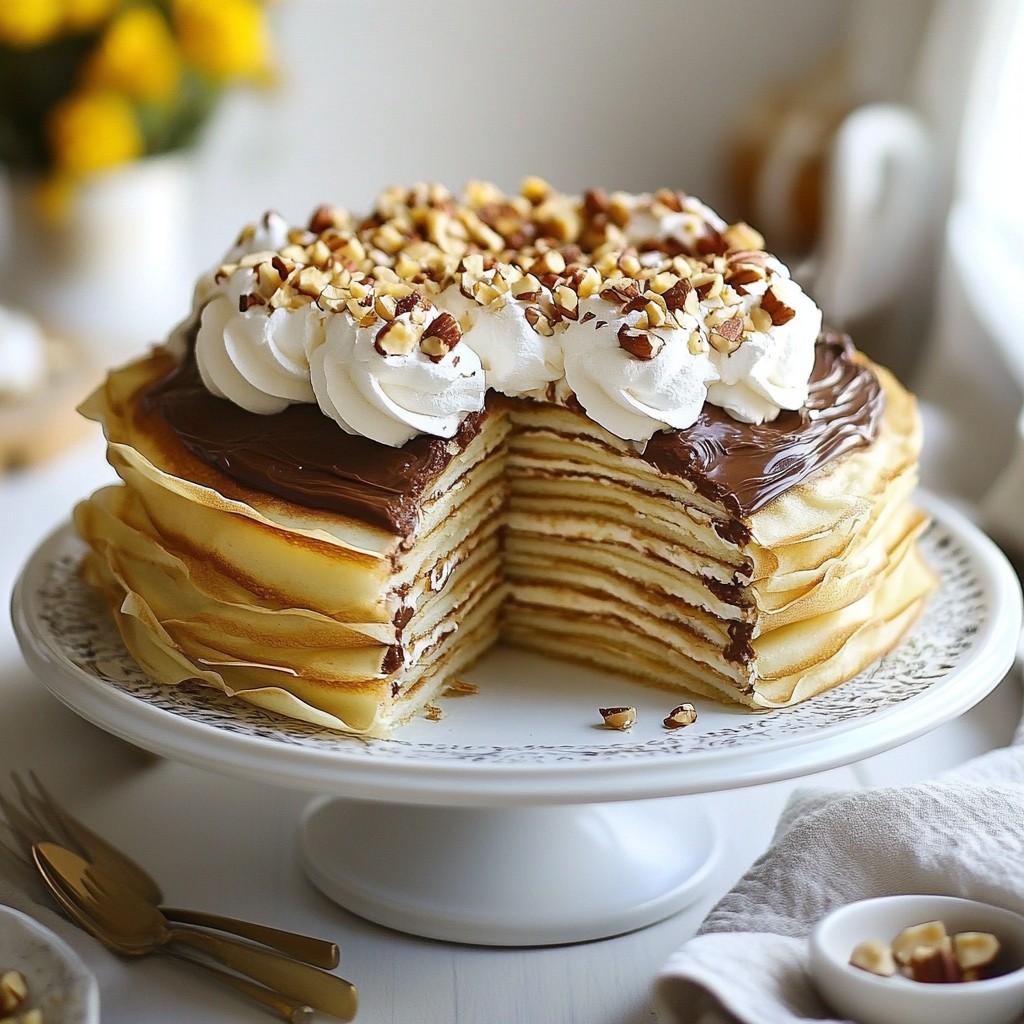
Are you ready to indulge in a dessert that will leave your taste buds dancing? This Chocolate Hazelnut Crepe Cake is a delightful treat that layers soft crepes with rich chocolate hazelnut spread and fluffy whipped cream. Perfect for any occasion, it’s fun to make and even more fun to eat! Let’s dive into the ingredients, instructions, and tips to create this irresistible dessert treat. Your sweet adventure starts here!
Why I Love This Recipe
- Decadent Flavor: This crepe cake is a delightful combination of rich chocolate and nutty hazelnut that satisfies any sweet tooth.
- Impressive Presentation: The layers of crepes create a beautiful and elegant dessert that will impress your guests.
- Customizable: You can easily modify the filling or toppings, adding your favorite fruits or different spreads for a unique twist.
- Make Ahead: This cake is perfect for prepping in advance, as it tastes even better after chilling in the fridge for a while.
Ingredients
Main Ingredients for the Crepe Cake
- 2 cups all-purpose flour
- 4 large eggs
- 3 cups milk
- 1/4 cup granulated sugar
- 1/2 teaspoon salt
- 1 teaspoon vanilla extract
- 4 tablespoons unsalted butter, melted
- 1 cup chocolate hazelnut spread
- 1 cup heavy whipping cream
- 2 tablespoons powdered sugar
- 1/2 cup crushed hazelnuts for garnish
- Optional: fresh berries
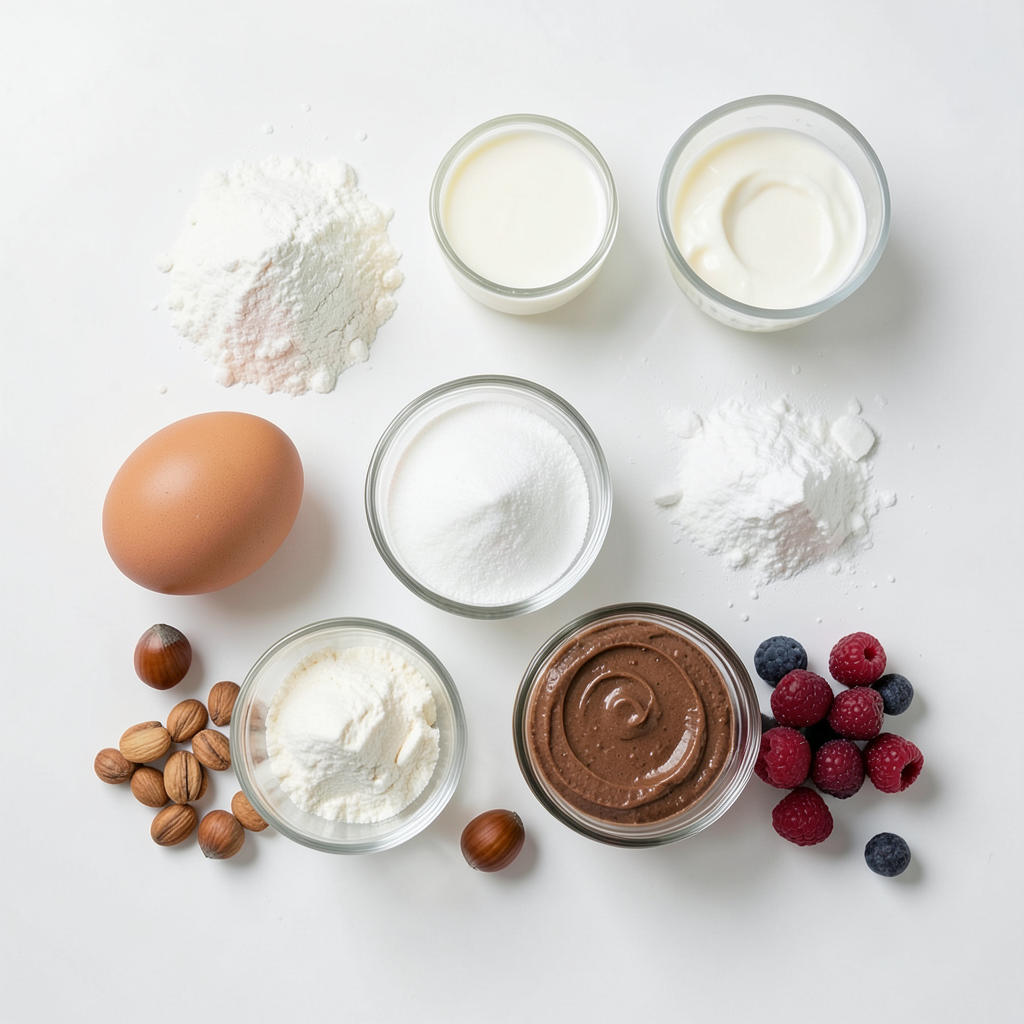
In this recipe, each ingredient plays a key role. The all-purpose flour gives the crepes a soft and tender texture. The large eggs bind everything together, creating a rich flavor. Milk adds moisture while granulated sugar provides sweetness. Salt enhances the taste, and vanilla extract brings warmth. Unsalted butter adds richness to the batter.
The chocolate hazelnut spread is the star here, giving the cake its signature taste. Heavy whipping cream creates a light and fluffy filling. Powdered sugar helps sweeten the whipped cream. Crushed hazelnuts add a nice crunch on top, while fresh berries are optional but make a lovely garnish.
This blend of flavors comes together beautifully, making the Chocolate Hazelnut Crepe Cake an irresistible treat. Each layer offers a delightful surprise, with the creamy filling and nutty topping. Perfect for any occasion, this dessert will impress everyone at your table.
Step-by-Step Instructions
Making the Crepe Batter
To start, gather your ingredients. In a large mixing bowl, combine:
- 2 cups all-purpose flour
- 4 large eggs
- 3 cups milk
- 1/4 cup granulated sugar
- 1/2 teaspoon salt
- 1 teaspoon vanilla extract
Whisk these together until smooth. Next, add in 4 tablespoons melted unsalted butter. Mix until well blended. Let the batter rest for 30 minutes at room temperature. This resting period helps the crepes become tender.
Cooking the Crepes
Now, it's time to cook. Preheat a non-stick skillet over medium heat. Lightly grease it with a small amount of butter. Pour about 1/4 cup of batter into the skillet. Quickly swirl it around to coat the bottom. Cook for 1-2 minutes until the edges set. The bottom should turn a light golden brown. Carefully flip the crepe using a spatula. Cook for another minute. Once done, stack the crepes on a plate. Repeat with the remaining batter.
Preparing the Whipped Cream
In a clean mixing bowl, pour in 1 cup heavy whipping cream. Add 2 tablespoons powdered sugar. Use an electric mixer on medium-high speed. Whip the mixture until soft peaks form. Be careful not to over-whip. You want the cream to stay airy and fluffy.
Assembling the Cake
For assembly, place one crepe on a serving plate. Spread a layer of chocolate hazelnut spread over it. Follow with a layer of whipped cream. Repeat this layering until you have a tall stack. Finish with one final crepe on top.
Chilling the Cake
After assembling, cover the cake with plastic wrap. Refrigerate for at least 1 hour. This chilling time is important. It helps the flavors blend and the cake firm up.
Garnishing and Serving
Before serving, sprinkle the top with crushed hazelnuts. This adds crunch and texture. You can also serve with fresh berries for a pop of color. Slice the cake into wedges and enjoy!
Tips & Tricks
Ensuring Perfect Crepes
To get the best crepes, focus on your batter. It should be smooth and not too thick. If it feels lumpy, whisk it more. Letting the batter rest for 30 minutes makes a big difference. This step lets the flour absorb moisture.
When cooking, keep your skillet at medium heat. If it’s too hot, the crepes will burn. If it’s too cool, they will stick. Test the heat by pouring a small amount of batter. If it sizzles gently, you’re ready to go.
Enhancing Flavor Profiles
You can switch things up with different ingredients. For a nutty twist, try almond or peanut butter instead of chocolate hazelnut spread. You can also add flavored extracts like orange or almond. These small changes can create new taste experiences.
Preventing Sticking
To keep crepes from sticking, you need to grease your skillet well. Use a paper towel to spread a thin layer of butter. Doing this between crepes helps too. Also, make sure to use a good spatula. A thin, flexible one works best for flipping.
Pro Tips
- Rest the Batter: Allowing the crepe batter to rest for at least 30 minutes helps to relax the gluten, resulting in tender and delicate crepes.
- Perfect Crepe Technique: When pouring the batter, tilt the skillet slightly to ensure an even coating. This will give you perfectly shaped crepes.
- Layering Wisely: Spread the chocolate hazelnut spread and whipped cream evenly between the crepes to avoid a messy stack and ensure even distribution of flavors.
- Chill for Best Results: Chilling the assembled cake for at least an hour helps the layers set and makes slicing easier while enhancing the flavor.
Variations
Different Nut Spreads
You can switch up the chocolate hazelnut spread. Try using almond or peanut butter instead. These spreads bring new flavors to your cake. Almond butter adds a light nutty taste. Peanut butter gives a rich, savory kick that many love. You can also mix flavors. Try adding a bit of cinnamon for warmth or a hint of coffee for depth.
Healthier Alternatives
Want a healthier cake? You can use gluten-free flour. Almond or coconut flour works well in this recipe. They give good texture and flavor without wheat. You can also cut back on sugar. Use natural sweeteners like honey or maple syrup. These options can make your cake lighter but still tasty.
Creative Additions
Have fun with fillings! Incorporate fresh fruit between the layers. Sliced strawberries, bananas, or raspberries add a nice touch. They brighten up the cake and add a fruity burst. You can also spice up the whipped cream. Add a pinch of nutmeg or cinnamon for a warm flavor. This simple change can make your dessert feel special.
Storage Info
Storing Leftover Crepe Cake
To keep your leftover crepe cake fresh, place it in an airtight container. This helps protect the layers from drying out. You can also cover it tightly with plastic wrap if you don’t have a container. The cake stays fresh for up to three days in the refrigerator. After that, the texture may change, and flavors might fade.
Freezing the Crepe Cake
If you want to save some for later, freezing is a great option. Start by slicing the cake into individual pieces. Wrap each slice tightly in plastic wrap, then place them in a freezer-safe bag or container. This keeps them safe from freezer burn. You can freeze the cake for up to two months.
When you're ready to enjoy a slice, remove it from the freezer. Thaw it overnight in the fridge for the best results. If you need it faster, you can leave it at room temperature for about an hour. Enjoy your delicious treat again!
FAQs
How do I make sure my crepes don't stick?
To stop crepes from sticking, you need to prepare the skillet well. Use a non-stick skillet for best results. Heat it over medium heat first. Then, add a small amount of butter. Use a paper towel to spread the butter evenly. This will create a nice coating. Always ensure the skillet is hot before adding batter. If the crepes stick, they may be too thick or the skillet too cool.
Can I make the crepes ahead of time?
Yes, you can make crepes ahead of time. Cook them and let them cool completely. Stack them neatly with parchment paper in between each crepe. Store them in an airtight container in the fridge. They will stay fresh for up to two days. You can also freeze them for up to one month. Just make sure to wrap them well to avoid freezer burn.
What’s the best way to slice the cake?
To slice the cake neatly, use a sharp knife. Clean the knife with a damp cloth between cuts. This keeps each slice looking nice. You can also use a serrated knife for more control. If you want perfect wedges, mark the cake lightly with the knife first. This helps guide your cuts and makes for a pretty presentation.
How long can the cake be kept in the fridge?
The cake can be kept in the fridge for up to three days. Just cover it tightly with plastic wrap. This keeps it fresh and moist. If you notice the cake starting to dry out, it’s best to enjoy it sooner. Remember, the flavors blend better after a day, making it even more delicious!
Making a crepe cake is fun and rewarding. We covered the ingredients and step-by-step instructions to help you succeed. You learned how to make the batter, cook the crepes, and prepare the whipped cream. The assembly and garnishing tips will make your cake look beautiful. Remember the storage tips for leftovers and variations to try.
Enjoy creating your own delicious crepe cake. Don’t hesitate to experiment with flavors and share your results!