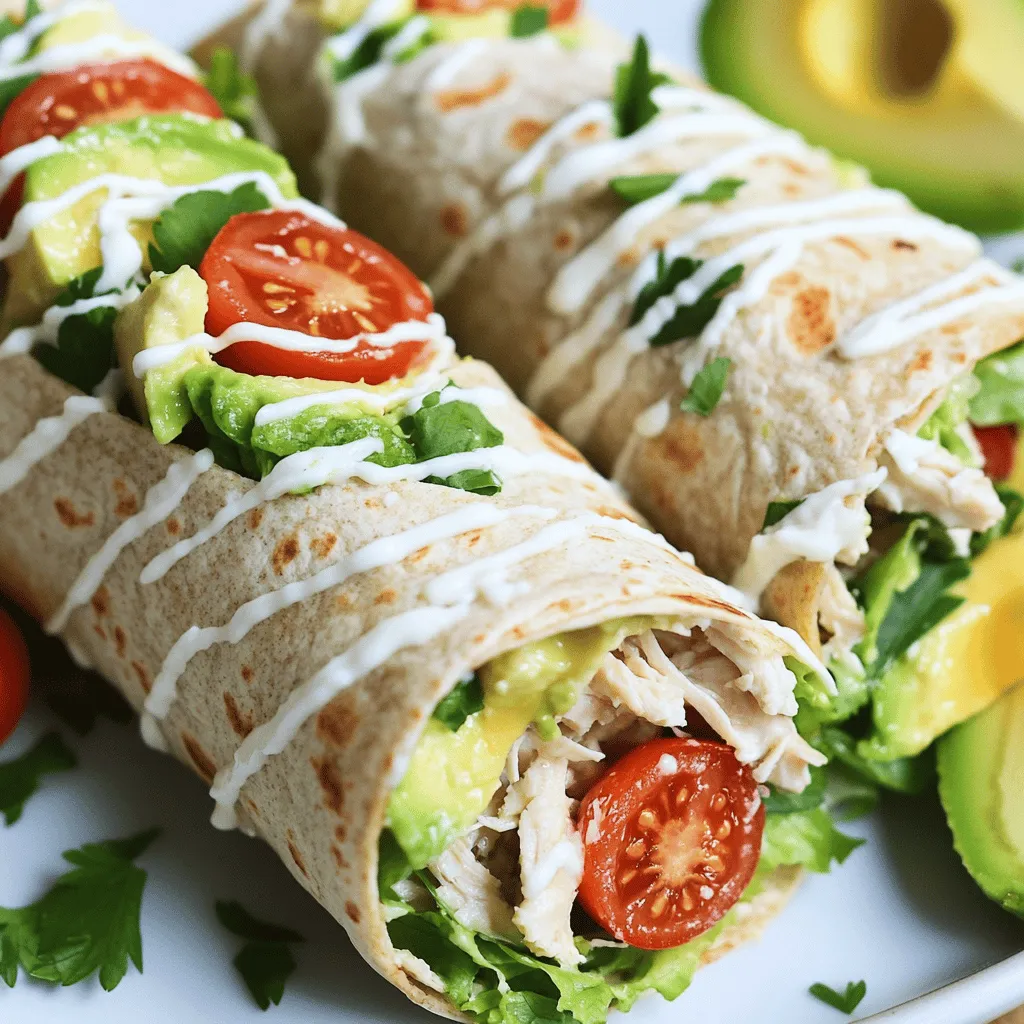
Looking for a quick and tasty meal? Chicken Caesar Wraps are your answer! With tender chicken, crisp lettuce, and flavorful dressing, these wraps are both simple and delicious. You can whip them up in no time, making them perfect for lunch or dinner. Dive into this guide to learn how to create your own Chicken Caesar Wraps, plus tips and tricks for customizing and storing them. Let’s get started!
Ingredients
Main Ingredients
– 2 cups cooked shredded chicken breast
– 1 cup romaine lettuce, chopped
– ½ cup cherry tomatoes, halved
– ¼ cup grated Parmesan cheese
– ¼ cup Caesar dressing
– 4 large tortillas (whole wheat or spinach preferred)
– 1 avocado, sliced
You will need cooked chicken for this recipe. I love using shredded chicken as it mixes well. Romaine lettuce adds a crisp bite to each bite. Cherry tomatoes bring a touch of sweetness. Don’t forget the grated Parmesan cheese; it gives a nice salty flavor. The Caesar dressing ties all the flavors together. Tortillas hold the filling and are fun to eat. Sliced avocado adds creaminess.
Seasoning and Garnishes
– 1 teaspoon garlic powder
– 1 teaspoon freshly ground black pepper
– Salt, to taste
– Fresh parsley, for optional garnish
Seasoning is key for great taste. Garlic powder adds depth, while black pepper gives a kick. A sprinkle of salt enhances all the flavors. Fresh parsley is optional but adds color and freshness. You can find all these ingredients in most stores. This simple mix will make your Chicken Caesar Wraps stand out.
Step-by-Step Instructions
Preparing the Chicken Caesar Mixture
– Combine shredded chicken, romaine lettuce, cherry tomatoes, and Parmesan cheese.
– Add Caesar dressing, garlic powder, black pepper, and salt.
– Toss ingredients until well-coated.
In a big bowl, mix the chicken and veggies. Use cooked chicken for the best taste. Fresh romaine adds crunch, and cherry tomatoes add a sweet burst. Grated Parmesan gives it a salty kick. When you add the Caesar dressing, make sure to coat everything well. The garlic powder and black pepper will boost the flavor.
Assembling the Wraps
– Lay tortillas flat and divide the chicken Caesar mixture.
– Add avocado slices on top of the mixture.
– Wrap the tortillas securely, folding sides inward.
Take your tortillas and lay them out flat. It’s best to use large ones. Place the chicken Caesar mix in the center of each tortilla. Then, add a few slices of avocado for creaminess. Now, fold in the sides and roll up the wrap tightly. This keeps all the tasty filling inside.
Serving Suggestions
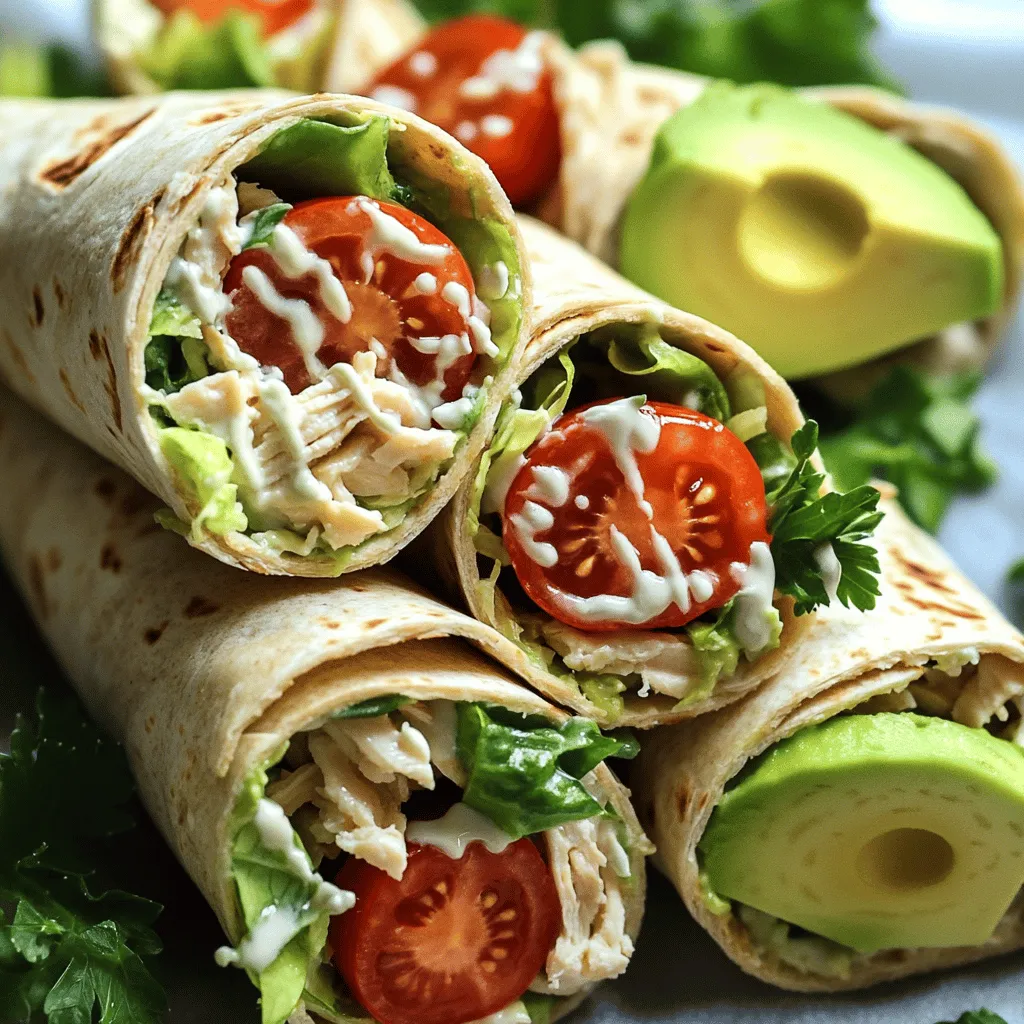
– Slice wraps in half for easier eating.
– Garnish with fresh parsley for presentation.
For a fun touch, cut the wraps in half. This makes them easier to hold and eat. If you want to make them look nice, add fresh parsley on top. These wraps are not just tasty; they also look great on a plate. Enjoy them right away or pack them for a meal on the go.
Tips & Tricks
Choosing the Right Tortillas
When making Chicken Caesar wraps, the type of tortilla matters. You can choose between whole wheat and spinach tortillas. Whole wheat adds a nutty flavor and is more nutritious. Spinach tortillas give a nice green color and a slight taste of greens. Both options work well, so pick what you like best.
Warming tortillas helps them wrap better. You can warm them in a skillet over low heat for about 30 seconds on each side. You can also microwave them for about 10-15 seconds. This makes them soft and easy to fold without breaking.
Storing Leftovers
To keep your Chicken Caesar wraps fresh, store them in an airtight container. This helps prevent them from drying out. If you have leftover wraps, eat them within two days for the best taste.
When reheating, use a skillet over medium heat. Heat each side for about 2-3 minutes. This helps keep the wrap’s flavor and texture. You can also use the microwave, but use a damp paper towel to keep it from drying out.
Dressing Variations
While Caesar dressing is classic, you can try creamy alternatives. Ranch or blue cheese dressings add a fun twist. You can also mix Greek yogurt with lemon juice and herbs for a lighter option.
If you want to make your own dressing, combine olive oil, lemon juice, grated garlic, and Parmesan cheese. This homemade option brings a fresh touch to your wraps. For a zesty kick, add a little Dijon mustard.
Variations
Add-Ins for Extra Flavor
You can easily enhance your Chicken Caesar Wraps. Try adding in some tasty extras. Ingredients like bacon bits or grilled vegetables give a nice crunch. You can also switch up the cheese. Feta or mozzarella can add a new twist to the classic flavor.
Dietary Alternatives
For those with dietary needs, there are great options. Look for gluten-free tortillas if you need them. You can also swap out the chicken for plant-based proteins. Chickpeas or tofu work well and keep the wraps hearty.
Vegetarian and Vegan Options
You can create a vegetarian Caesar wrap without chicken. Use extra veggies like bell peppers or cucumbers for a fresh bite. For a vegan option, make or buy vegan Caesar dressing. There are many recipes online, so you can customize it to your taste. Your friends and family will love these tasty twists.
Storage Info
Proper Packaging
To keep your Chicken Caesar Wraps fresh, wrap them tightly. Use plastic wrap or aluminum foil. This helps prevent air from getting in. You can also use airtight containers. These containers keep moisture out and keep the wraps crisp.
Freezing Instructions
To freeze your wraps, follow these steps:
1. Wrap each Chicken Caesar Wrap tightly in plastic wrap.
2. Place the wrapped wraps in a freezer bag.
3. Squeeze out all the air before sealing the bag.
4. Label the bag with the date.
To thaw and reheat, take the wraps out of the freezer. Leave them in the fridge overnight or for a few hours. When ready, you can warm them in the microwave for about 30-60 seconds, or until they are hot.
Best Consumption Timeframe
In the fridge, your wraps stay fresh for about 3 to 4 days. Check for signs that they have gone bad. If they smell sour or feel slimy, it’s time to toss them. Always trust your senses when checking food!
FAQs
What can I use instead of Caesar dressing?
If you want to swap out Caesar dressing, you have great options. You can use ranch or Greek yogurt dressing for a creamier taste. A vinaigrette with lemon juice adds a nice zing. For lighter choices, try olive oil with lemon juice or a simple yogurt-based dressing. These alternatives can still give your wraps a delicious flavor.
How do I make sure my wrap doesn’t get soggy?
To keep your wrap fresh, it’s all about layering. Start with a dry base, like lettuce, to soak up moisture. Avoid adding wet ingredients, like tomatoes, directly on top. Instead, place them on the chicken or in the middle. Wrap tightly to keep everything secure. Using a tortilla that holds up well, such as whole wheat, helps too.
Can I prepare these wraps in advance?
Yes, you can prep these wraps ahead of time! To keep them fresh, assemble the wraps without dressing until you’re ready to eat. Store them in an airtight container in the fridge. This helps prevent sogginess and keeps flavors intact. You can also wrap them in foil for easy grab-and-go meals. For best taste, eat within a day or two.
This chicken Caesar wrap is easy and tasty. You mix fresh ingredients and seasonings, then wrap them up. Feel free to add your favorite ingredients or try new dressings. Remember to store any extras properly to keep them fresh. With these tips, you can enjoy a satisfying meal every time. Experiment and make it your own! Enjoy your delicious wraps!