Are you ready to whip up a sweet treat that’s easy and fun? In this blog post, I’ll guide you through making chewy Rice Krispies treats that your whole family will love. With just a few simple ingredients and a bit of time, you can create a gooey, delicious snack. Let’s dive into the ingredients and start this tasty adventure together!
Ingredients
Main Ingredients for Chewy Rice Krispies Treats
– 5 cups Rice Krispies cereal
– 4 cups mini marshmallows
– 1/2 cup unsalted butter
– 1/2 cup creamy peanut butter (or almond butter for a nut-free option)
To make chewy Rice Krispies treats, you need a few key ingredients. First, grab your Rice Krispies cereal. This is the base of the treat. Next, you’ll need mini marshmallows. They melt down to create that sweet, gooey texture we all love. Unsalted butter adds richness and helps everything stick together. Lastly, creamy peanut butter gives a tasty twist. If you prefer a nut-free option, almond butter works just as well.
Optional Ingredients
– 1 teaspoon vanilla extract
– 1/2 teaspoon salt
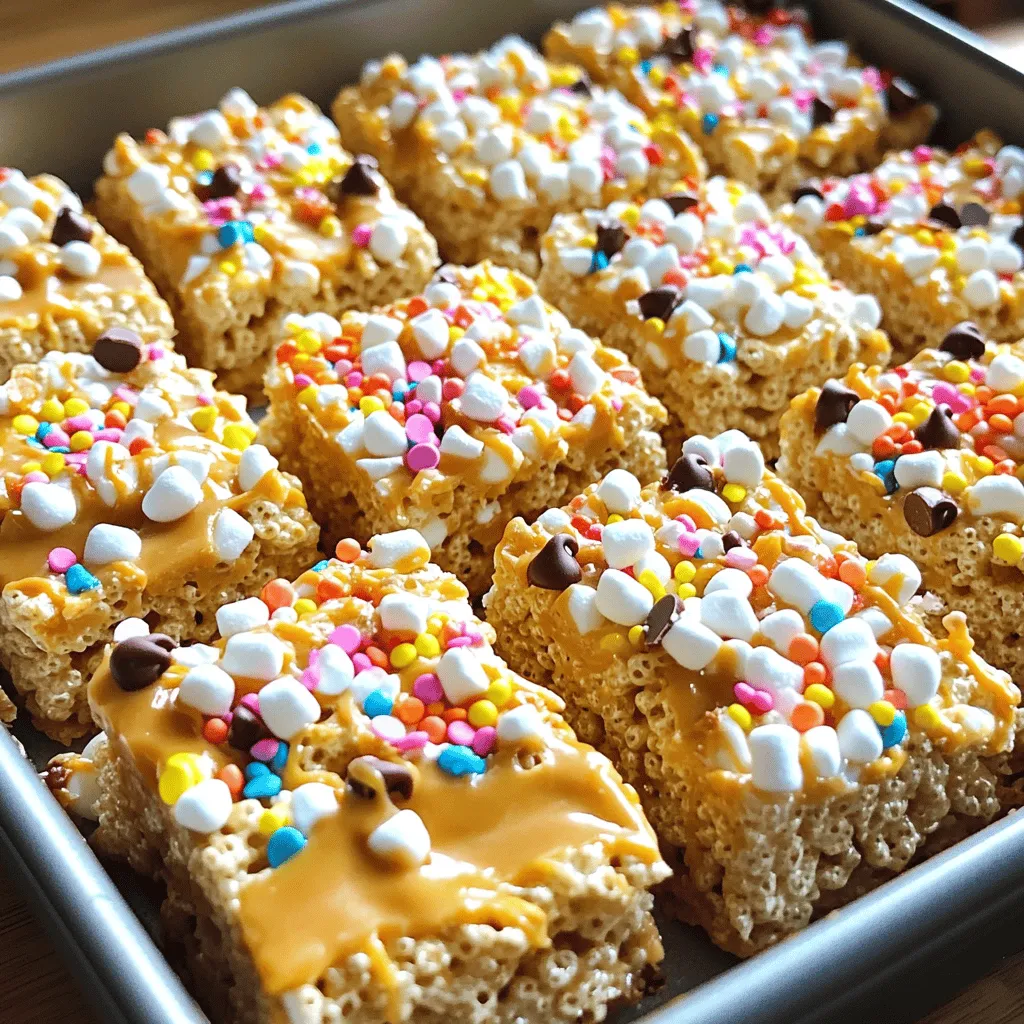
– Toppings (colorful sprinkles, chocolate chips, melted chocolate)
Now, let’s talk about optional ingredients. Adding vanilla extract enhances the flavor and makes your treats smell amazing. A pinch of salt balances the sweetness. You can also add fun toppings! Colorful sprinkles bring joy, while chocolate chips add a delicious twist. If you’re feeling fancy, drizzle melted chocolate on top. These extras make the treats even more fun and tasty.
Step-by-Step Instructions
Preparation Steps
– Prepare the pan for easy removal: Start by greasing a 9×13 inch baking pan with cooking spray or lining it with parchment paper. This keeps the treats from sticking and makes them easy to lift out later.
– Melt the butter in a saucepan: Place the unsalted butter in a large saucepan. Heat it over low heat, stirring often to melt it evenly. This step is crucial because burnt butter can ruin the flavor.
Making the Marshmallow Mixture
– Add marshmallows and stir: Once the butter melts, add the mini marshmallows to the pan. Keep stirring until they are fully melted and the mixture is smooth and glossy. This should take just a few minutes.
– Incorporate peanut butter and mix: After the marshmallows melt, take the saucepan off the heat. Stir in the creamy peanut butter, vanilla extract, and salt. Mix well until everything is smooth and combined.
Combine Ingredients
– Add Rice Krispies cereal and fold: With the saucepan off the heat, quickly add the Rice Krispies cereal. Use a spatula or wooden spoon to gently fold the cereal into the marshmallow mix. Be careful not to crush the cereal. You want it to stay light and crispy.
– Transfer mixture to the baking pan and press down: Pour the mixture into your prepared baking pan. Use a spatula or your lightly greased hands to press it down evenly. Make sure it’s packed tightly, so it holds its shape when cut.
Now you’re ready to enjoy your chewy Rice Krispies treats!
Tips & Tricks
Achieving the Perfect Chewy Texture
To make chewy Rice Krispies treats, start with fresh marshmallows. They melt better and create a soft texture. If your marshmallows are old, they might not melt well. This can lead to hard treats. When mixing your ingredients, do it gently. You want to coat the cereal without crushing it. This keeps the treats light and chewy.
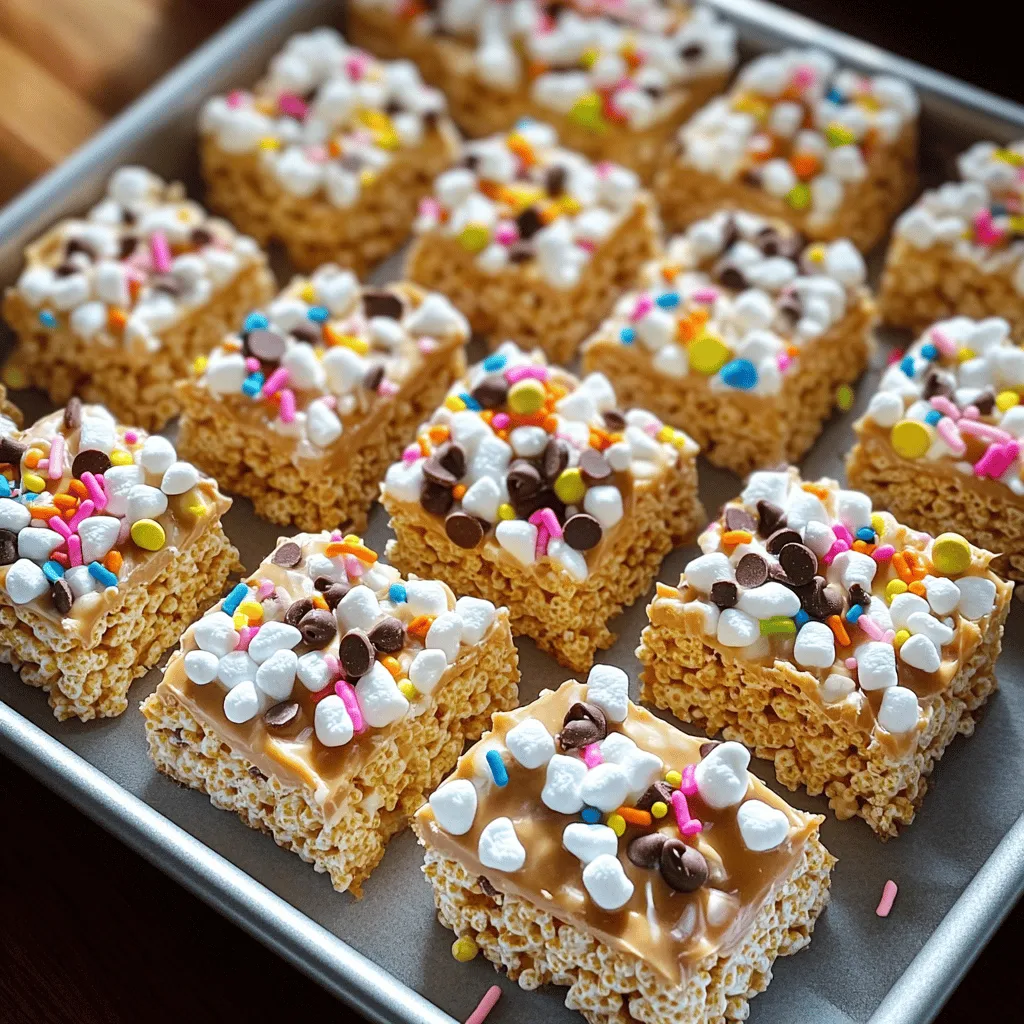
Serving Suggestions
When it’s time to serve, cut the treats into squares or bars. This makes them easy to grab and enjoy. You can also get creative with toppings. Add colorful sprinkles for fun, or drizzle melted chocolate on top. These extras make the treats look great and taste even better. Enjoy your chewy Rice Krispies treats with friends or family!
Variations
Alternative Nut-Free Options
You can make chewy Rice Krispies treats nut-free easily. If you want to avoid nut butters, try using sunflower seed butter instead of peanut butter or almond butter. It adds a nice flavor and keeps the treats creamy. If you prefer, you can also simply omit nut butters entirely. The treats will still be delicious and chewy without them.
Flavor Variations
Want to switch things up? You can add cocoa powder to your mixture for a yummy chocolate version. Just mix in about 1/4 cup of cocoa powder with the marshmallows. This will give your treats a rich taste. You can also incorporate flavored extracts like almond or coconut. Just a teaspoon will add a fun twist. These small changes can make your treats even more exciting!
Storage Information
How to Store Chewy Rice Krispies Treats
To keep your chewy Rice Krispies treats fresh, store them in an airtight container. This will help prevent them from getting hard or stale. It’s best to keep them at room temperature. Avoid the fridge, as that can make them tough.
Shelf Life
How long do they last? When stored properly, chewy Rice Krispies treats can last up to one week. If you want to keep them longer, you can freeze them. Just wrap them tightly in plastic wrap and place them in a freezer bag. They can stay good for up to three months in the freezer. When ready to eat, let them thaw at room temperature.
FAQs
Can I use regular marshmallows instead of mini marshmallows?
Yes, you can use regular marshmallows. Just cut them into smaller pieces to help them melt faster. Mini marshmallows melt more evenly, which helps keep the treats chewy. If you do use regular marshmallows, expect a slightly different texture.
How do I prevent my treats from becoming hard?
To keep your treats soft and chewy, avoid overcooking the marshmallows. Stir them until melted, then mix in the Rice Krispies quickly. Cool them at room temperature, not in the fridge. Storing them in an airtight container will also help maintain their softness.
What’s the best way to cut Rice Krispies treats?
Use a sharp knife to cut the treats. Lightly grease the knife with butter or cooking spray to prevent sticking. Cut them into squares or rectangles, depending on your preference. For cleaner cuts, press down firmly without sawing.
Can I add mix-ins to the Rice Krispies treats?
Absolutely! You can add mix-ins for extra flavor. Try chocolate chips, nuts, or dried fruit. You can also sprinkle colorful toppings like sprinkles or drizzle melted chocolate on top. Just mix them in before you spread the mixture into the pan.
You now have a simple guide to make chewy Rice Krispies treats at home. We covered the main and optional ingredients, step-by-step instructions, and tips for the best texture. I also shared some fun variations and storage tips to keep your treats fresh.
These treats are easy to customize, so enjoy creating your perfect snack. Whether you add toppings or try nut-free options, there’s something for everyone. Happy cooking!