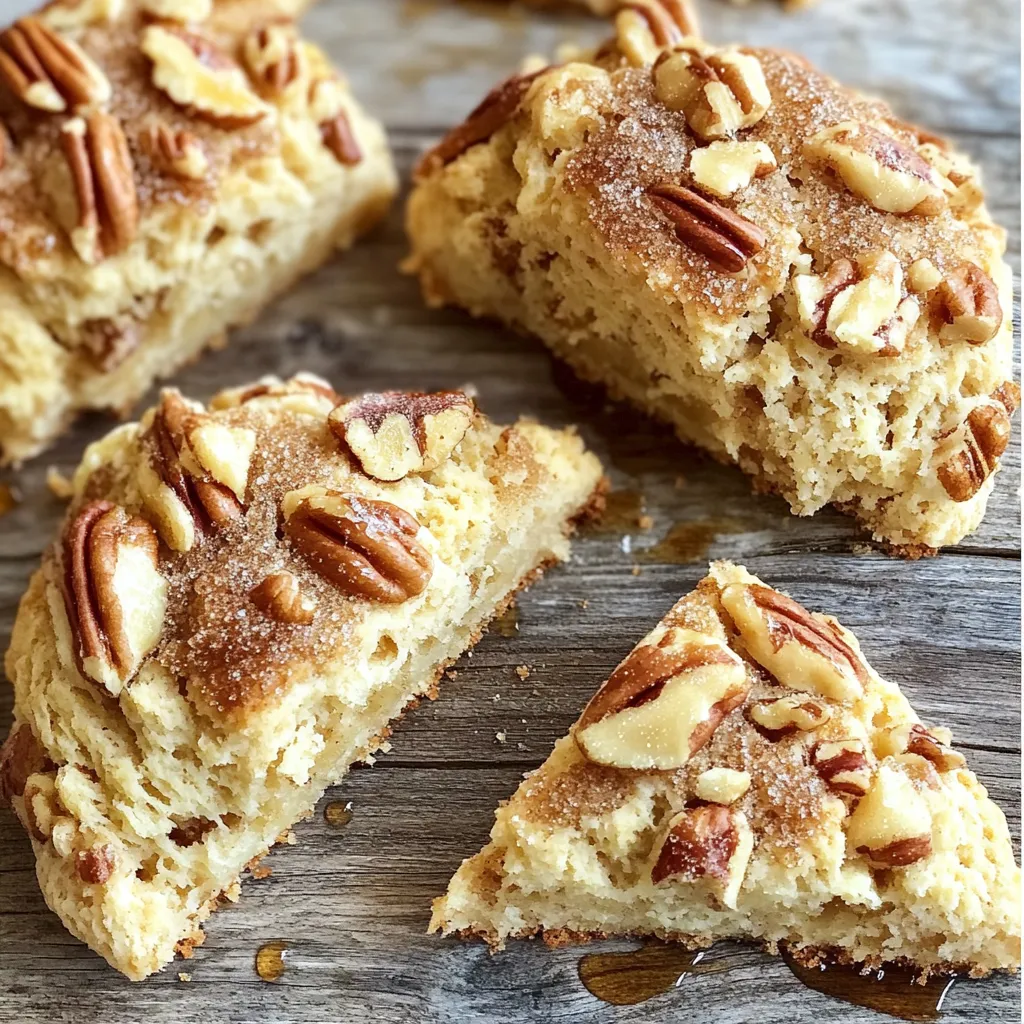
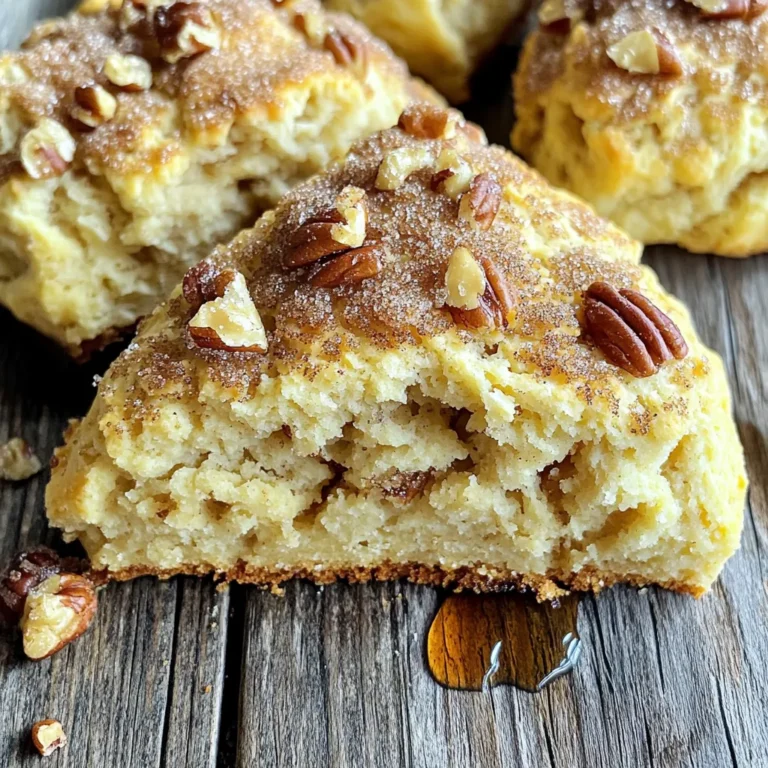
Are you ready to bake a treat that brings the bakery to your kitchen? My Bakery-Style Brown Sugar Maple Scones are easy to make and full of flavor. With just a few simple ingredients, you can whip up scones that are soft, sweet, and perfect for any time of day. Let’s dive into this simple recipe and impress your friends and family with delicious homemade goodies!
Ingredients
List of Main Ingredients
– 2 cups all-purpose flour
– 1/2 cup packed brown sugar
– 1 tablespoon baking powder
– 1/2 teaspoon baking soda
– 1/4 teaspoon salt
Additional Ingredients
– 1/2 cup unsalted butter, cold and cut into cubes
– 1/2 cup heavy cream
– 1/4 cup pure maple syrup
– 1 large egg
– 1 teaspoon vanilla extract
– 1/2 cup chopped pecans (optional)
– Extra brown sugar for topping
Ingredient Substitutions
You may want to try different sweeteners instead of brown sugar. Honey or coconut sugar can work well. For gluten-free options, use a blend of gluten-free flour and xanthan gum. If you need dairy-free choices, almond milk or coconut cream can replace heavy cream and butter.
Step-by-Step Instructions
Preparation and Preheating
– Preheat your oven to 400°F (200°C).
– Prepare the baking sheet with parchment paper.
Start by setting your oven to the right temperature. This step ensures that your scones bake evenly. Lining your baking sheet with parchment paper helps prevent sticking. It’s a simple but key part of making great scones.
Mixing Ingredients
– Combine dry ingredients in a bowl.
– Incorporate cold butter with dry mixture.
In a large bowl, mix the all-purpose flour, brown sugar, baking powder, baking soda, and salt. Whisk these dry ingredients well. Next, take your cold butter and add it to the flour mix. Use your fingers or a pastry cutter to blend the butter. Aim for a crumbly texture with no big pieces of butter left.
Combining Wet and Dry Ingredients
– Whisk together wet ingredients in a separate bowl.
– Gently merge wet and dry mixtures.
In another bowl, whisk the heavy cream, maple syrup, egg, and vanilla extract until smooth. This mixture adds moisture and sweetness. Now, pour it into your dry ingredients. Stir gently until the dough forms, being careful not to mix too much. If you want nuts, fold them in now.
Shaping the Dough
– Knead the dough lightly.
– Cut into desired shapes and place on baking sheet.
Turn the dough onto a floured surface. Knead it lightly just a few times. Then, pat it into a rectangle about 1 inch thick. Use a knife or a cookie cutter to cut the dough into triangles or circles. Place the cut scones on the baking sheet, leaving space for them to rise.
Baking the Scones
– Sprinkle with brown sugar.
– Bake and monitor for desired golden color.
Before baking, sprinkle some brown sugar on top of each scone. This will give them a lovely, sweet crust. Bake your scones in the preheated oven for 15-18 minutes. Keep an eye on them. They should be golden brown on the edges when done.
Cooling and Serving
– Transfer to wire rack.
– Allow to cool slightly before serving.
Once they are baked, move the scones to a wire rack. Let them cool for a few minutes. This cooling step helps them set. Enjoy these scones warm for the best taste!
Tips & Tricks
Achieving the Perfect Texture
To get the best scones, start with cold butter. Cold butter helps create flaky layers. When you mix it with flour, it forms pockets of steam. This steam makes your scones rise and stay light. Cut the butter into small cubes before adding it to the flour.
Be careful not to over-knead the dough. Knead it just a few times, no more than five. Too much kneading makes the scones tough. You want them soft and tender.
Flavor Enhancements
You can boost the flavor of your scones with spices. Try adding a pinch of cinnamon or nutmeg. These spices add warmth and depth. You can also use flavored maple syrup. A vanilla or bourbon-infused syrup adds a fun twist.
Presentation and Serving Ideas
Serve your scones on a rustic wooden board. This adds charm and warmth to your table. You can drizzle extra maple syrup on top for a sweet touch. Clotted cream is a great addition too. It makes each bite richer and more indulgent. Try arranging your scones in a circle for a beautiful display. This makes for a lovely treat at any gathering.

Variations
Nut-Free Option
If you prefer not to use nuts, just leave out the chopped pecans. Your scones will still be rich and tasty. This option is great for those with nut allergies. You can also add a bit more flour to keep the texture balanced.
Fruit-Infused Scones
Want to add some fruity flavor? You can mix in dried fruits like cranberries or blueberries. These fruits give a sweet burst in every bite. Just fold them into the dough before shaping the scones. Use about a half cup of dried fruit for the best results.
Vegan Version
For a vegan scone, swap out the butter and cream. Use plant-based butter and a non-dairy cream. Almond milk or coconut cream works well. You can also replace the egg with a flax egg. Just mix one tablespoon of ground flaxseed with three tablespoons of water and let it sit for a few minutes before adding. This makes your scones vegan-friendly and just as delicious!
Storage Info
Storing Leftover Scones
To keep your scones fresh, use an airtight container. Place them gently inside. This helps prevent them from drying out. You can store them at room temperature for up to three days. If you want to keep them longer, consider freezing.
Freezing for Later Use
You can freeze scones in two ways: unbaked or baked. For unbaked scones, shape them and place them on a baking sheet. Freeze them until hard, then transfer to a bag. This way, you can bake fresh scones anytime! If you freeze baked scones, let them cool first. Wrap each one in plastic wrap and place them in a freezer bag. They last up to three months.
Reheating Instructions
To reheat scones, I recommend the oven. Preheat it to 350°F (175°C). Place the scones on a baking sheet and warm them for about 10 minutes. This keeps them soft and tasty. You can also use a microwave, but they may get a bit chewy. Enjoy your scones warm for the best flavor!
FAQs
How do I know when scones are done?
You can tell when scones are done by checking their color. Look for golden-brown edges. The top should also be slightly firm to the touch. If you see a nice caramel color, they are ready. They usually take around 15 to 18 minutes in the oven.
Can I make the dough ahead of time?
Yes, you can make the scone dough ahead of time. To do this, prepare the dough as instructed. After shaping the scones, place them on a baking sheet. Cover them tightly with plastic wrap and store in the fridge for up to 24 hours. When ready to bake, just sprinkle with brown sugar and bake as normal.
How can I adjust the sweetness of the scones?
You can easily adjust the sweetness of your scones. If you want them less sweet, reduce the brown sugar or maple syrup by a tablespoon. If you like them sweeter, add a bit more of either ingredient. Taste the dough before baking to find your perfect balance.
This guide covered the key ingredients and steps for making delightful scones. You learned how to mix, shape, and bake them to perfection. Remember to use cold butter for the best texture. Feel free to get creative with flavors and variations. Store leftovers properly or freeze them for later. Enjoy your freshly baked scones with your favorite toppings. Simple tweaks can make a big difference in taste. Happy baking!


