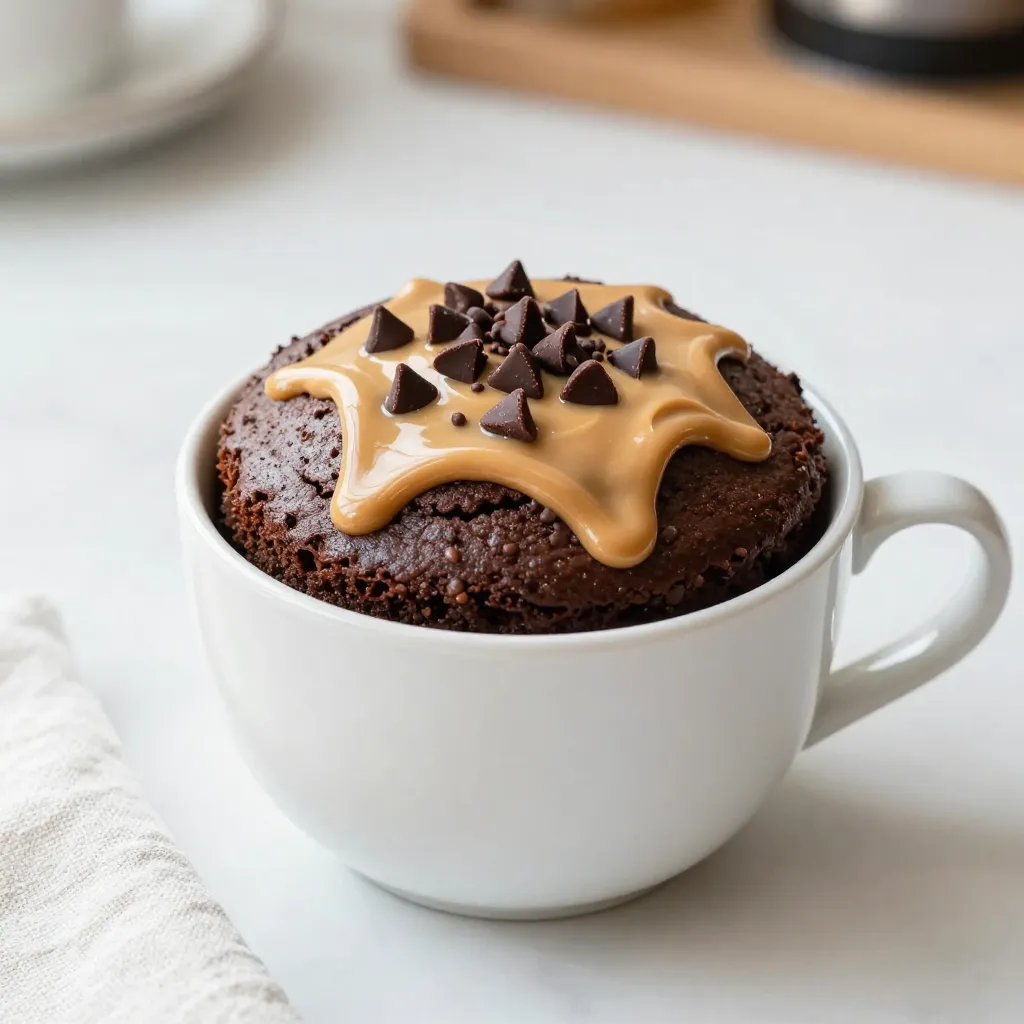
Chocolate Peanut Butter Mug Cake Delight in Minutes
Craving a quick treat? Let me introduce you to the delicious Chocolate Peanut Butter Mug Cake! In just a few
Craving a quick treat? Let me introduce you to the delicious Chocolate Peanut Butter Mug Cake! In just a few

Craving a sweet treat that perfectly combines the flavors of fall? Look no further than my Caramel Apple Cider Blondies!

Craving a hearty meal that’s both spicy and comforting? Try my Spicy Garlic Chicken Ramen! This simple recipe bursts with
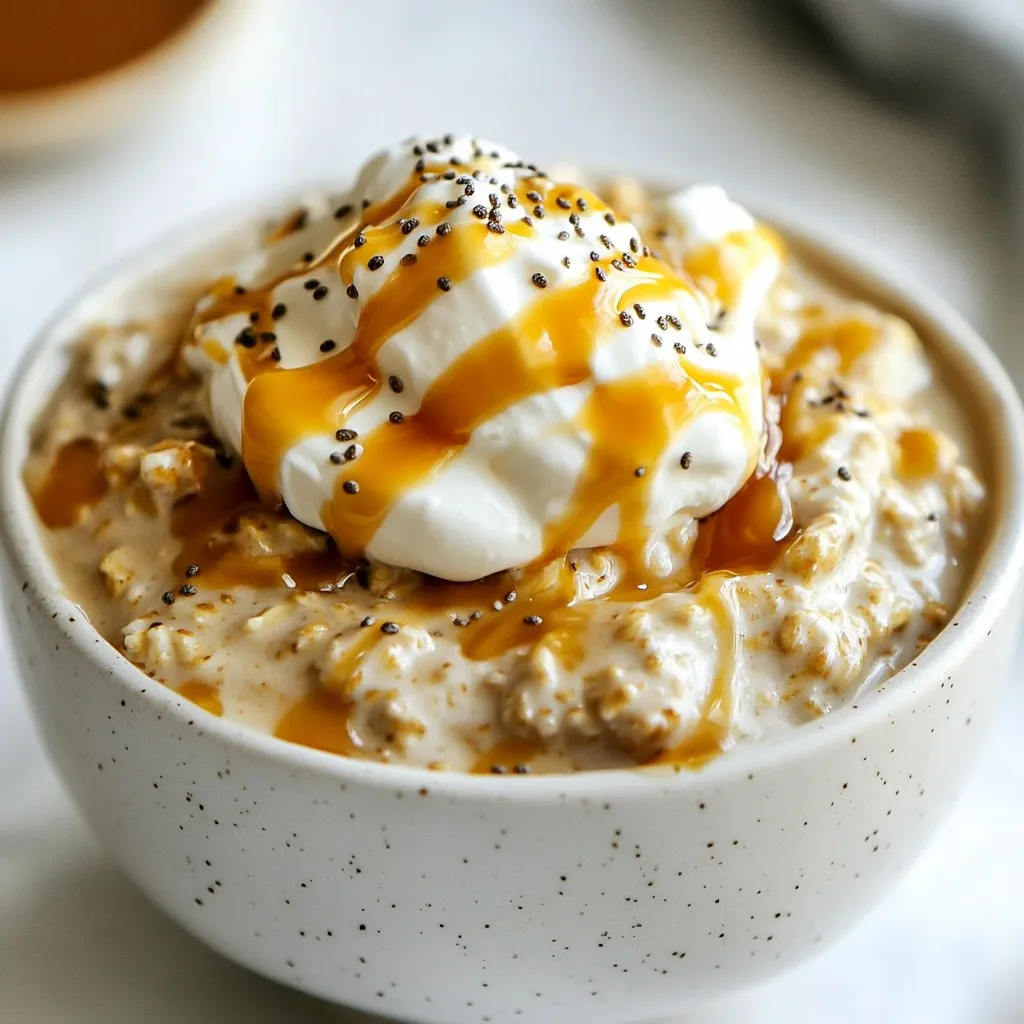
Start your day right with my Caramel Macchiato Overnight Oats! This tasty breakfast combines the rich flavors of caramel and
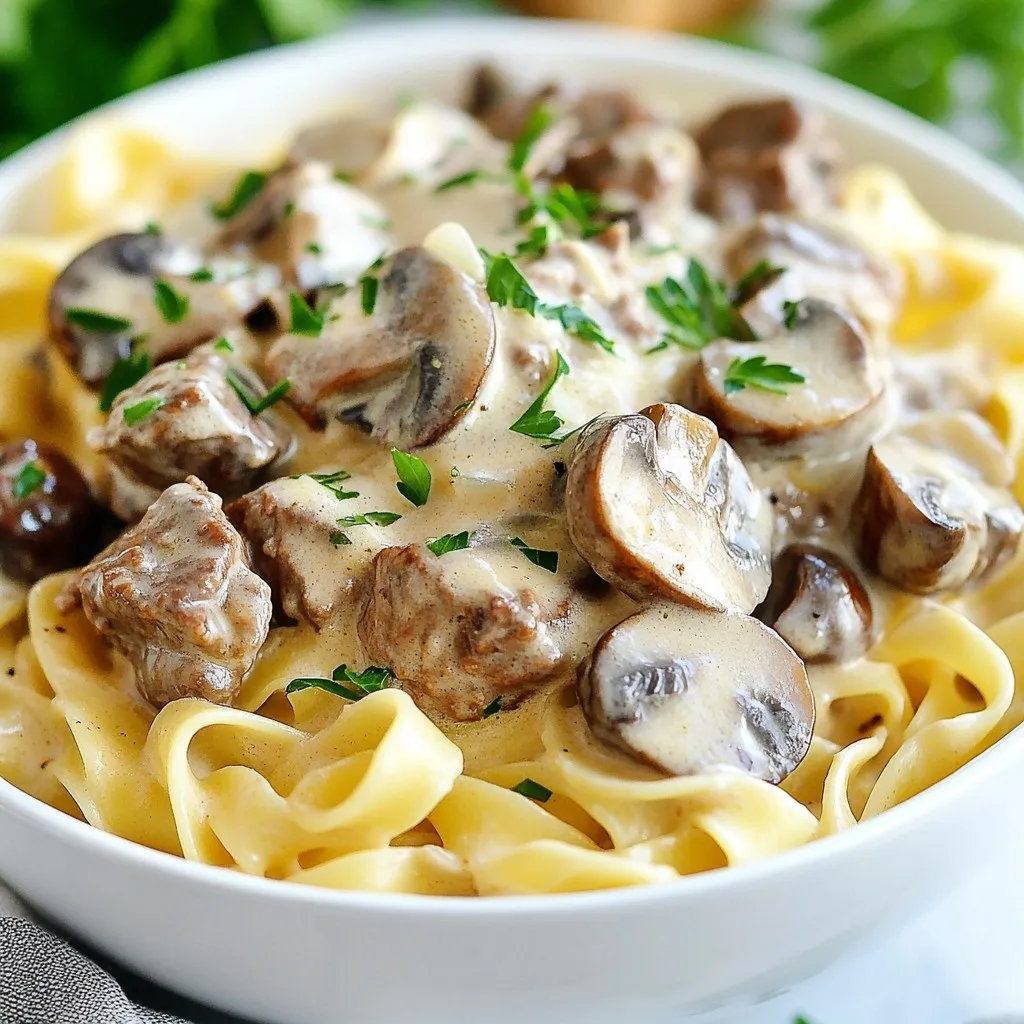
Craving a warm and hearty dish? Look no further than my Instant Pot Beef Stroganoff! This comforting dinner recipe is
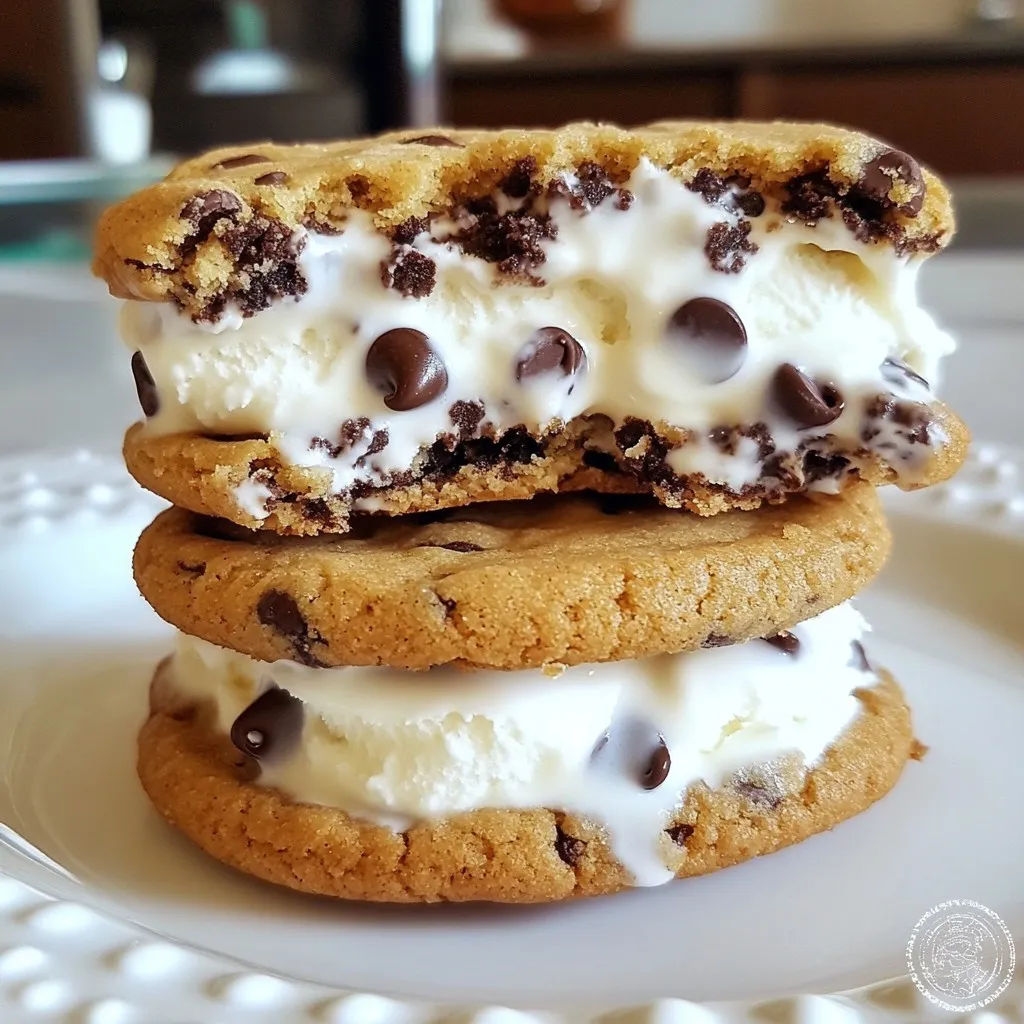
Looking for a fun treat that satisfies your sweet tooth? Look no further! Cookie dough ice cream sandwiches are simple

Warm up your spirit with a cup of caramel swirl hot chocolate! This comforting drink combines rich chocolate flavors with

Looking for a warm, cozy dish that’s full of flavor? Slow Cooker Tuscan Chicken is your answer! With just a
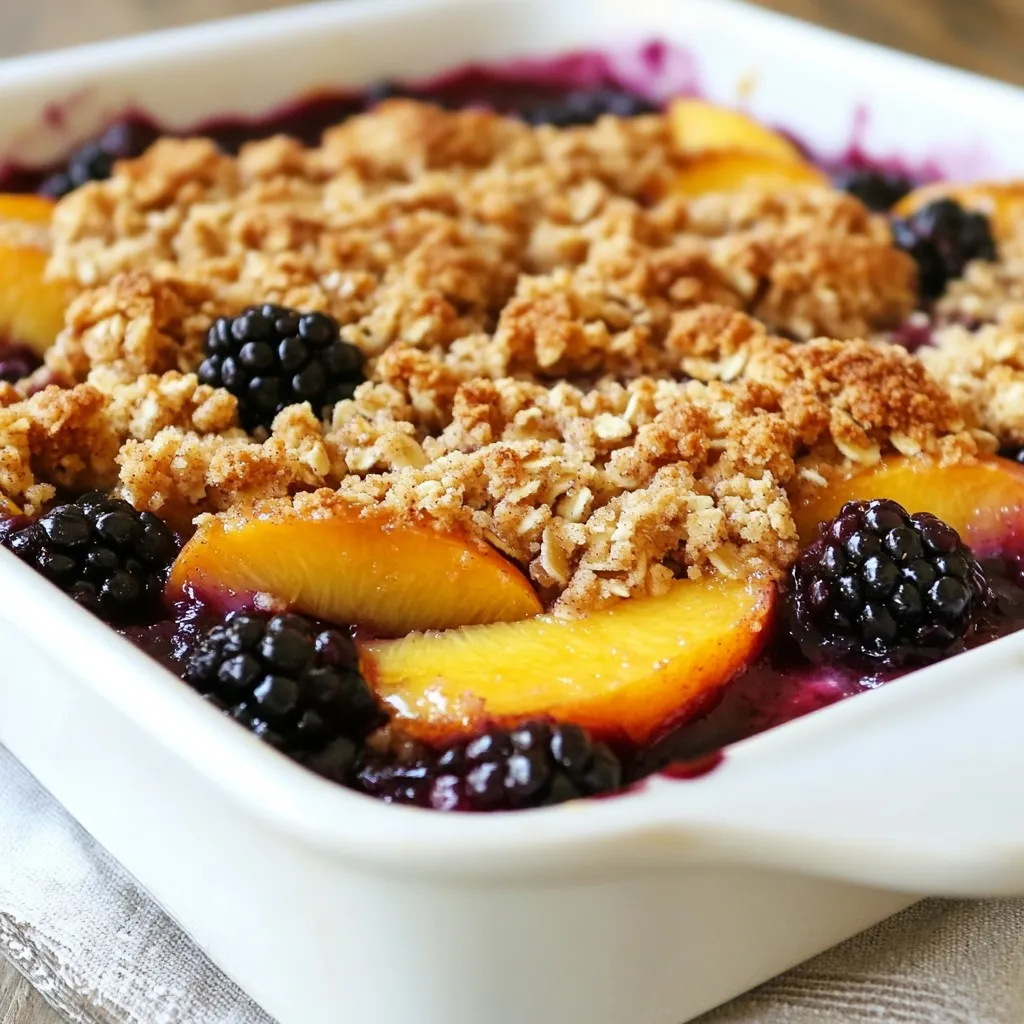
Craving a sweet treat that’s both fruity and crunchy? You’re in the right place! This Blackberry Peach Crisp is simple
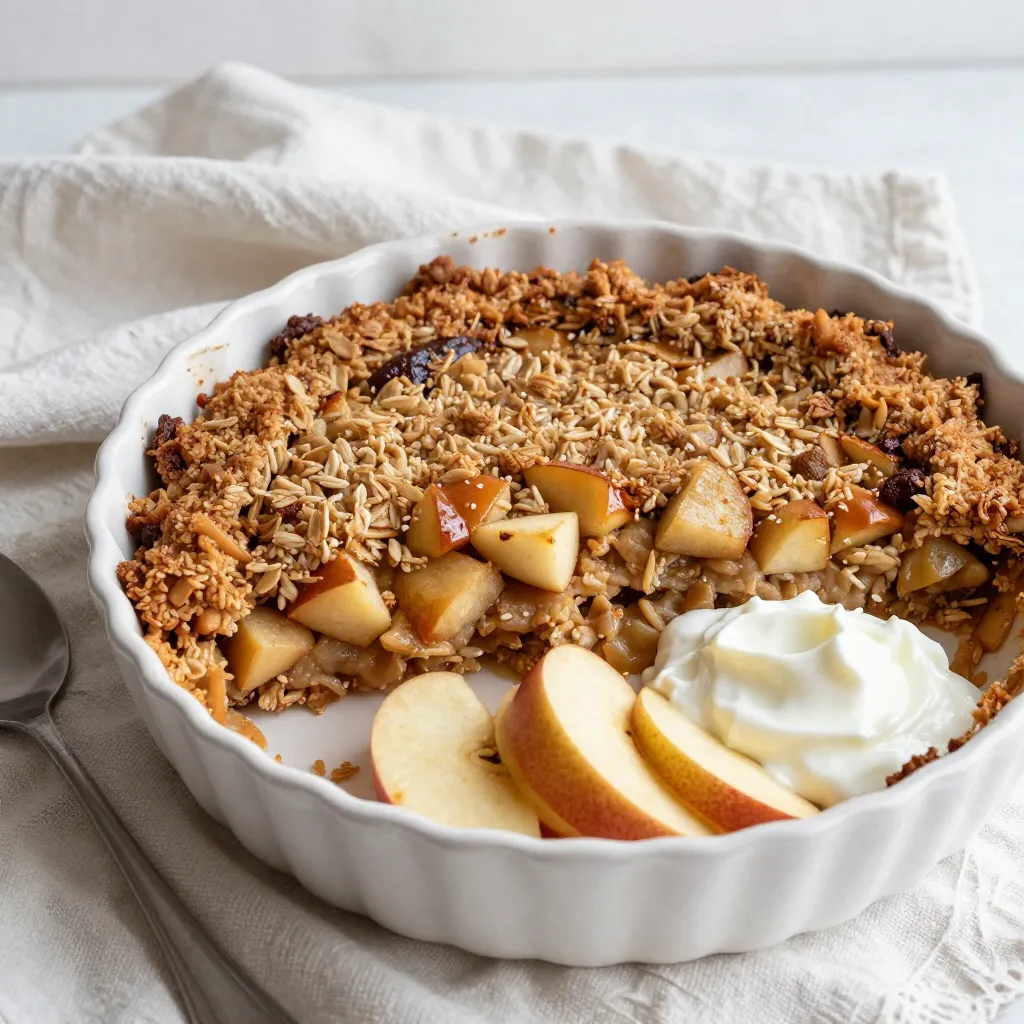
Looking for a simple, tasty breakfast? Let me introduce you to my Irresistible Apple Pie Oatmeal Bake! This dish is
