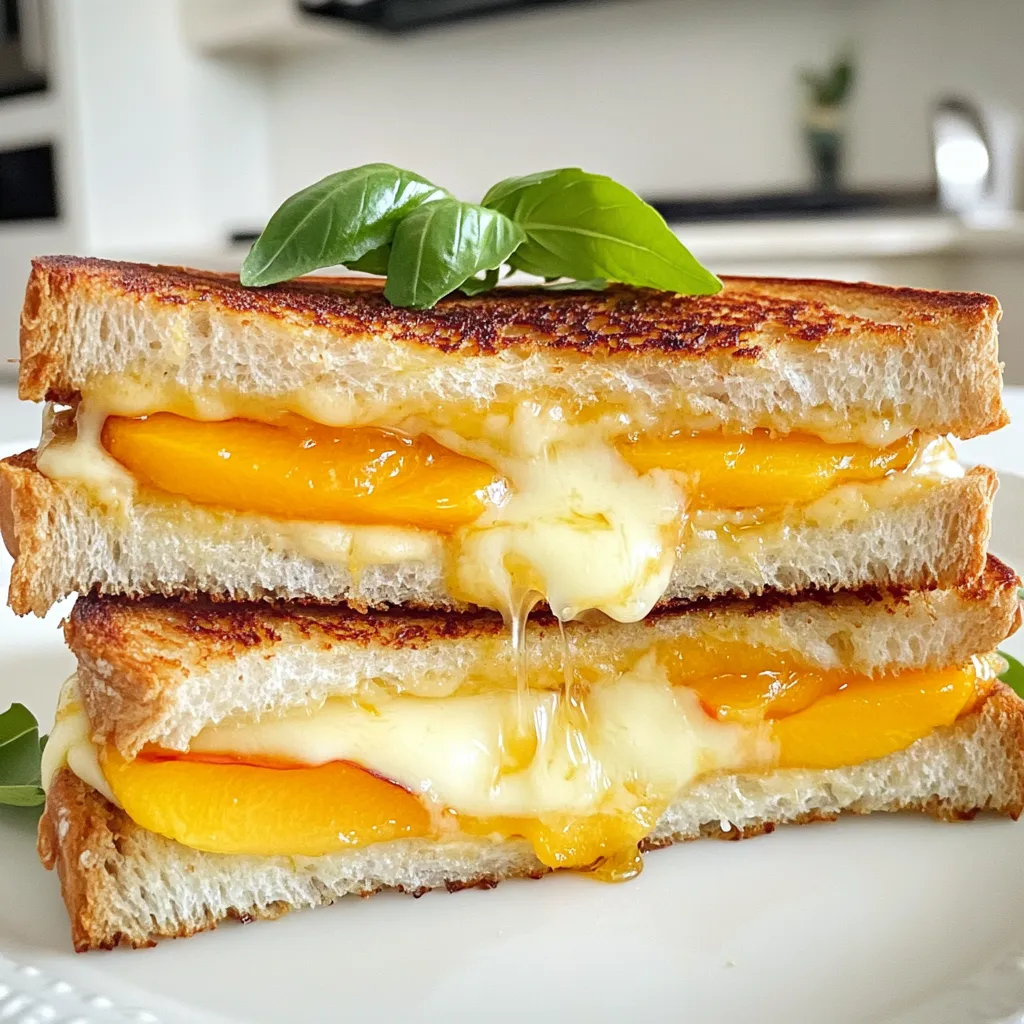
Honey Peach White Cheddar Grilled Cheese Delight
Are you ready to elevate your grilled cheese game? The Honey Peach White Cheddar Grilled Cheese Delight is not just
Are you ready to elevate your grilled cheese game? The Honey Peach White Cheddar Grilled Cheese Delight is not just
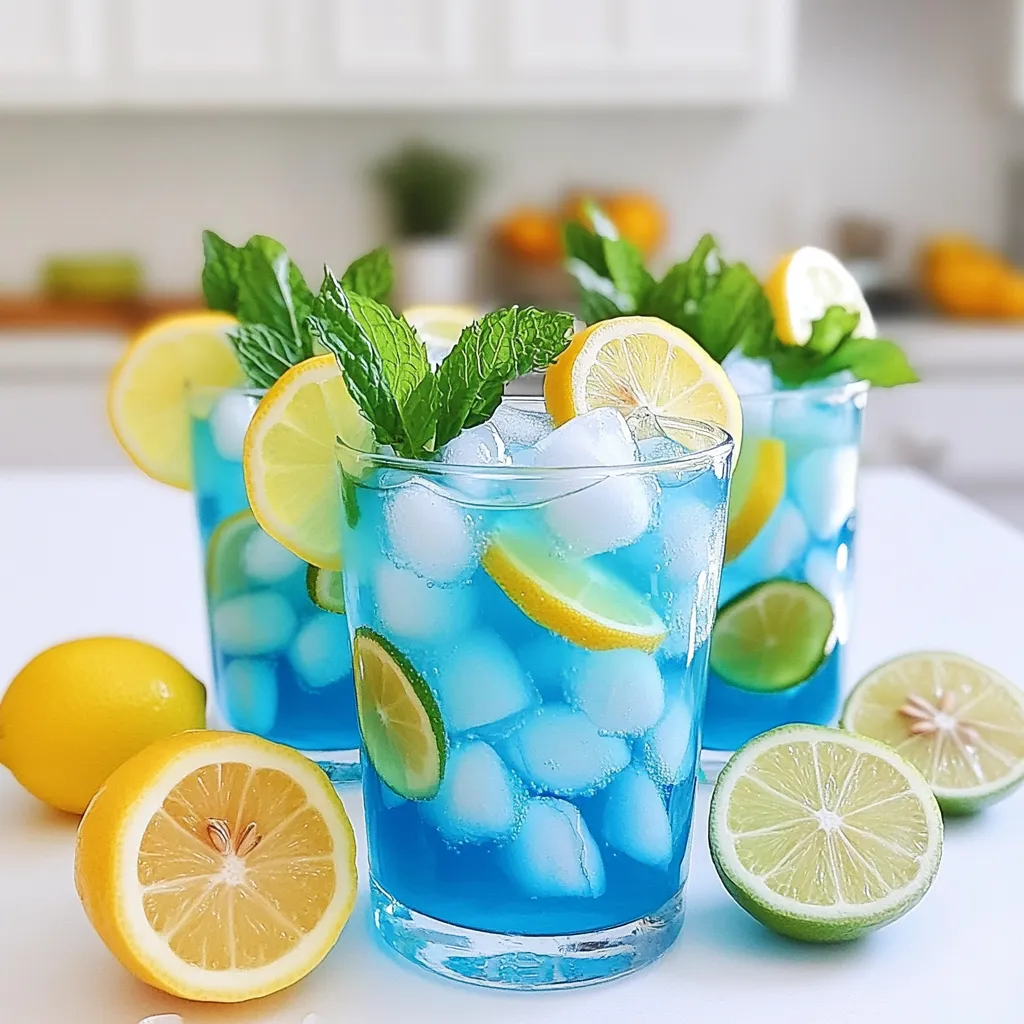
Looking for a refreshing drink that stands out? Try my Blue Lagoon Tropical Lemonade! This vibrant drink mixes the tang
Are you ready to savor a hearty meal that’s as fun to make as it is to eat? The Texas

Are you ready to whip up a warm and hearty dish that’s packed with flavor? My Slow Cooker Rustic Veggie

Get ready to indulge in a sweet, creamy delight with my No Bake White Chocolate Pumpkin Fudge! This easy recipe
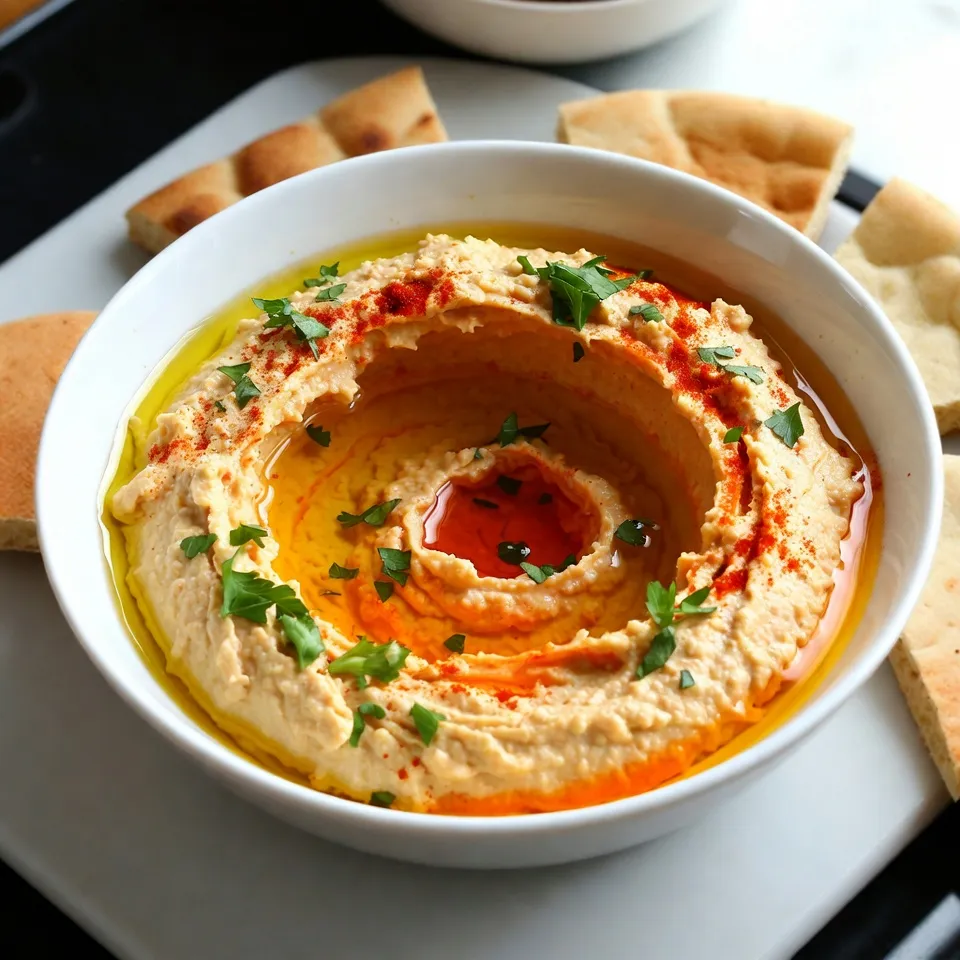
Are you ready to elevate your snack game? My Roasted Red Pepper Hummus recipe is the perfect blend of creamy,
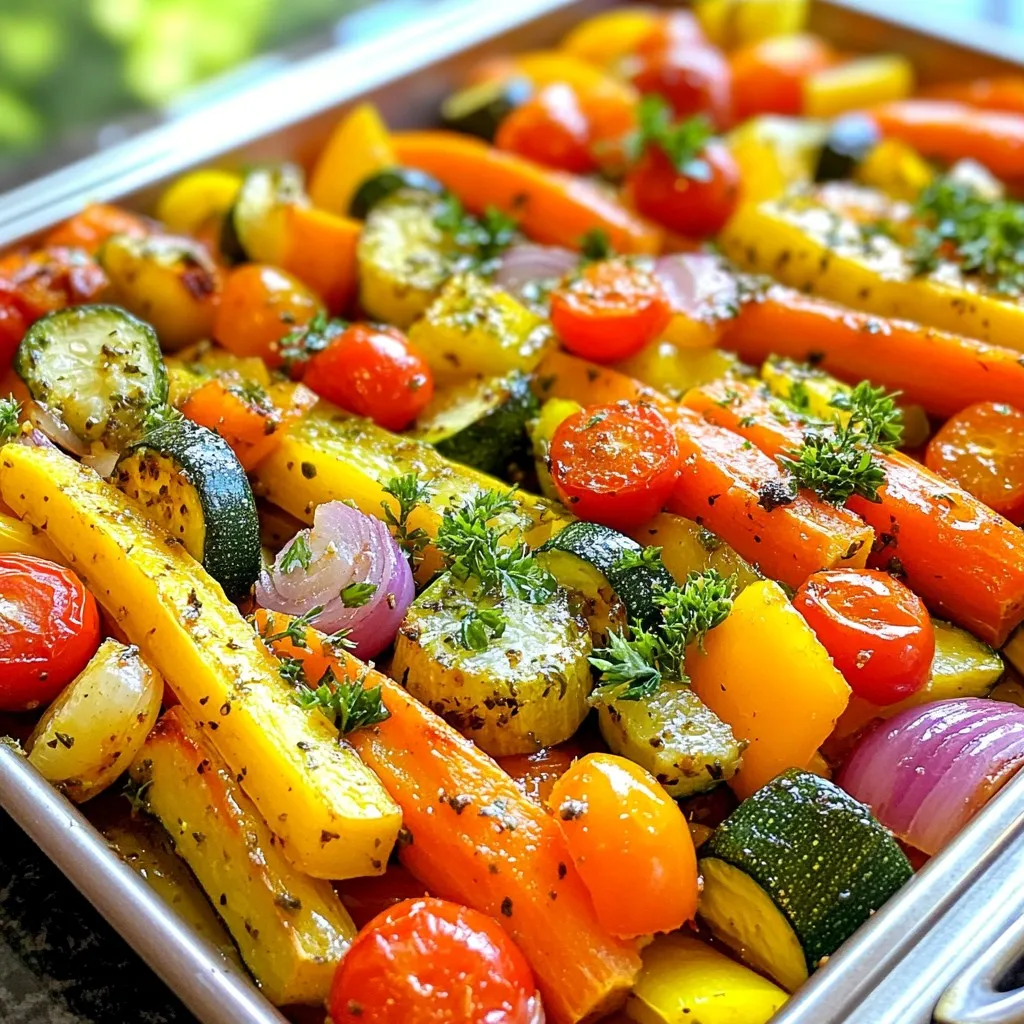
Are you looking for a simple, tasty meal that bursts with flavor? Garlic Herb Roasted Vegetables are your answer! Perfect
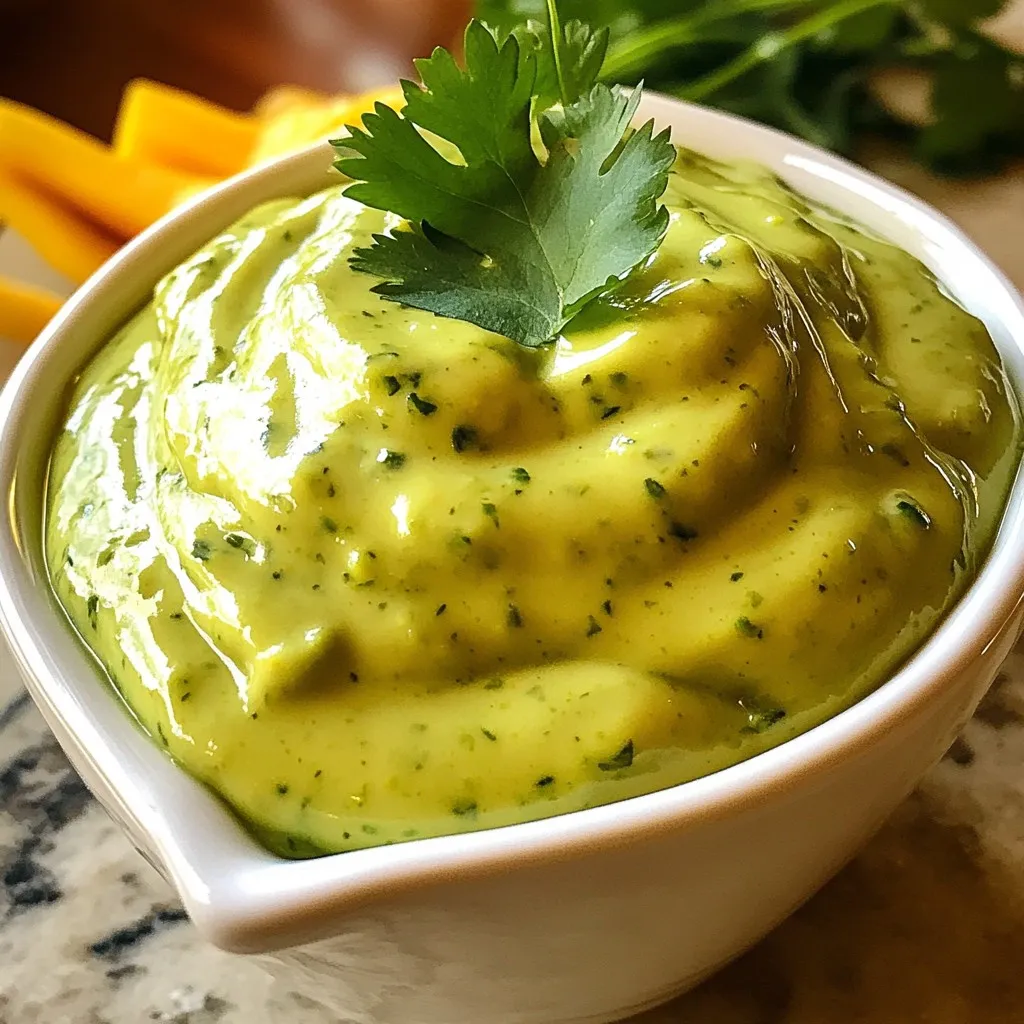
Are you ready to transform your salads and meals? My Creamy Avocado Cilantro Dressing packs a fresh punch! With just
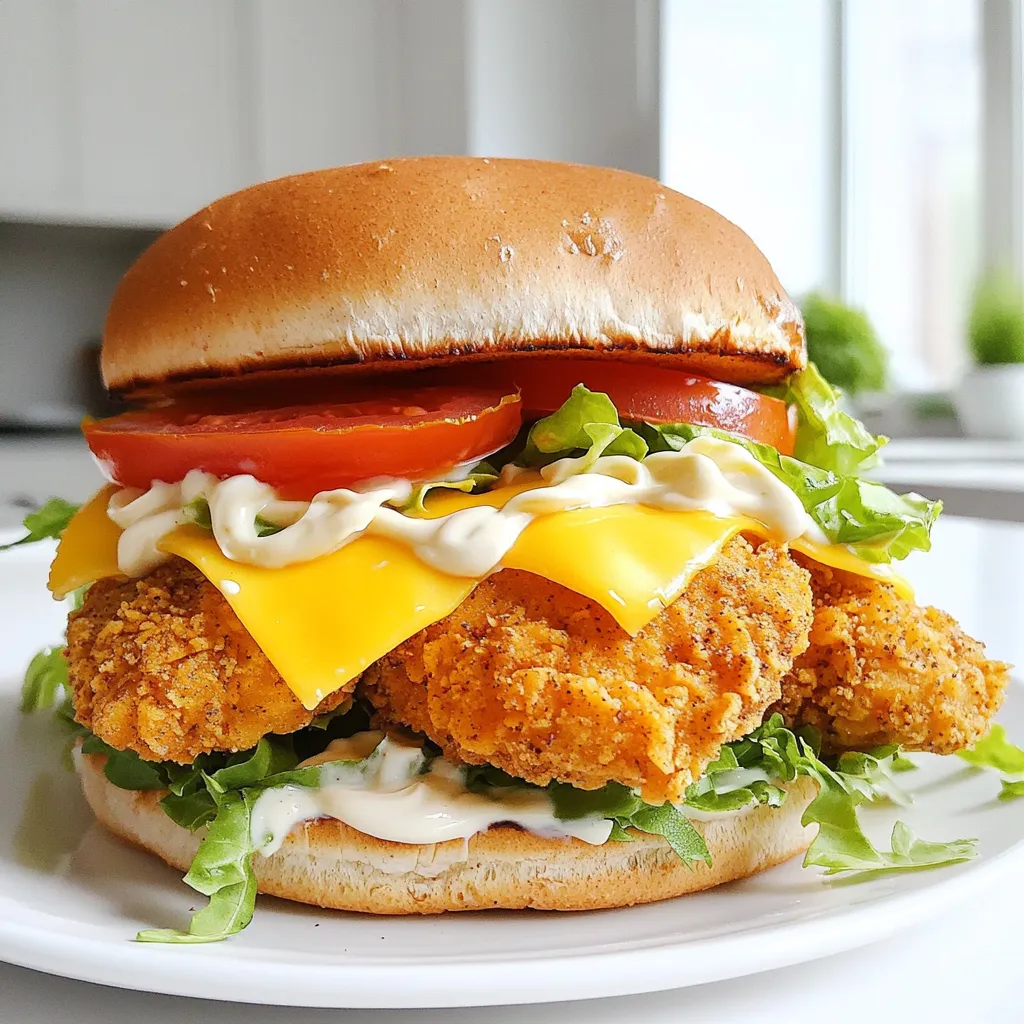
Craving a crispy chicken sandwich that’s packed with flavor? You’re in the right place! I’m excited to share my recipe
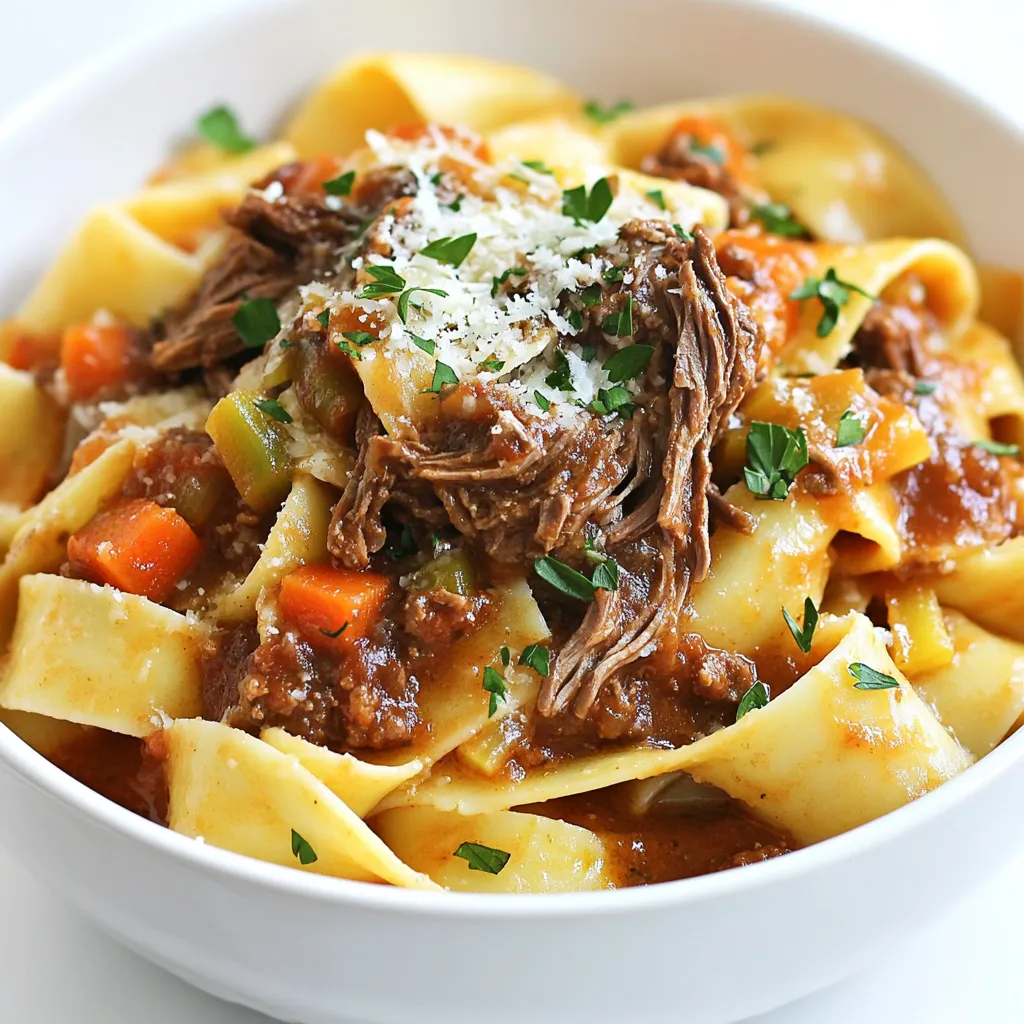
Are you ready to indulge in a cozy, mouthwatering meal? This Beef Ragu with Pappardelle Slow Cooker recipe is not
