Garlic Butter Shrimp Scampi Flavorful and Easy Recipe
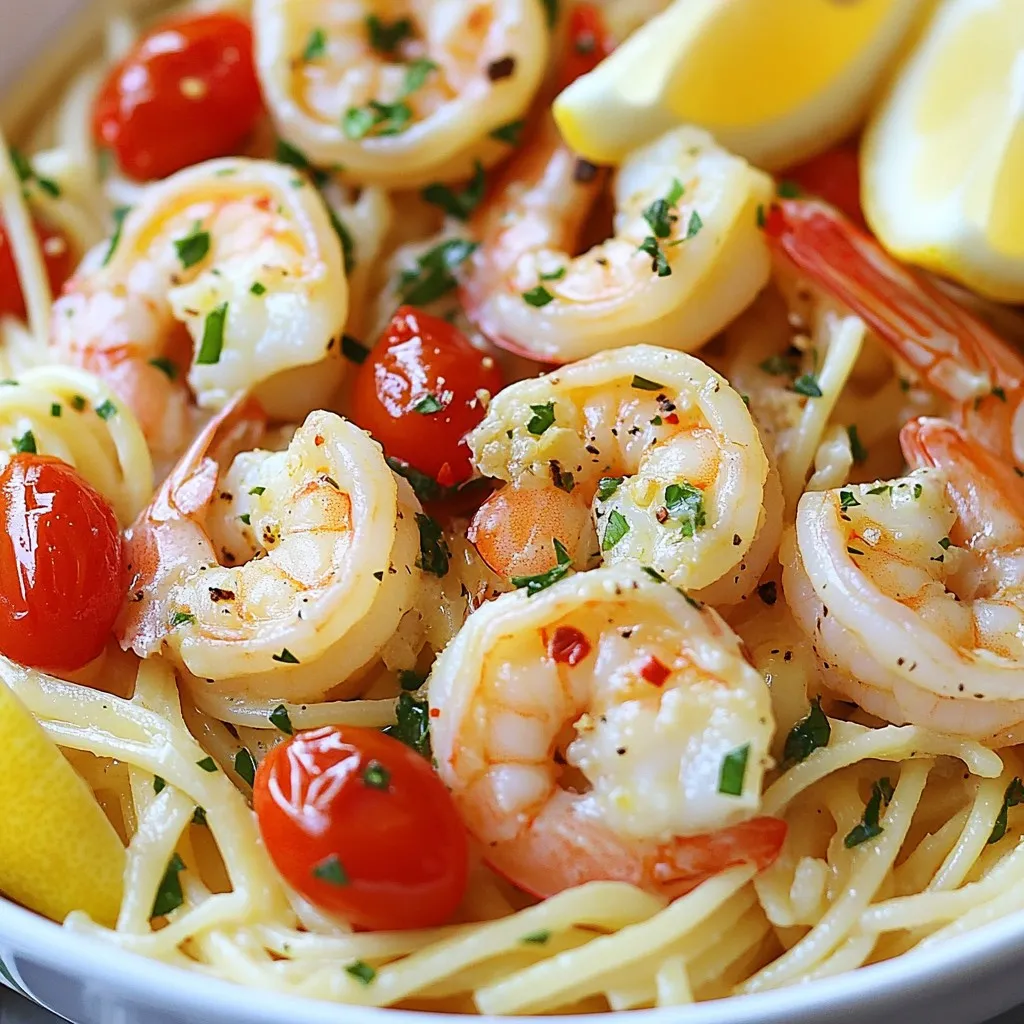
Are you craving a dish that’s both simple and packed with flavor? Look no further than Garlic Butter Shrimp Scampi!
Are you craving a dish that’s both simple and packed with flavor? Look no further than Garlic Butter Shrimp Scampi!
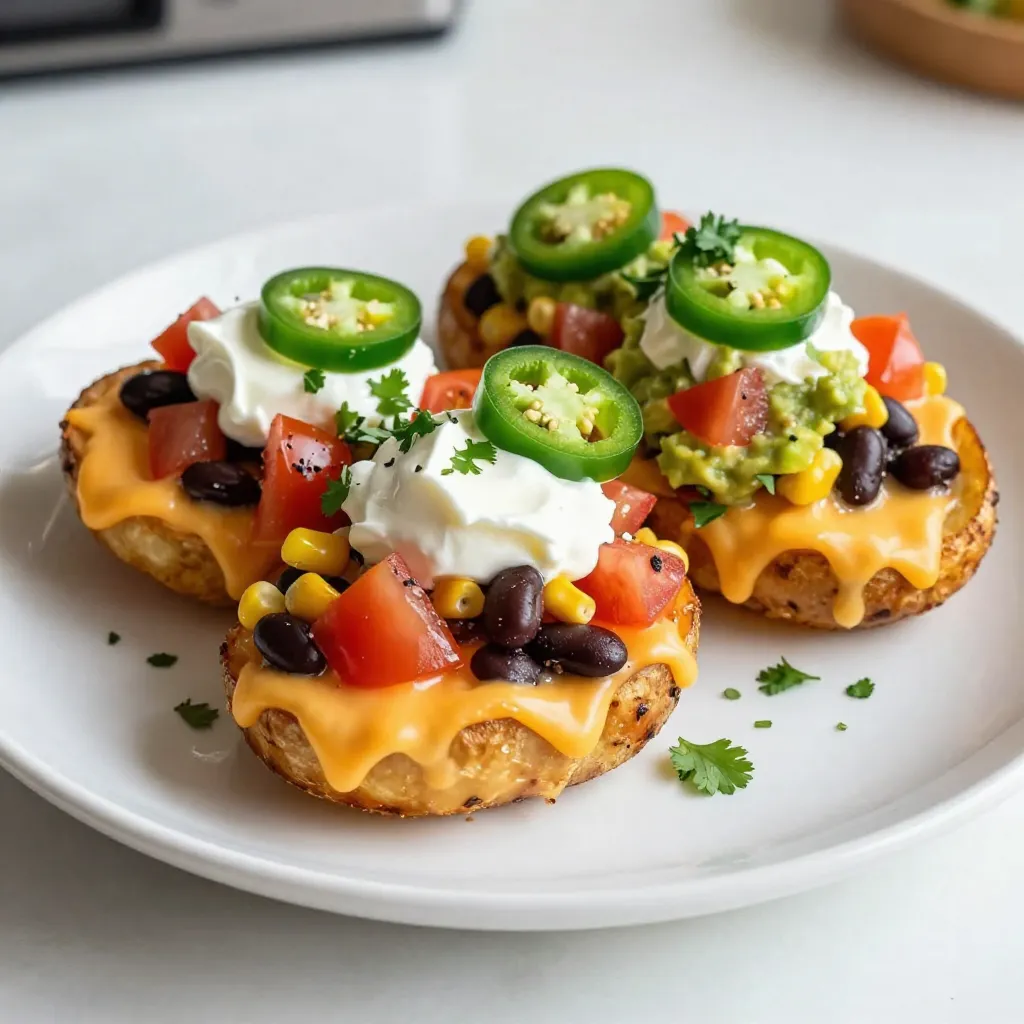
Are you ready to dive into a fun and tasty treat? Loaded nacho potato skins combine crispy, golden potato skins
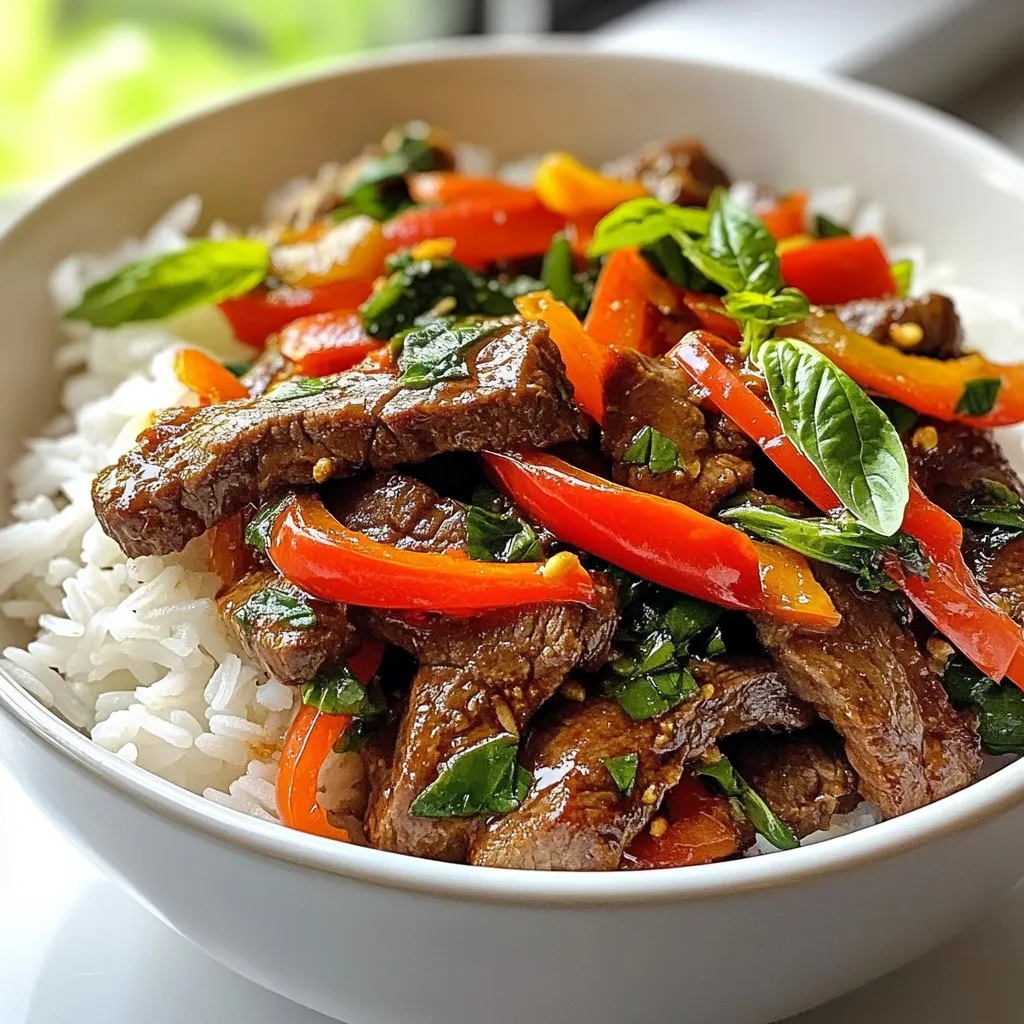
Are you ready to spice up your dinner routine? This easy Spicy Thai Basil Beef recipe combines savory flavors with

Are you ready to elevate your weeknight dinners? This Teriyaki Tofu Stir-Fry is quick, simple, and bursting with flavor! In
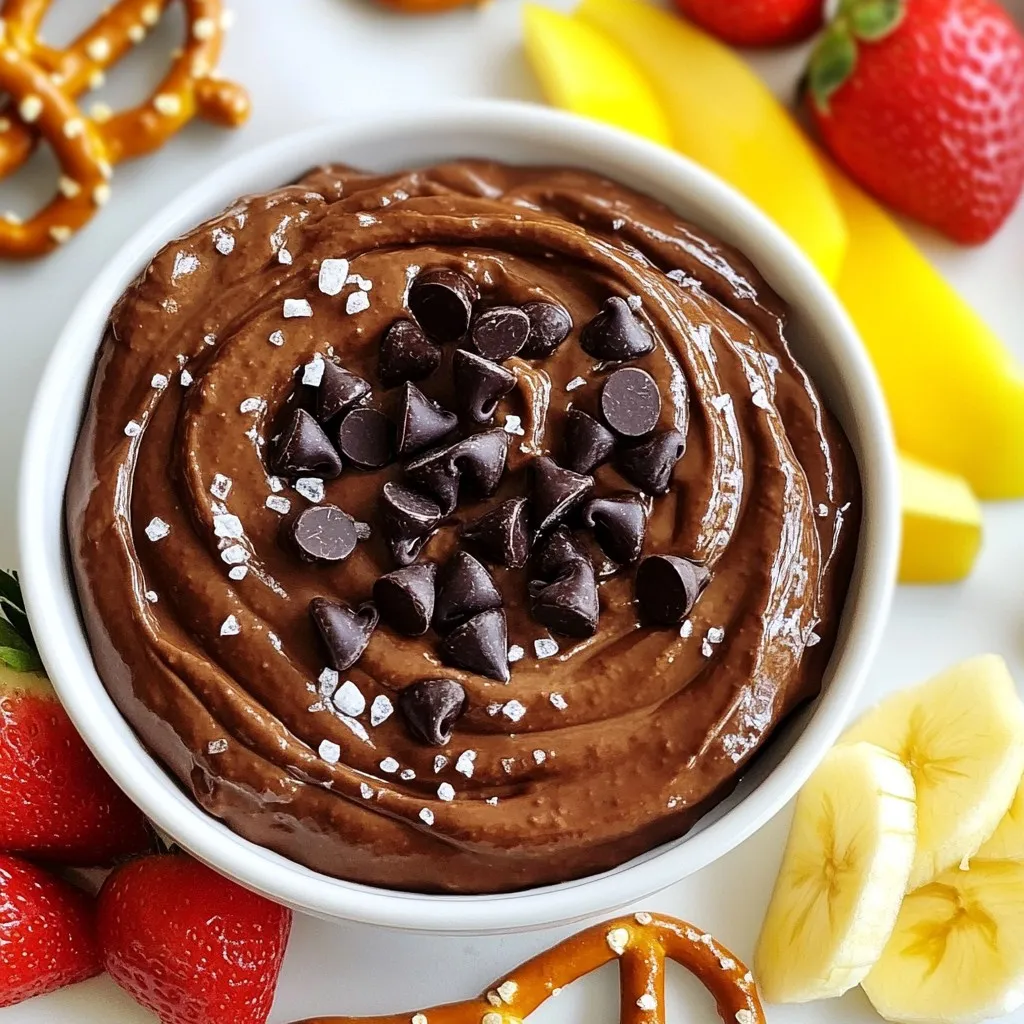
Looking for a fun and tasty treat? Brownie Batter Hummus is the answer! This creamy snack mixes healthy chickpeas with
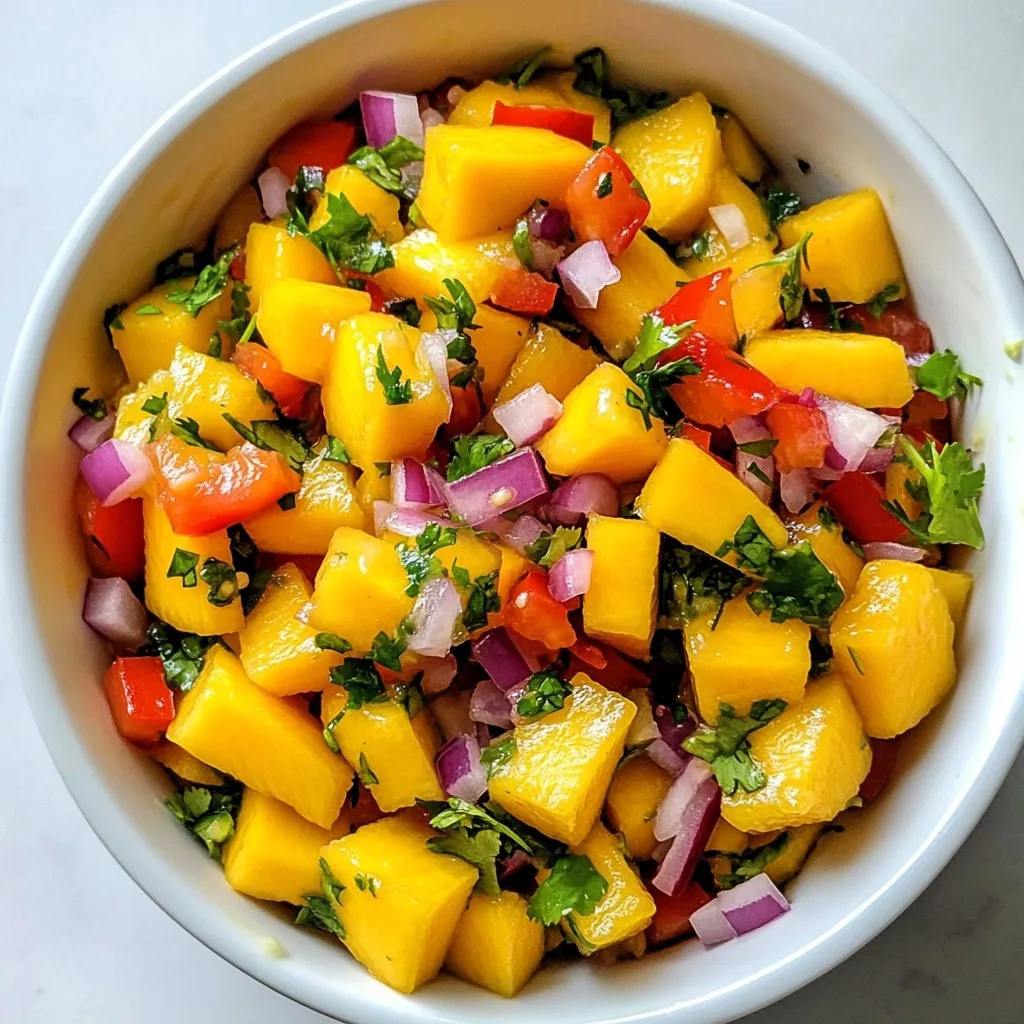
Are you ready to spice up your meals? This Mango Habanero Salsa combines the sweet taste of ripe mango with
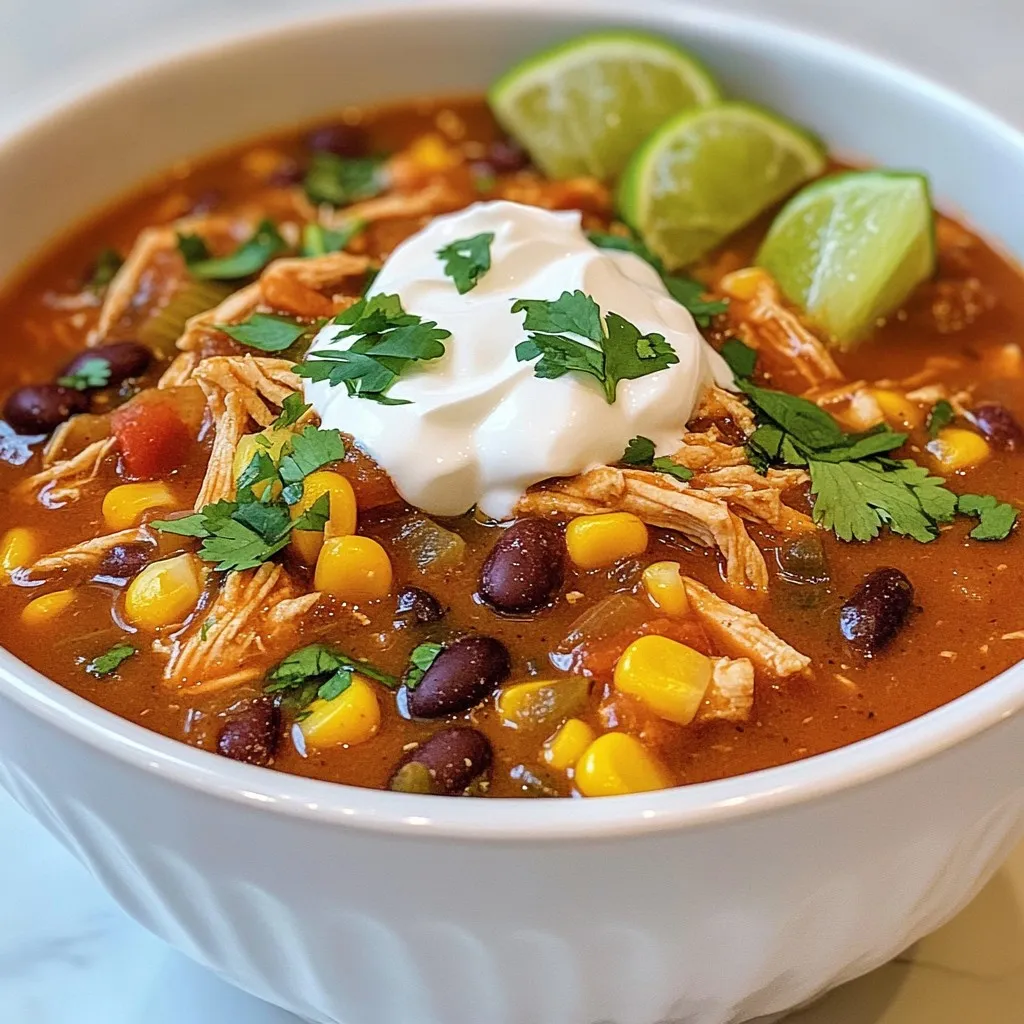
Craving a warm, delicious dish? My Chicken Enchilada Soup is just what you need! This hearty and flavorful recipe combines
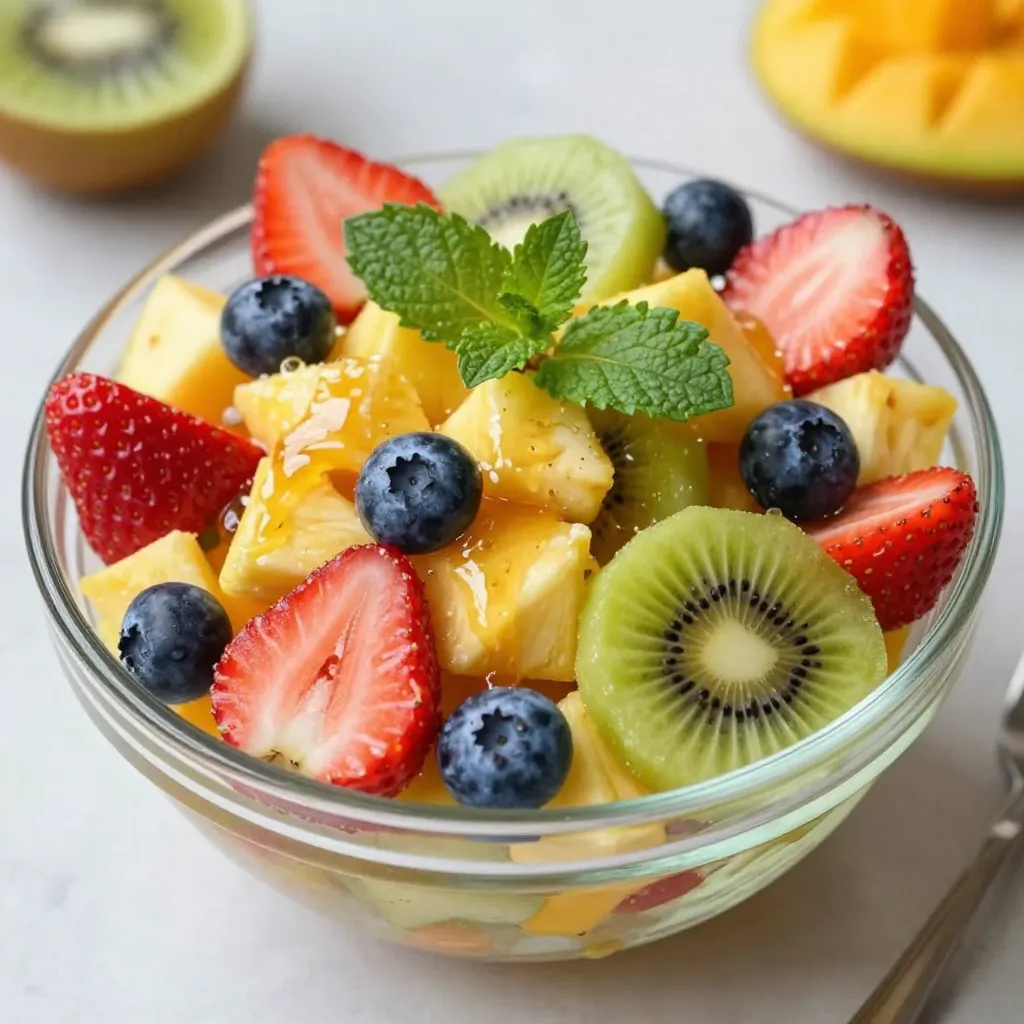
Looking for a vibrant, tasty dish that brightens your day? Try my Honey Lime Fruit Salad! Packed with fresh strawberries,

Looking for a refreshing drink that’s simple and delicious? Honey Lavender Lemonade is your answer! With just a few easy

Looking for a quick and tasty treat? Try my Roasted Tomato Basil Bruschetta! This simple dish bursts with fresh flavors
