
Creamy Tomato Spinach Gnocchi Delightful One-Pan Meal
Get ready for a flavor-packed dinner with my Creamy Tomato Spinach Gnocchi! This delightful one-pan meal is simple to make,
Get ready for a flavor-packed dinner with my Creamy Tomato Spinach Gnocchi! This delightful one-pan meal is simple to make,

If you love berry desserts, you’re in for a treat! My Triple Berry Crumble is easy to make and packed
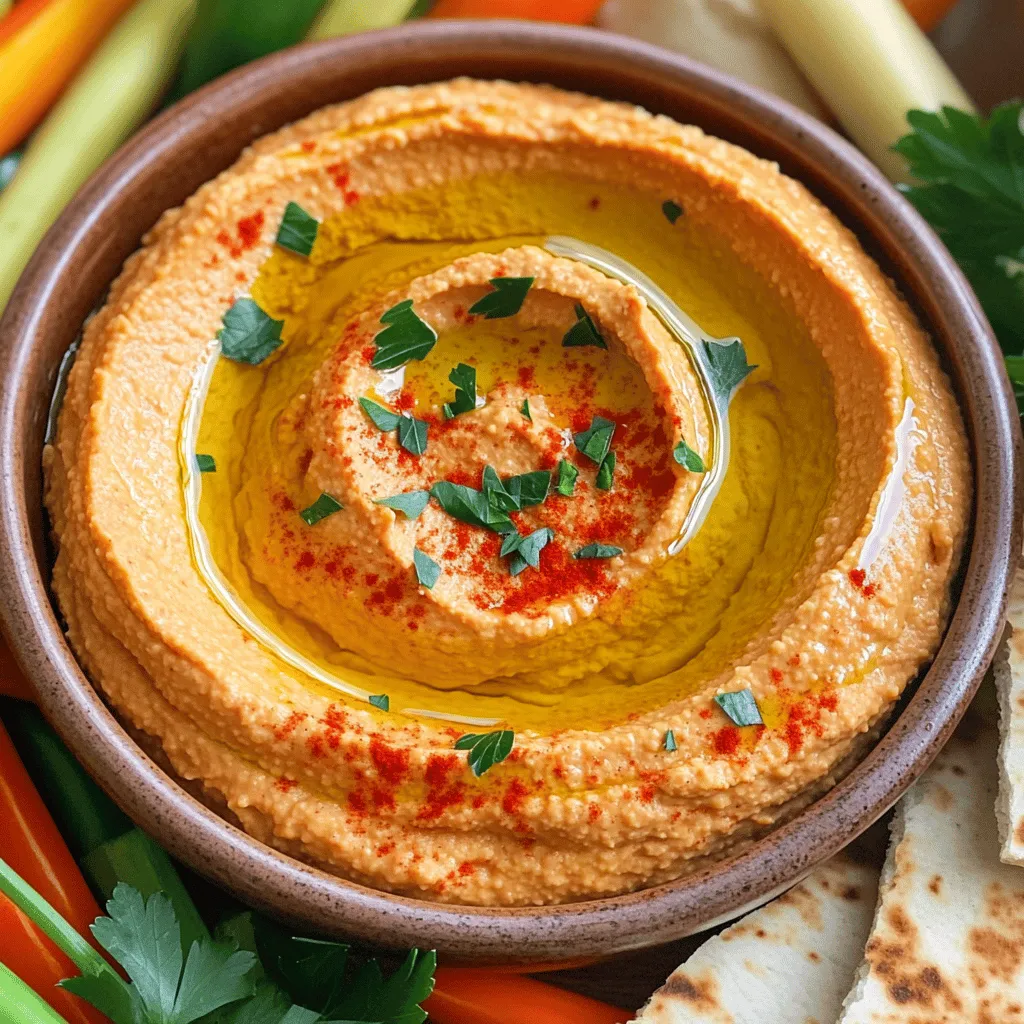
Are you looking for a simple and tasty snack that will impress your friends? This roasted red pepper hummus is

Get ready to indulge in a sweet and salty delight with my Salted Caramel Pretzel Bark! This easy treat combines
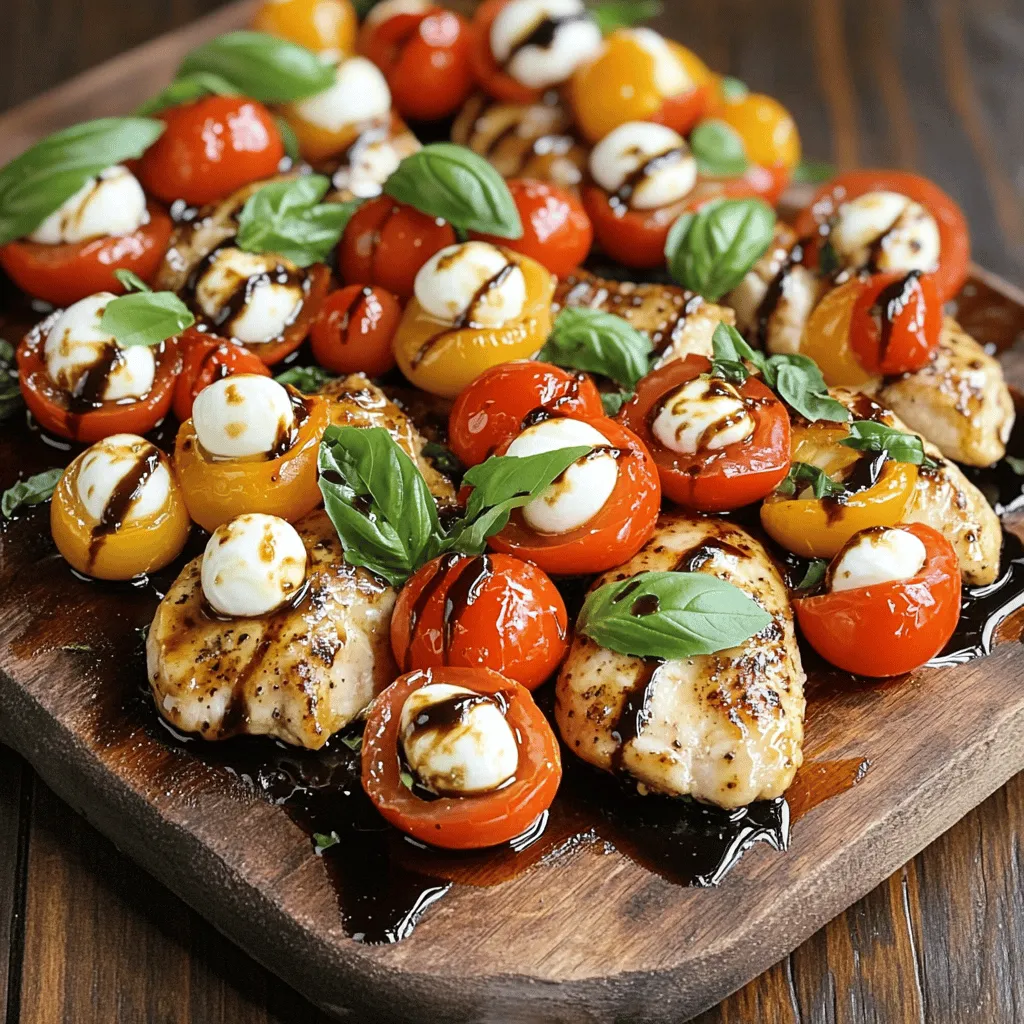
Looking for a quick and tasty weeknight meal? Try my Balsamic Glazed Caprese Chicken! This dish is easy to make
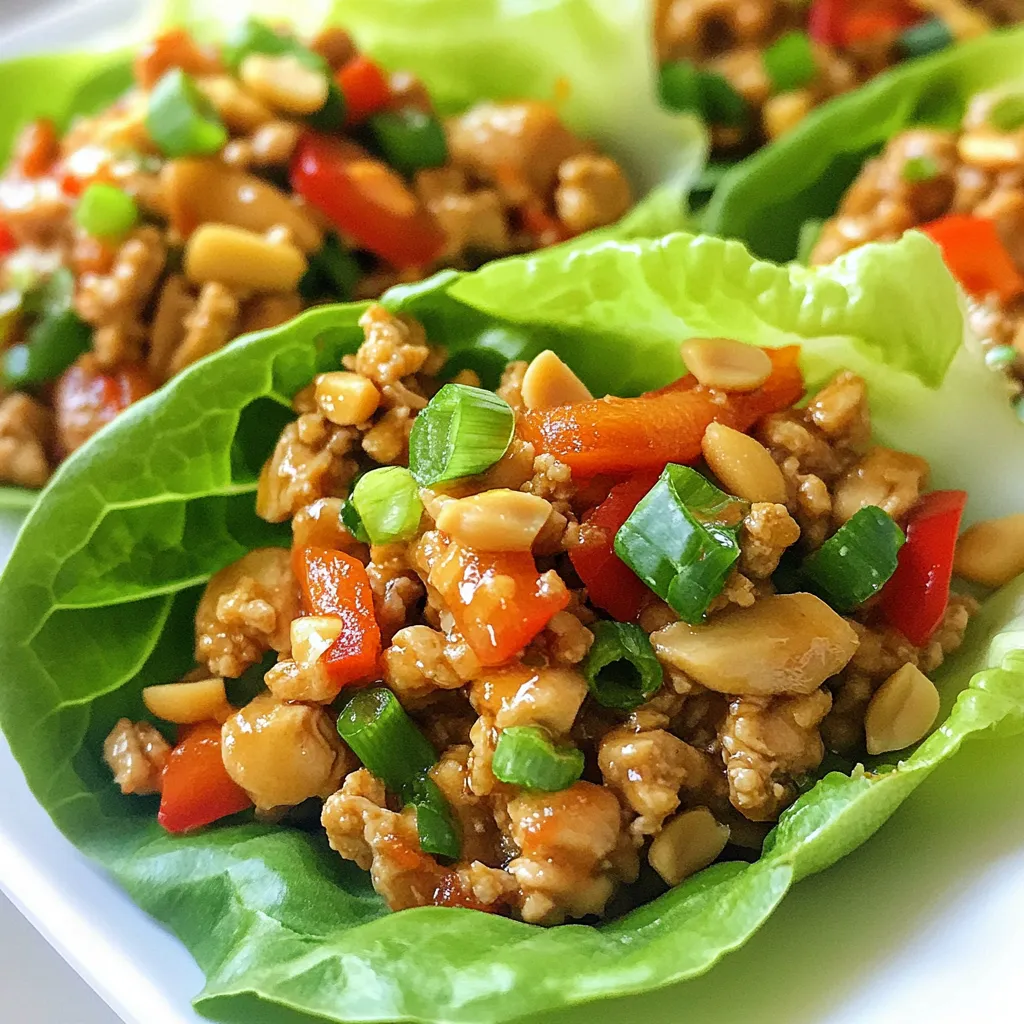
Are you ready to spice up your dinner routine? Firecracker Ground Chicken Lettuce Wraps are a fun and tasty way

Are you ready to elevate your pizza game? In this guide, I’ll show you how to create a BBQ Chicken
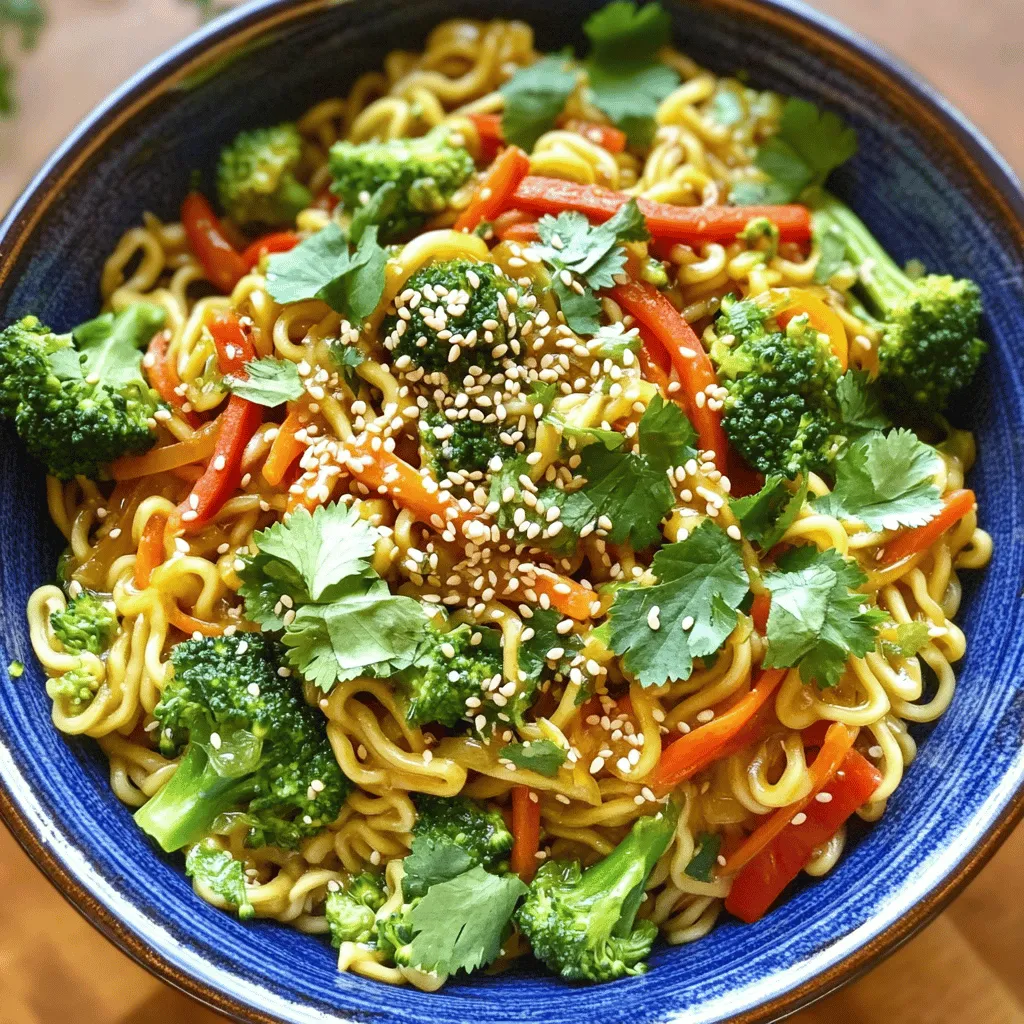
Are you craving a quick and delightful meal? Look no further than these Sesame Ginger Ramen Noodles! With fresh ingredients
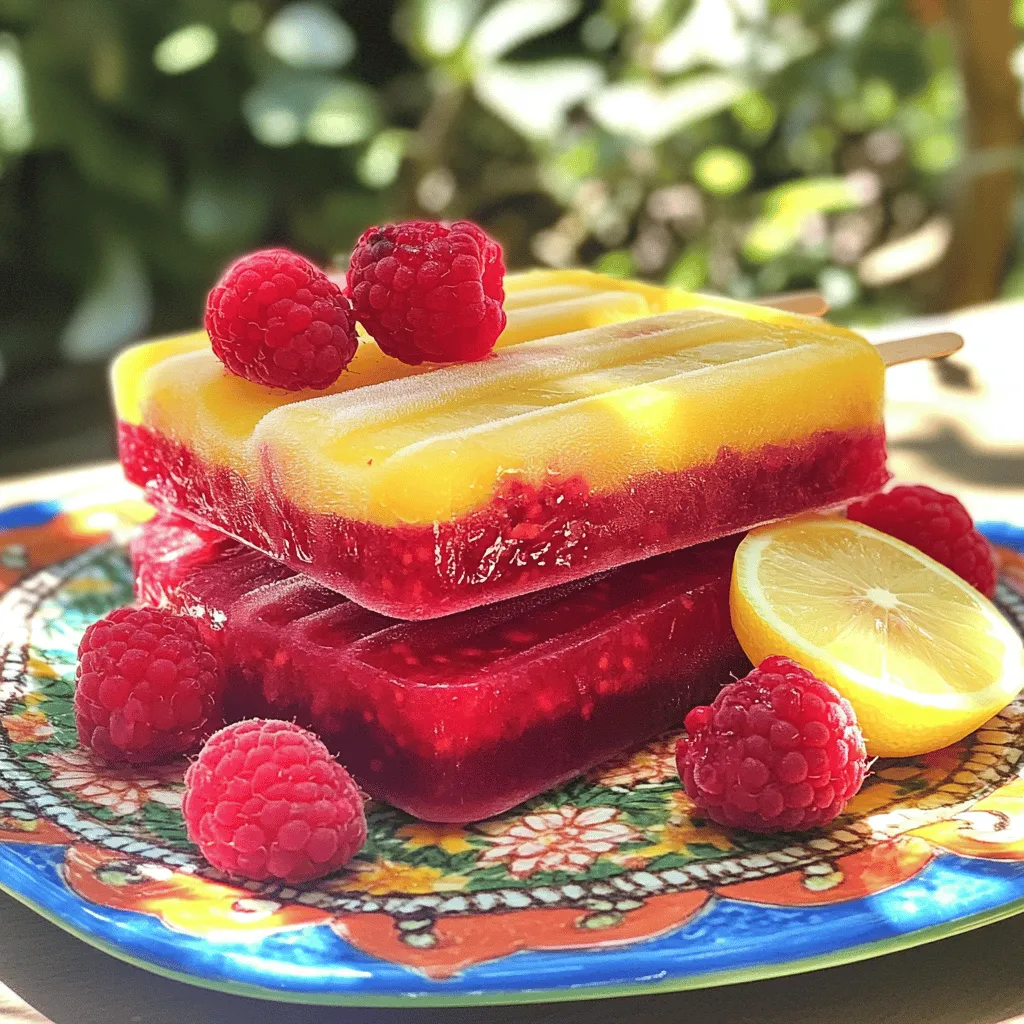
Looking for a refreshing treat that’s easy to make? Raspberry Lemonade Popsicles are your answer! Packed with sweet raspberries and
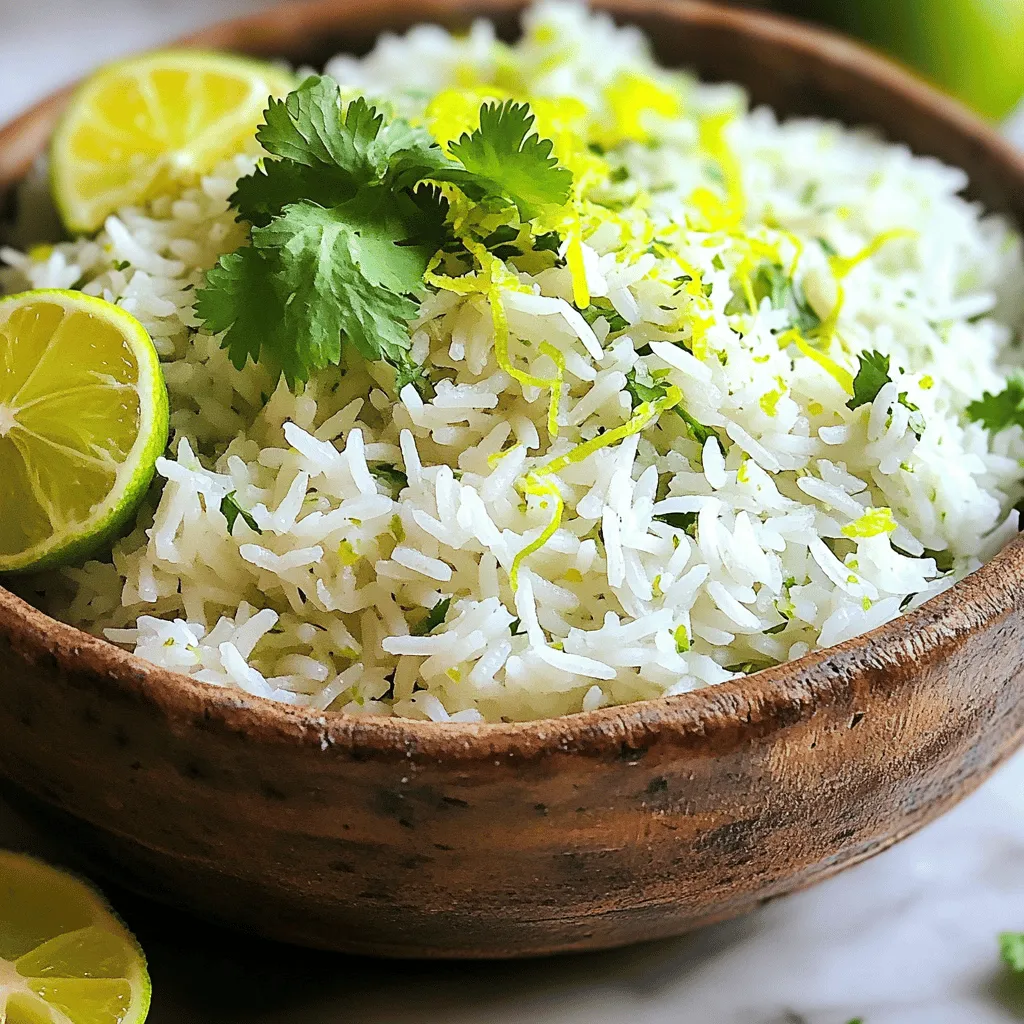
Looking for a simple, tasty side dish? You’ll love this cilantro lime rice recipe! It’s bright, zesty, and ready in
