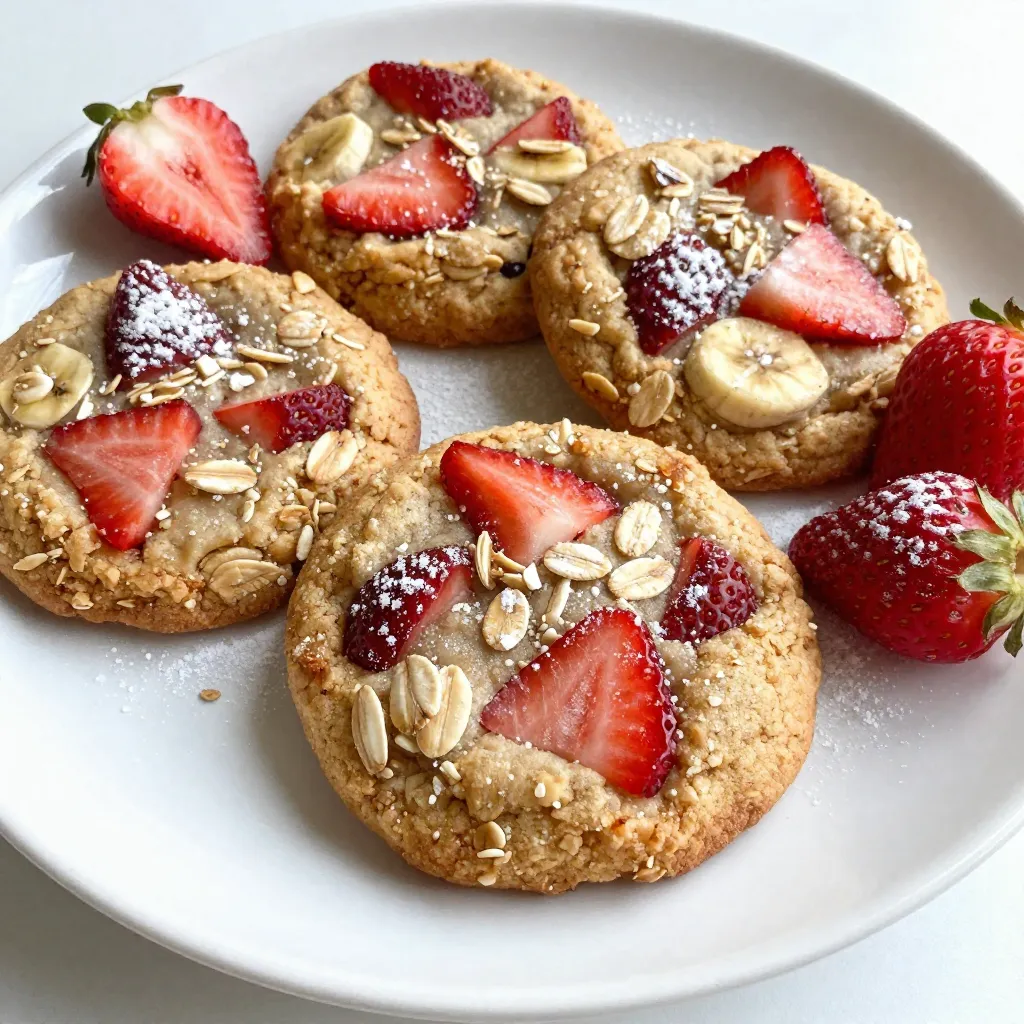
Strawberry Banana Oatmeal Cookies Easy and Tasty Treat
Looking for an easy and tasty treat? Let’s whip up some Strawberry Banana Oatmeal Cookies! These cookies are simple to
Looking for an easy and tasty treat? Let’s whip up some Strawberry Banana Oatmeal Cookies! These cookies are simple to
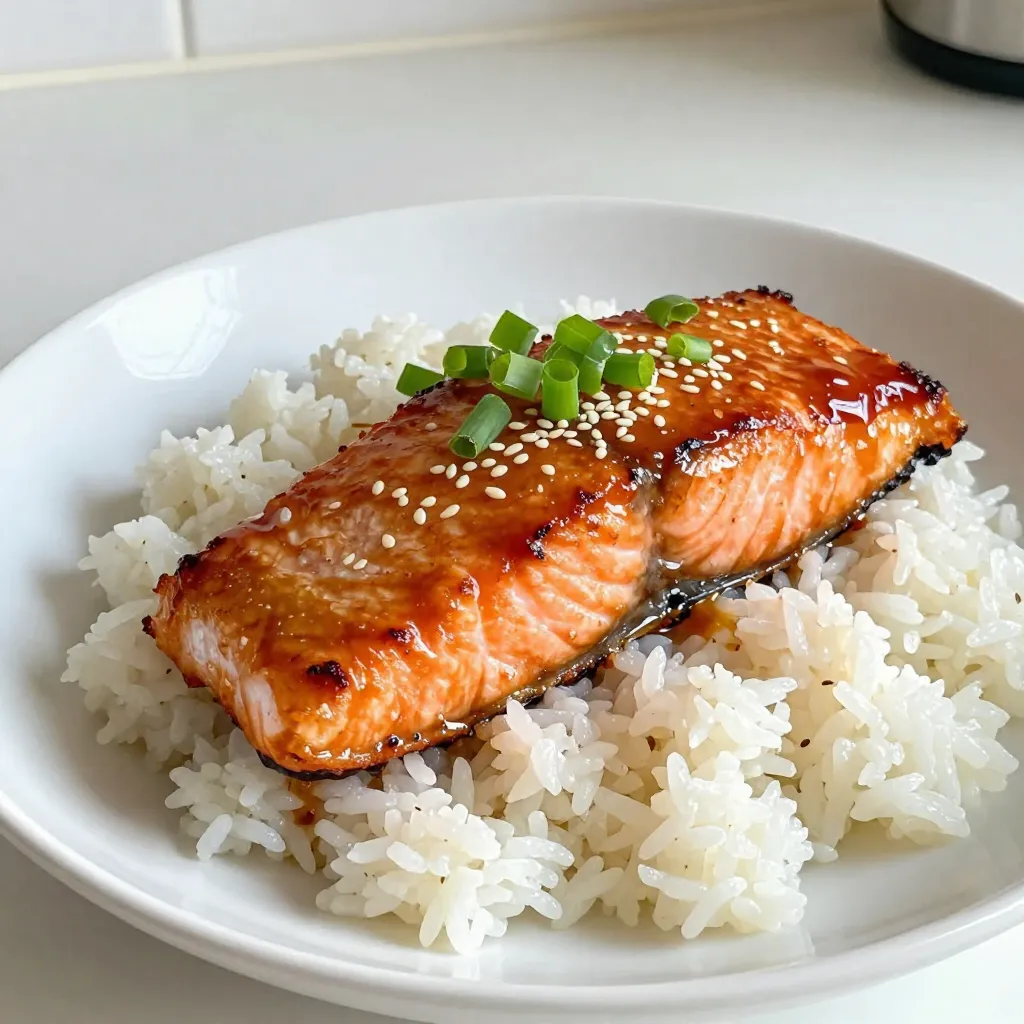
Looking for a quick and tasty dinner? You’ve found it! This Ginger Soy Glazed Salmon recipe is easy and packed

Are you ready to warm up with a bowl of creamy tomato basil soup? This flavorful and easy recipe packs
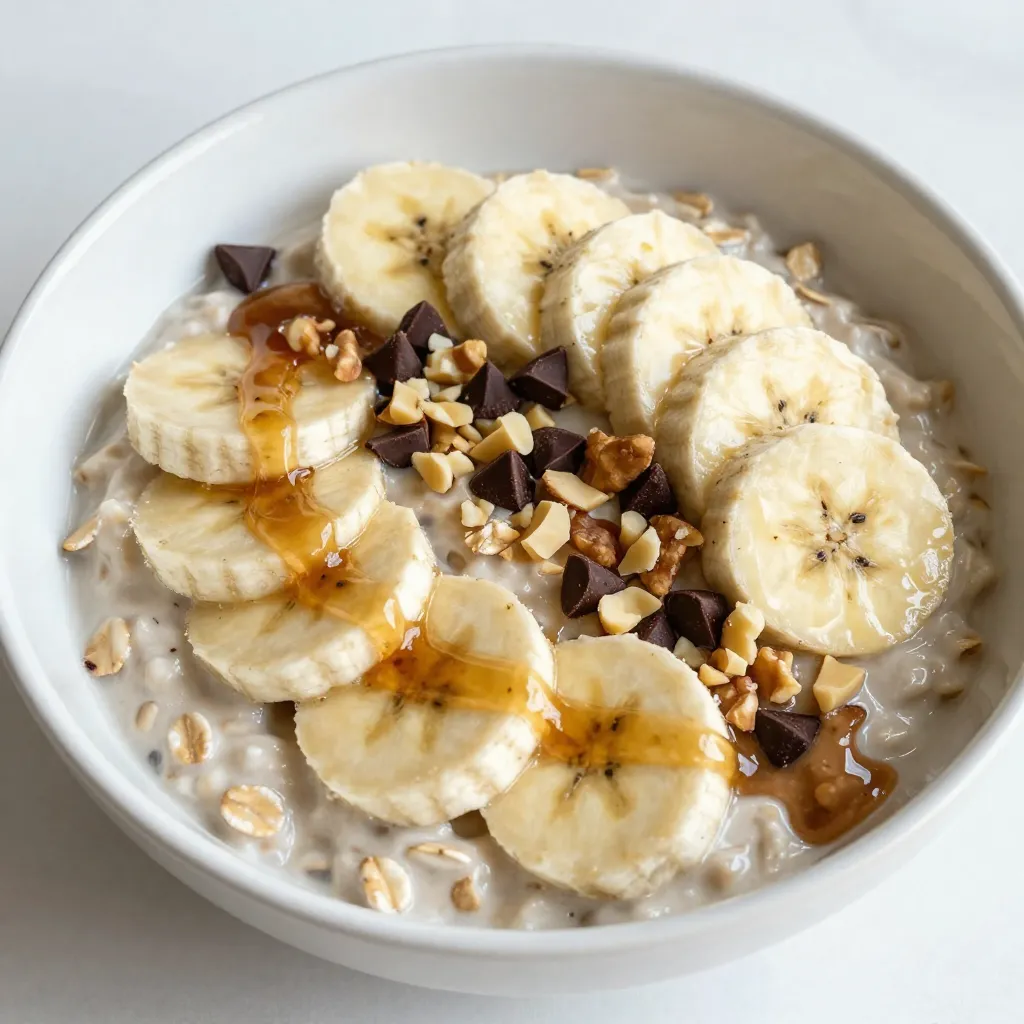
Start your day right with Peanut Butter Banana Overnight Oats! This simple, tasty breakfast is quick to prepare and packed

Are you ready to enjoy a crispy, flavorful delight? Air fryer falafel is an easy, healthy twist on this classic
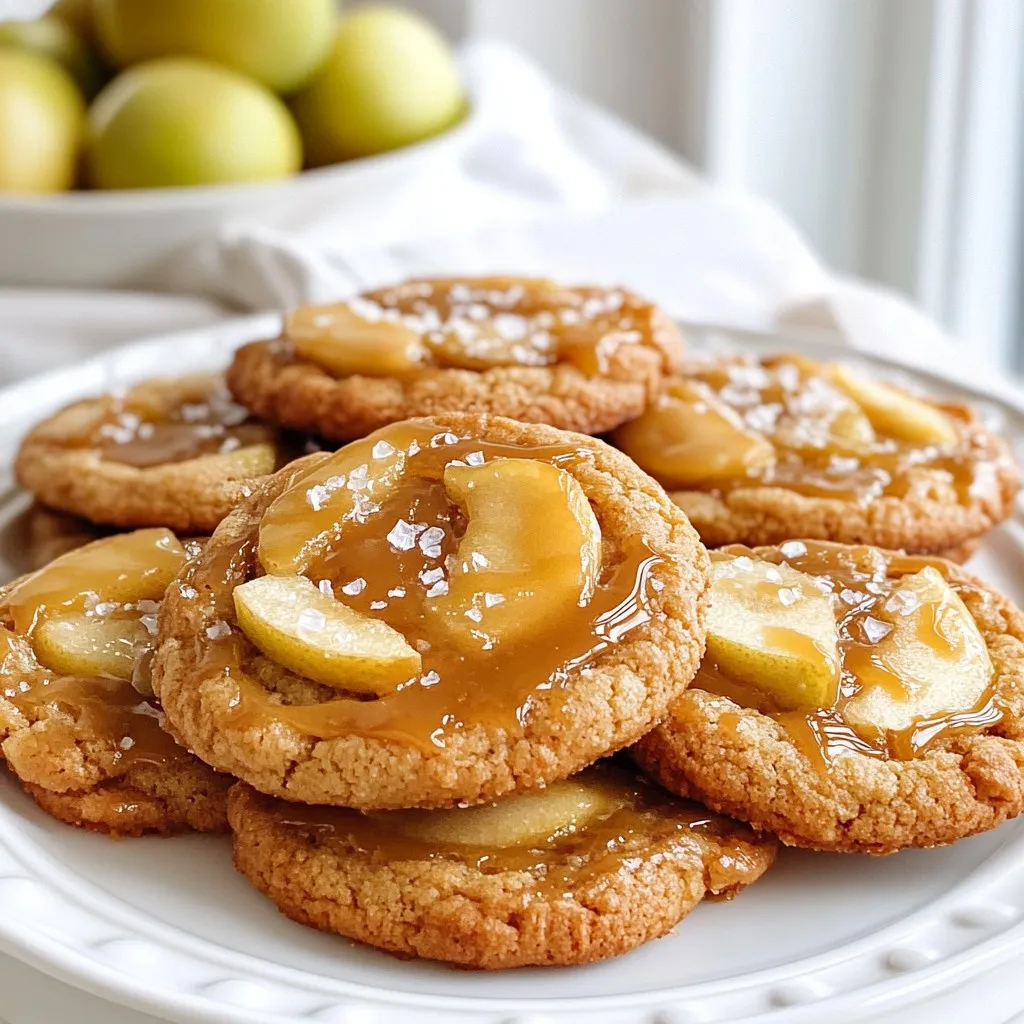
If you’re craving a treat that combines classic flavors with a modern twist, you’re in for a delight! These Salted
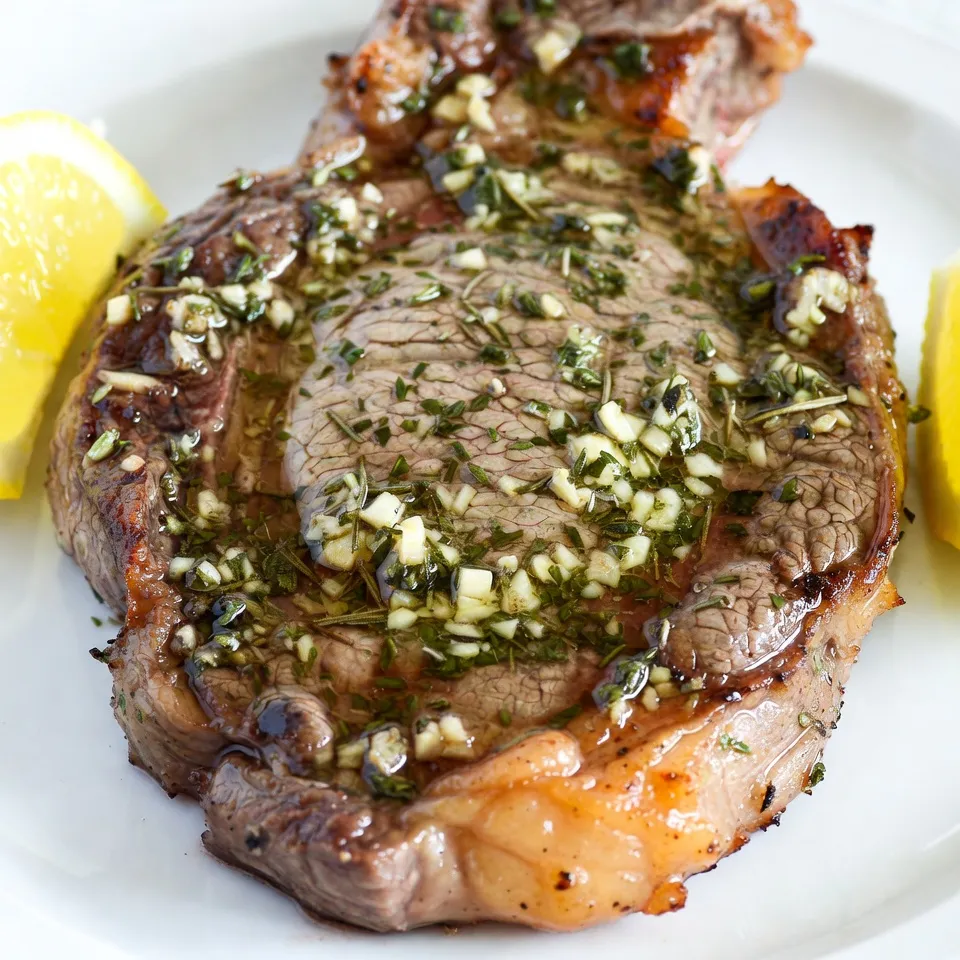
If you love a juicy steak, you’re in the right place! My Garlic Herb Butter Steak Skillet Recipe Delight brings
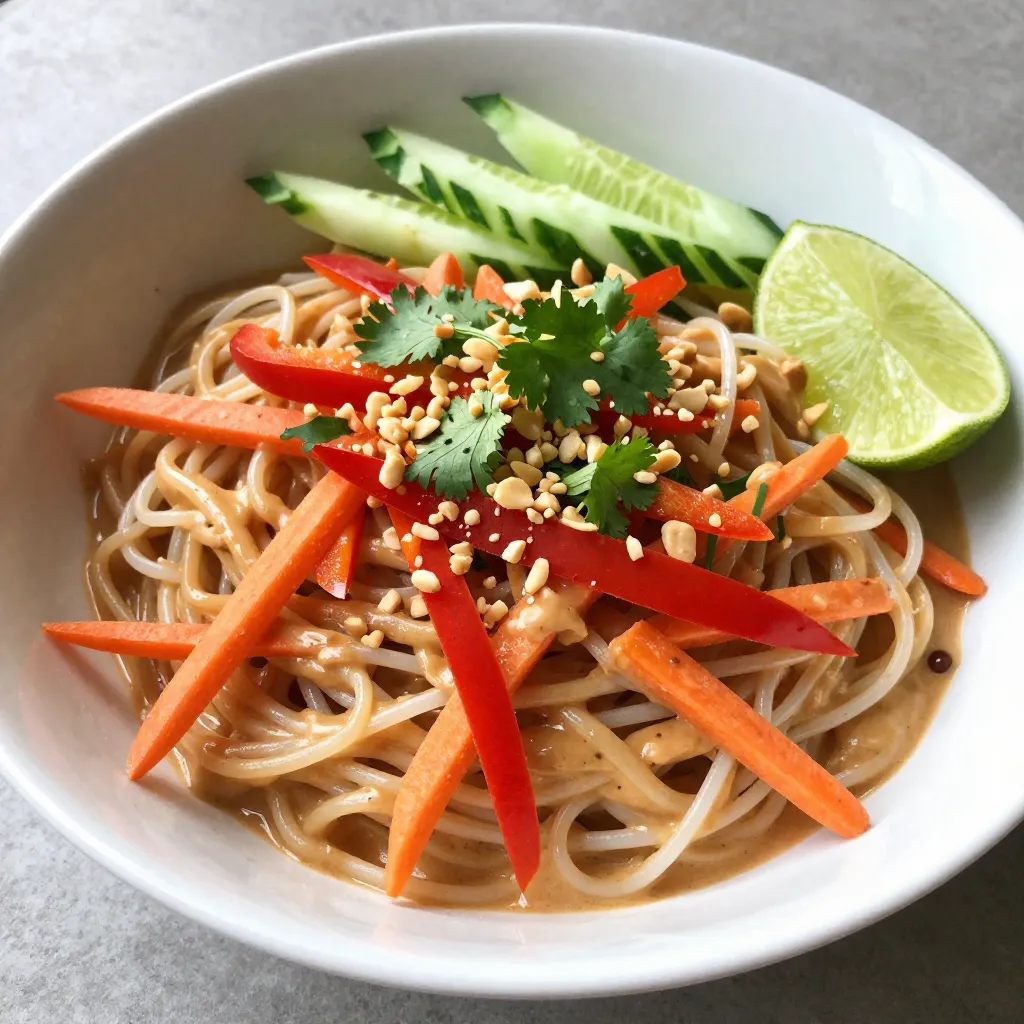
Looking for a quick and tasty meal? Spicy Thai Peanut Noodles will hit the spot! In this guide, I’ll show

Fall is here, and what better way to celebrate than with Pumpkin Spice Latte Cupcakes? These delightful treats combine the
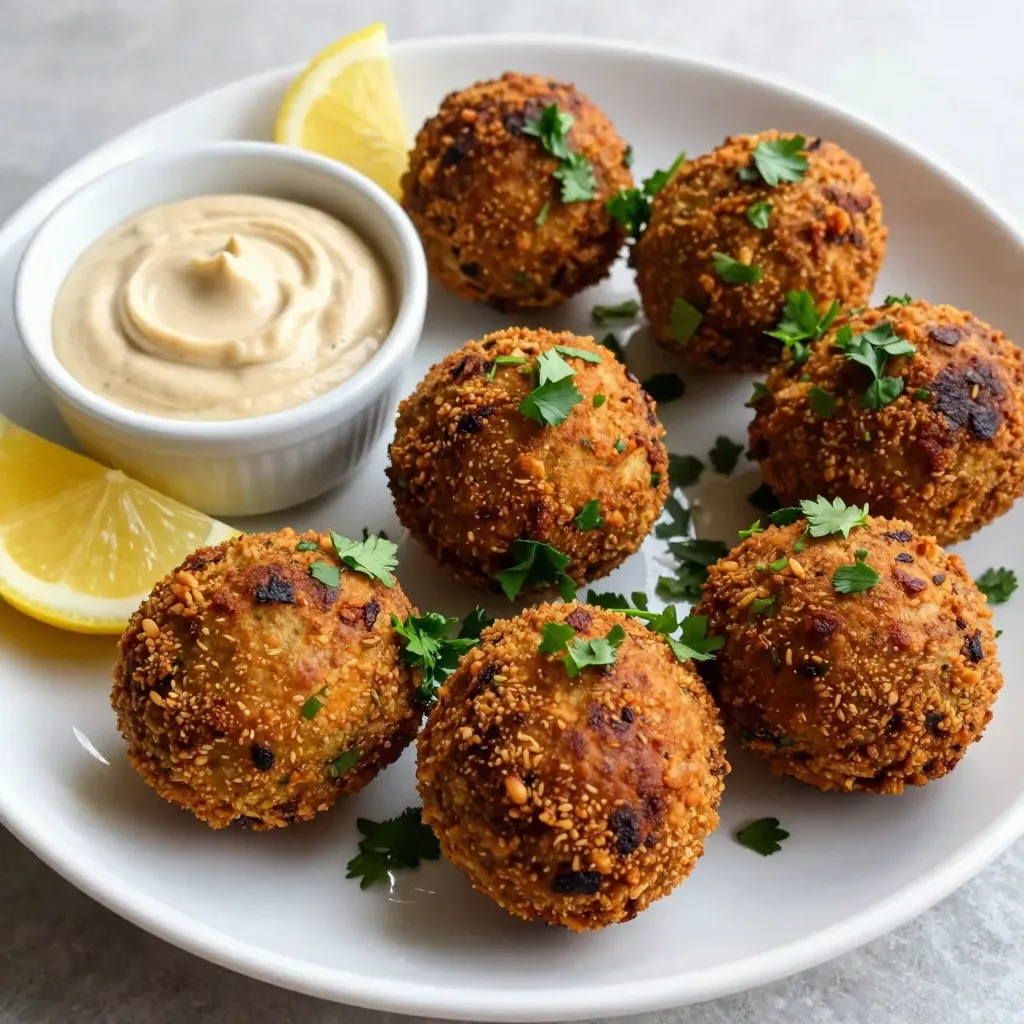
Are you ready to enjoy a crispy, flavorful delight? Air fryer falafel is an easy, healthy twist on this classic
