
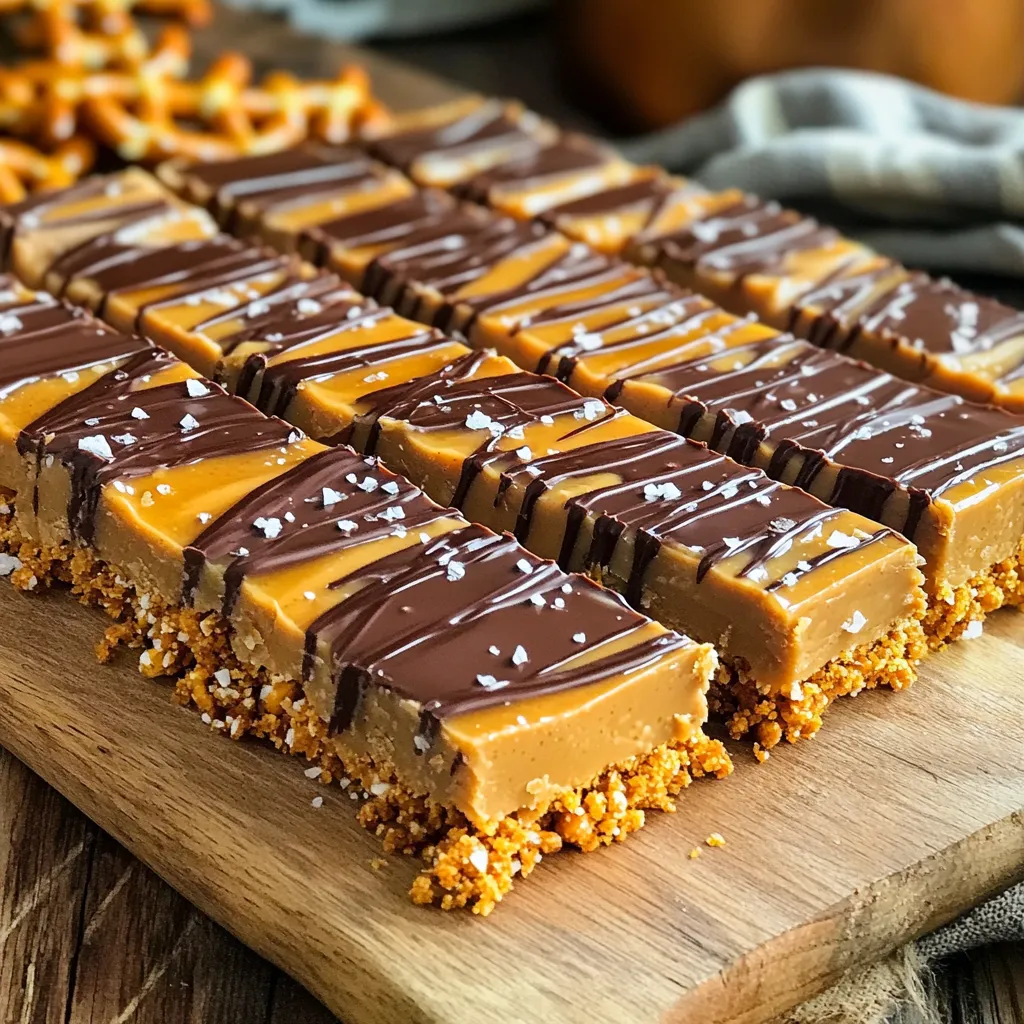
Looking for a quick and tasty snack? These No Bake Peanut Butter Pretzel Bars are your answer! With just a few simple ingredients, you can whip up a delightful treat that combines sweet and salty flavors. I’ll guide you through easy steps, ingredient swaps, and tips for the perfect finish. Let’s dive into this simple and satisfying recipe that’ll leave you craving more!
Ingredients
List of Ingredients
– 2 cups pretzel sticks, finely crushed
– 1 cup creamy peanut butter
– 1/2 cup honey or maple syrup
– 1 cup powdered sugar
– 1 teaspoon vanilla extract
– 1 cup semi-sweet chocolate chips
– Sea salt, for garnish
Ingredient Notes and Substitutions
Each ingredient plays a key role in flavor and texture. The pretzel sticks give a nice crunch and saltiness. You can use gluten-free pretzels if you need a gluten-free option. For the nut butter, creamy peanut butter works best. If you prefer, almond butter or sunbutter can also be used. Honey adds sweetness and a little chew. Maple syrup is a great vegan swap. For sweetness, powdered sugar helps bind the mixture.
Dietary Considerations
These bars can fit into many diets. They are nut-rich and have natural sugars. If you want to avoid gluten, use gluten-free pretzels. For a vegan option, swap honey for maple syrup. Check the chocolate chips too; some brands offer dairy-free options. Always read labels to ensure they meet your dietary needs.
Step-by-Step Instructions
Mixing the Base
To start, grab a large mixing bowl. Add the finely crushed pretzel sticks, creamy peanut butter, honey, powdered sugar, and vanilla extract. Mix these ingredients well. You want a sticky dough that holds together. If it feels too dry, add a splash more honey. This mix is both sweet and salty, a perfect combo.
Preparing the Baking Pan
Next, take an 8×8 inch baking pan and line it with parchment paper. Leave some paper hanging over the sides. This makes it easy to pull the bars out later. The paper also helps the bars keep their shape.
Melting and Topping with Chocolate
Now it’s time to melt the chocolate. Place the semi-sweet chocolate chips in a microwave-safe bowl. Heat them in the microwave for 30 seconds at a time. Stir after each interval until smooth. This way, you avoid clumps or burnt chocolate. Pour the melted chocolate over the pretzel base. Use a spatula to spread it evenly. Lastly, sprinkle a tiny pinch of sea salt on top. This adds a nice flavor boost. Let the mixture chill in the fridge for at least 2 hours. Once set, slice and enjoy!
Tips & Tricks
Best Practices for Mixing
Mixing is key to your bars. Start with dry ingredients first. Use finely crushed pretzel sticks for a good base. This helps the bars hold together. Next, add peanut butter, honey, powdered sugar, and vanilla. Stir well until the mix is sticky. You might need to use your hands. It should feel like dough. This ensures every bite is flavorful.
How to Achieve the Perfect Chocolate Layer
Melt chocolate in short bursts. Use a microwave-safe bowl and heat for 30 seconds. Stir after each interval. This will keep the chocolate smooth. Once melted, pour it over the base evenly. Use a spatula to spread it out. A smooth layer looks nice and tastes great. Don’t forget the sea salt! It adds a nice touch.
Serving and Presentation Suggestions
Cut the bars into squares for easy serving. Use a sharp knife for clean cuts. Place them on a lovely platter. For a fun touch, add pretzel pieces or chocolate shavings on top. Serve them at room temperature or chilled for a cool treat. These bars look great and taste even better!
Variations
Different Nut Butters to Try
You can switch out the peanut butter for other nut butters. Almond butter adds a smooth flavor. Cashew butter gives a creamy taste. Sunflower seed butter is a great nut-free choice. Each nut butter brings its unique taste and texture. Feel free to experiment based on your preference.
Adding Mix-ins or Toppings
Mixing in extras can make your bars more fun. Try adding chocolate chips for extra sweetness. Chopped nuts add crunch and flavor. Dried fruits like cranberries or raisins bring a chewy aspect. You can also sprinkle some mini marshmallows on top. Each mix-in changes the bars and makes them special.
Gluten-Free and Vegan Options
Making these bars gluten-free is easy. Just use gluten-free pretzels. For a vegan version, switch honey for maple syrup. Check that your chocolate chips are dairy-free. These swaps keep the bars tasty while meeting different diets. Enjoy these treats no matter your needs!
Storage Info
How to Store the Bars
Store your no bake peanut butter pretzel bars in an airtight container. This keeps them fresh and tasty. Place parchment paper between layers to avoid sticking. Keep them in the fridge for the best texture.
Freezing Instructions
You can freeze the bars for later. Wrap them well in plastic wrap, then place them in a freezer-safe bag. This helps prevent freezer burn. They can last up to three months in the freezer. When ready to eat, let them thaw in the fridge overnight.
Shelf Life and Best Practices
These bars last about one week in the fridge. Keep an eye on them for any signs of spoilage. If you notice changes in smell or texture, it’s best to toss them. For the best taste, enjoy them within the first few days.
FAQs
Can I substitute honey with agave syrup?
Yes, you can use agave syrup instead of honey. The taste will change slightly. Agave is sweeter, so you may want to reduce the amount used. A good rule is to use about 3/4 of the honey amount. This keeps the balance of sweetness in your bars.
How long do these bars last in the fridge?
These bars can last up to two weeks in the fridge. Store them in an airtight container. This helps keep them fresh and tasty. If you want them to last longer, consider freezing them. They can stay good for up to three months in the freezer.
Can I use chunky peanut butter instead of creamy?
You can use chunky peanut butter if you prefer some texture. The bars will still taste great, but they will have a different mouthfeel. The crunch from the peanuts adds a fun twist. Just make sure to mix well, so all the ingredients blend together nicely.
In this post, we explored key ingredients and how to make delicious bars. We covered mixing, baking, and topping techniques. We also shared storage tips and answered common questions. Remember, you can customize with different nut butters or toppings.
Enjoy your tasty bars with family and friends. Experiment with variations to suit your taste. These treats can be a fun and healthy snack option!

