Are you ready to whip up a delightful dessert that’s both simple and satisfying? This Peach Cobbler with Bisquick recipe is my go-to for a sweet treat that never fails to impress. Fresh peaches mingle with a buttery, golden crust for a perfect finish. Whether you’re a baking novice or a kitchen pro, I’ll guide you through each step to create a delicious dish your family and friends will love. Let’s get started!
Ingredients
List of Ingredients
– 4 cups fresh peaches, sliced
– 1 cup granulated sugar, divided
– 2 teaspoons freshly squeezed lemon juice
– 1 cup Bisquick baking mix
– 1 tablespoon baking powder
– 1 cup milk (whole or 2%)
– 1/4 cup unsalted butter, melted
– 1 teaspoon ground cinnamon
– A pinch of salt
Preferred Peaches
When selecting peaches, fresh is best. Fresh peaches taste vibrant and juicy. If you use canned peaches, choose a brand with no added sugar. They can work well, but fresh peaches shine in this dish.
To pick ripe peaches, look for a slight give when you squeeze them gently. Their skin should have a warm golden hue with a sweet aroma. Avoid peaches with green spots; they may not be ripe.
Alternative Sweeteners
You can use brown sugar instead of white sugar for a deeper flavor. It adds a nice caramel touch. Honey is also a great option; it gives a floral sweetness. If your peaches are tart, reduce the sugar a bit. This adjustment helps balance the flavors in your cobbler.
Step-by-Step Instructions
Preparation Steps
First, preheat your oven to 375°F (190°C). This way, the oven is hot and ready. You need to prepare a 9×13-inch baking dish by greasing it. Now, grab a large bowl. Combine 4 cups of sliced peaches with 1/2 cup of granulated sugar and 2 teaspoons of lemon juice. Toss gently until the peaches are coated. Transfer this mixture to your greased baking dish. Spread it evenly across the bottom.
Making the Bisquick Batter
In another bowl, mix 1 cup of Bisquick baking mix with 1 tablespoon of baking powder. Add in 1 cup of milk, 1/4 cup of melted unsalted butter, the remaining 1/2 cup of sugar, 1 teaspoon of ground cinnamon, and a pinch of salt. Stir until just combined. It’s okay if the batter is slightly lumpy. This helps create a great texture when it bakes.
Baking the Cobbler
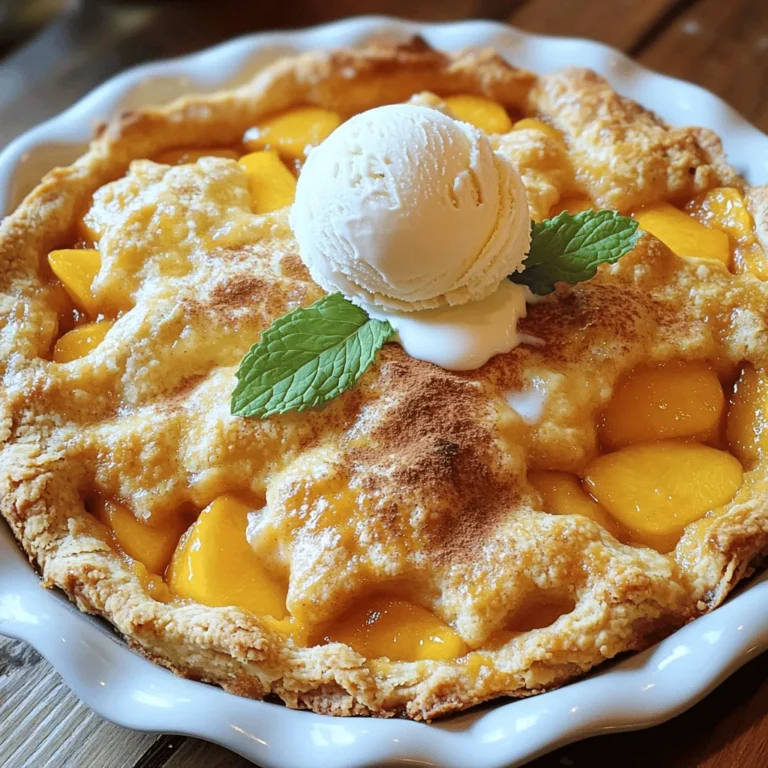
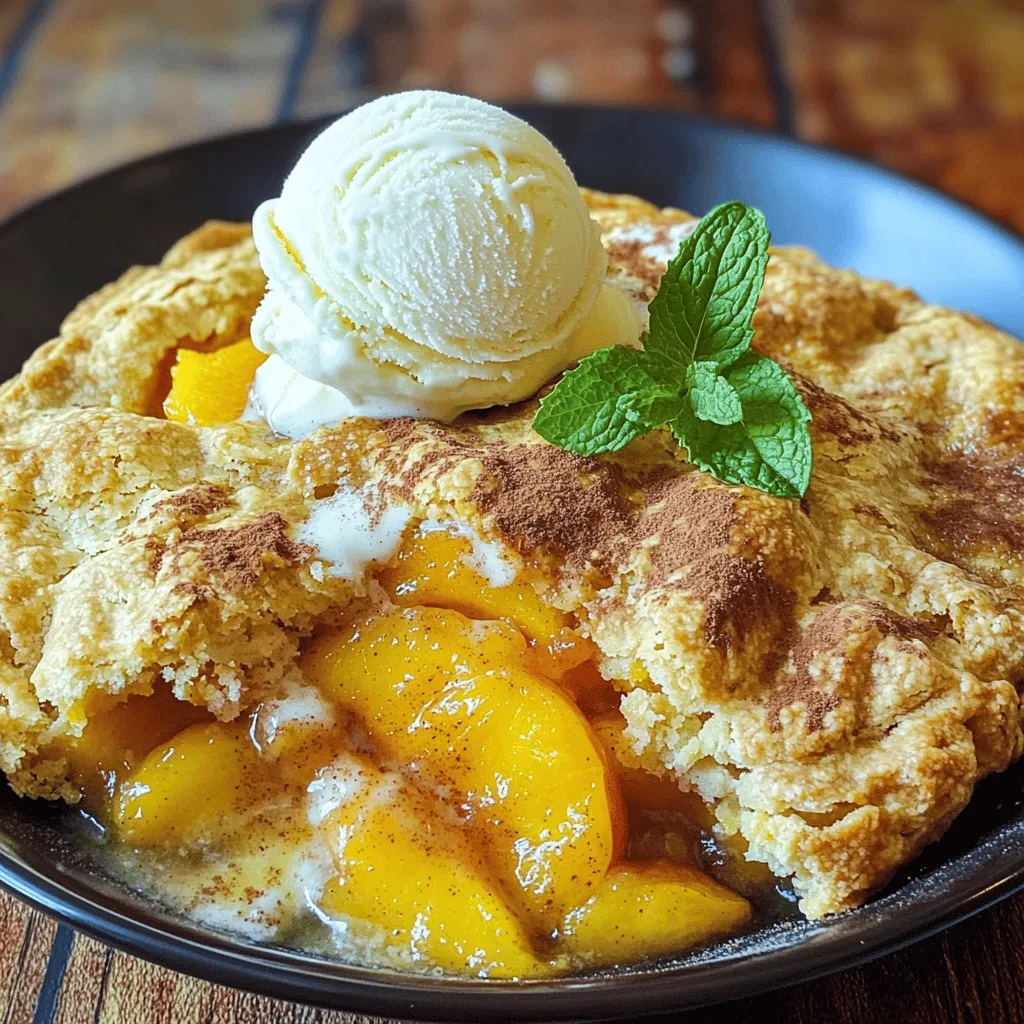
Now, it’s time to layer the batter over your peaches. Spoon it carefully over the peach layer, but don’t stir. Just let the batter sit on top. Place the baking dish in the oven. Bake for about 35-40 minutes. You’ll know it’s done when the top is golden brown. A toothpick inserted in the center should come out clean. Once baked, let it cool for a few minutes before serving. Enjoy this Peachy Paradise Cobbler with a scoop of vanilla ice cream for a treat!
Tips & Tricks
Perfecting the Cobbler Texture
To get the best texture, use a 9×13-inch baking dish. This size ensures even cooking and a nice crust. When you spoon the batter over the peaches, do not stir it in. Let the batter float on top. This trick helps create a soft, fluffy cobbler.
Enhancing Flavor and Texture
For added flavor, consider mixing in a splash of vanilla or a dash of nutmeg into your batter. These ingredients can elevate your cobbler to a whole new level. You can also experiment with spices like ginger or allspice. Each spice brings its own unique twist to the dish.
Serving Suggestions
This cobbler tastes best warm, so serve it straight from the oven. Pair it with a scoop of vanilla ice cream for a classic combo. You can sprinkle some cinnamon on top of the ice cream for extra flavor. Fresh mint leaves make a nice garnish and add a pop of color. Enjoy your Peachy Paradise Cobbler with friends and family!
Variations
Fruity Additions
You can make your peach cobbler even better by adding other fruits. Try mixing in berries like blueberries or raspberries. They add a nice tartness that balances the sweet peaches. You can also use apples for a crunchy texture. Just slice them thinly and toss them with the peaches. This mix creates a fruity explosion that everyone will love. A mixed-fruit cobbler is a fun way to use seasonal fruits. You can experiment based on what is fresh and available.
Healthier Alternatives
Want a lighter cobbler? You can use gluten-free Bisquick for those with dietary needs. It’s an easy swap that keeps the taste delicious. You can also cut down on sugar and butter. Use just half the sugar or try a natural sweetener like honey. This way, you enjoy the flavors without the guilt. Reducing the butter adds less fat too. These changes make it a healthier treat while keeping it tasty.
Creative Toppings
The right topping can elevate your cobbler. Fresh whipped cream adds a light and airy touch. You can also use yogurt for a tangy kick. Greek yogurt is thick and creamy, making it a great choice. If you love ice cream, think beyond vanilla. Try flavors like caramel or even peach. These creative toppings bring a new twist to your cobbler. They make the dish fun and exciting every time you serve it.
Storage Info
Storing Leftover Cobbler
To store your leftover peach cobbler, let it cool first. Cover it tightly with plastic wrap or foil. You can also place it in an airtight container. Keep it in the fridge for up to three days. For the best taste, reheat slices in the oven at 350°F for about 10 minutes. You can also use the microwave for quick reheating. Just be careful not to overheat, as the cobbler can become soggy.
Freezing the Cobbler
If you want to freeze the cobbler, you can do this before or after baking. To freeze before baking, wrap the assembled cobbler tightly in plastic wrap and then foil. This way, it keeps well for up to three months. If you freeze it after baking, let it cool completely. Slice it first, then wrap each piece in plastic wrap. Place the wrapped slices in a freezer bag. Thaw the cobbler in the fridge overnight before reheating. For reheating, bake at 350°F until warm, about 20-25 minutes.
Shelf Life
Peach cobbler lasts about three days in the fridge. After that, the taste and texture may decline. Look for signs of spoilage, like mold or an off smell. If it feels slimy or dry, it’s best to toss it. Enjoy your peach cobbler while it’s fresh for the best flavor!
FAQs
Can I use frozen peaches instead of fresh?
Yes, you can use frozen peaches. Just thaw and drain them first. This helps remove extra water. Frozen peaches can taste just as good as fresh ones when baked. They may have a softer texture, but they will still work great in your cobbler.
How do I make a crustier top on my cobbler?
For a crustier top, try these tips:
– Add more butter: Brush melted butter over the batter before baking.
– Use a higher oven temperature: Bake at 400°F for a short time.
– Add sugar: Sprinkle sugar on top of the batter before baking. This will create a nice crust.
What can I substitute for Bisquick in this recipe?
You can easily make your own baking mix. Mix together:
– 1 cup all-purpose flour
– 1 ½ teaspoons baking powder
– ½ teaspoon salt
– 1 tablespoon vegetable oil or melted butter
This mix will work just as well in your cobbler.
Is it possible to make this recipe ahead of time?
Yes, you can prepare the peach filling and batter ahead of time. Store the filling in the fridge and cover the batter. When ready to bake, combine them and follow the baking steps. This makes it easy for quick serving.
How do I know when my cobbler is done baking?
Check your cobbler for a golden brown top. Insert a toothpick into the center; it should come out clean. If there are wet batter bits, bake a few more minutes. Your cobbler is ready when the top is firm and golden.
This blog post covered how to make a delicious peach cobbler. We explored the key ingredients and their roles in flavor. You learned how to choose ripe peaches and experiment with sweeteners. The step-by-step instructions guide you from prep to baking. I shared tips for the perfect texture and creative variations. Remember, this dessert shines with fresh peaches and your personal touch. Enjoy your baking journey, and savor every bite of your homemade treat.

