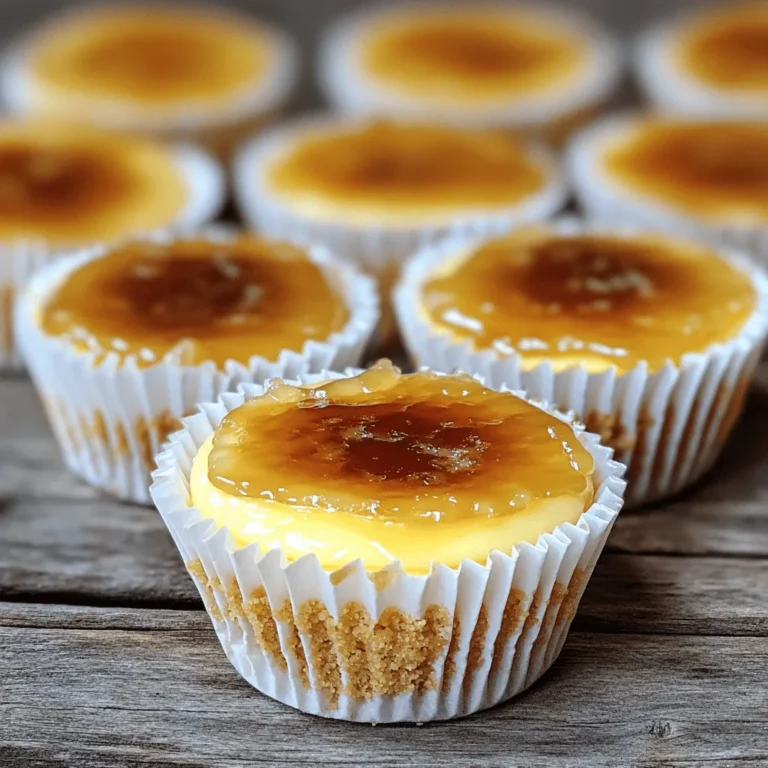
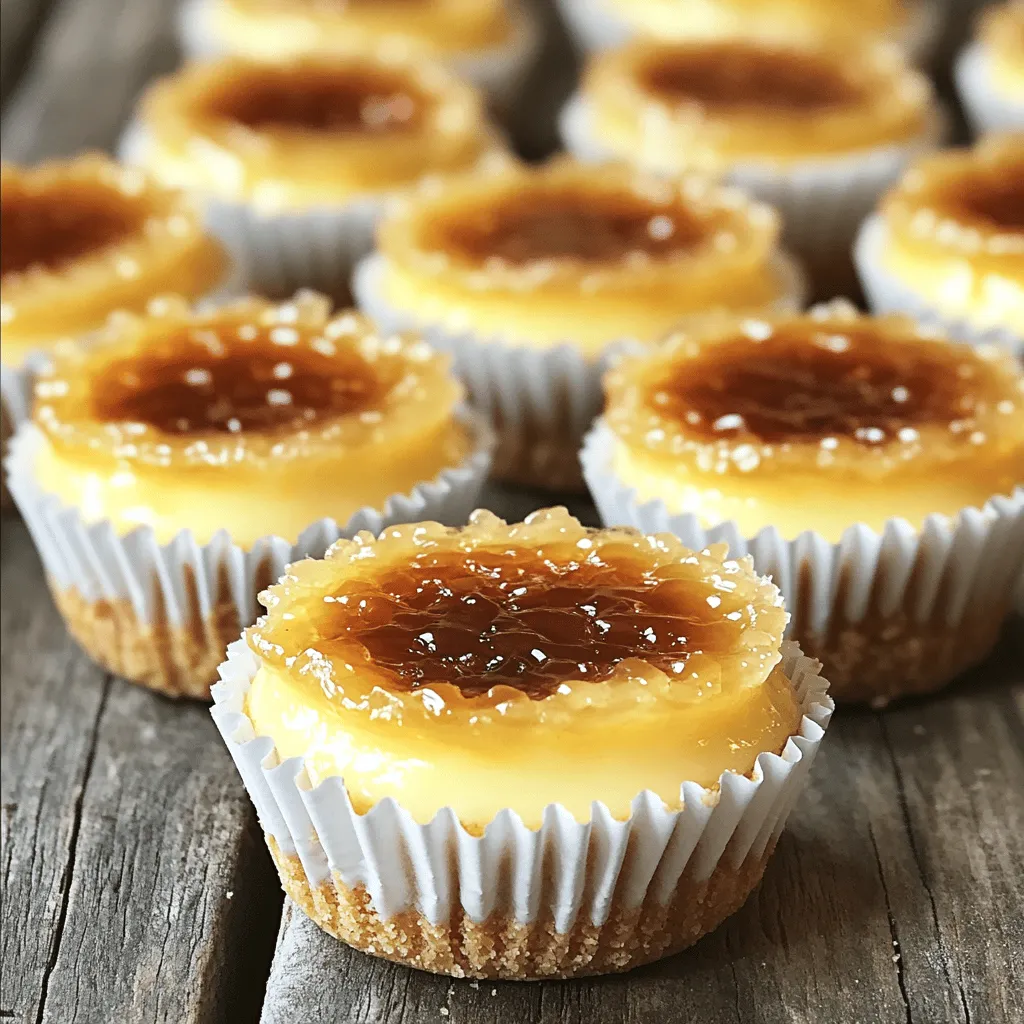
If you love decadent desserts, you’ll adore my Mini Crème Brûlée Cheesecakes! This easy recipe combines creamy cheesecake with that classic brûlée topping. With just a handful of ingredients, you can whip up these delightful treats in no time. Perfect for parties or a sweet treat at home, they are sure to impress. Ready to dive into this creamy, crispy bliss? Let’s get started!
Ingredients
Main ingredients needed
– 8 ounces cream cheese, softened to room temperature
– 1/2 cup granulated sugar
– 2 large eggs
– 1/3 cup sour cream
– 1/2 cup graham cracker crumbs
The main ingredients create a rich and creamy filling. Cream cheese gives the cheesecake its signature texture. The granulated sugar adds sweetness and helps balance the tang of the sour cream. Eggs bind everything together, while sour cream adds a nice creaminess and tang. Graham cracker crumbs form the crust, offering a crunchy base.
Additional ingredients
– 3 tablespoons unsalted butter, melted
– 1/2 teaspoon pure vanilla extract
– 1 teaspoon fresh lemon zest
– Extra granulated sugar for brûlée topping
The additional ingredients enhance the flavors and textures. Unsalted butter helps the crust hold together. Pure vanilla extract adds depth to the filling. Fresh lemon zest brightens the taste and adds a refreshing note. Lastly, the extra sugar is essential for that classic brûlée topping, creating a sweet and crispy finish.
Step-by-Step Instructions
Preparing the crust
1. Preheat the oven: First, heat your oven to 325°F (160°C).
2. Combine graham cracker crumbs with butter: In a small bowl, mix graham cracker crumbs with melted butter. Stir until it looks like wet sand.
3. Press into cupcake liners: Take about one tablespoon of this mixture and press it into the bottom of each cupcake liner. Make sure it’s firm and even.
Making the cheesecake filling
1. Beat cream cheese with sugar: In a large bowl, use an electric mixer to beat the softened cream cheese and granulated sugar together. Mix until smooth and creamy.
2. Incorporate eggs one at a time: Add the eggs one at a time. Mix well after each egg to keep the batter light.
3. Add sour cream and lemon zest: Gently fold in the sour cream and lemon zest. This gives a nice, fresh taste to the filling.
Baking the cheesecakes
1. Fill cupcake liners: Spoon the cheesecake batter over your crusts in the muffin tin. Fill each liner about 3/4 full.
2. Bake and cool in the oven: Place the muffin tin in your preheated oven. Bake for 18-20 minutes. The centers should be set but a bit jiggly. Once done, turn off the oven and leave them inside for 10 minutes.
3. Transfer to refrigerator: Remove the cheesecakes from the oven and let them cool at room temperature for 30 minutes. Then, chill them in the fridge for at least 4 hours or overnight for the best flavor and texture.Enjoy the process; it’s fun and rewarding!
Tips & Tricks
Achieving the perfect texture
To get the best texture, start with room temperature ingredients. This helps the cream cheese mix smoothly. Cold cream cheese can lead to lumps. Mix the cream cheese and sugar well. I like to use an electric mixer for this. Beat in the eggs one at a time. This step adds air and makes the cheesecake light. When you add the sour cream and lemon zest, fold gently. This keeps the mixture airy and fluffy.
Caramelizing the top
Caramelizing the top is what makes this dessert special. I recommend using a kitchen torch for a crisp finish. Hold the torch a few inches above the sugar and move it in circles. Watch closely as it turns golden brown. If you do not have a torch, try the broiler. Place the cheesecakes under the broiler for about a minute. Keep the oven door slightly open and watch to avoid burning.
Presentation ideas
Presentation adds to the fun of serving these cheesecakes. You can garnish each cheesecake with a small sprig of mint. Fresh berries also add a nice touch of color. For parties, serve them on a lovely platter. You can place them with a scoop of whipped cream on the side. This adds a delightful look and makes your dessert stand out.
Variations
Flavor modifications
You can change the flavor of your mini crème brûlée cheesecakes easily. One fun way is to add chocolate or fruit puree. If you want chocolate, mix in melted chocolate with the cream cheese. For fruit, use pureed strawberries or raspberries. This gives a fresh twist. You can also infuse different extracts for more flavor. Almond or orange extracts can add a unique taste. Just use them in small amounts to avoid overpowering the cheesecake.
Dietary substitutions
If you need gluten-free options, you can swap the graham cracker crumbs for gluten-free cookies. Ground almonds or oats can also work great for the crust. If you follow a vegan diet, try using plant-based cream cheese. Replace the eggs with flaxseed meal or applesauce. These swaps keep the dessert tasty while meeting dietary needs.
Size and serving options
Think about the size of your cheesecakes. Mini versions are cute and easy to serve. However, you can also make standard-sized cheesecakes if you prefer. For a fun twist, serve them in jars. Layer the crust, filling, and brûlée topping for a beautiful presentation. This way, guests can enjoy their own desserts without cutting slices. Each option brings a unique flair to your gathering.
Storage Info
How to store leftovers
To keep your mini crème brûlée cheesecakes fresh, you have two main options: refrigeration and freezing. If you plan to eat them within a few days, refrigerate them. Place the cheesecakes in an airtight container. This method keeps them moist and tasty. For longer storage, freezing works well. Wrap each cheesecake tightly in plastic wrap, then place them in a freezer-safe bag. This protects them from freezer burn.
Recommended storage time
For the best taste, enjoy your cheesecakes within 3 to 5 days when stored in the fridge. If you freeze them, they can last for up to 2 months. Just remember, the longer they sit, the more their texture may change. Always check for any signs of freezer burn or odd smells before eating. Freshness is key to maintaining their creamy goodness.
Reheating guidelines
When you’re ready to enjoy a frozen cheesecake, first thaw it in the fridge overnight. This keeps the texture nice. Avoid using a microwave for thawing, as it can make them soggy. Once thawed, the cheesecakes are best served chilled. If you prefer a warm treat, you can place them in a 325°F oven for about 10 minutes. This warms them gently without ruining their creamy texture. Enjoy your delicious dessert!
FAQs
What is the best cream cheese to use?
Use a full-fat cream cheese for the best taste and texture. Brands like Philadelphia are popular. Other brands may have different textures. Some can be too soft or too firm. Look for options labeled “plain” and “full-fat” for the best results.
Can I make these ahead of time?
Yes, you can make these mini cheesecakes ahead of time. Store them in the fridge for up to three days. For longer storage, freeze them for up to a month. When ready to serve, thaw them overnight in the fridge. Make sure to brûlée the tops just before serving for that crispy layer.
How do I know when the cheesecakes are done?
The mini cheesecakes are done when the edges are set. The center should still have a slight jiggle. This ensures they stay creamy and don’t dry out. Keep an eye on them while baking to avoid overcooking. They will firm up as they cool.
What’s the best way to serve crème brûlée cheesecakes?
Serve these cheesecakes chilled for the best flavor. Use a spoon to crack the caramelized topping before digging in. A sprig of mint or fresh berry makes a nice touch. These small details make your dessert look even more inviting. Enjoy the blend of creamy and crunchy textures!
You now have all you need to make delicious crème brûlée cheesecakes. We covered the key ingredients, from cream cheese to fresh lemon zest. You learned the step-by-step process, from crust making to perfect baking. Tips and tricks helped you achieve the best texture and gorgeous presentation. Explore variations for different flavors and dietary options to suit your needs. Finally, proper storage ensures deliciousness for days. Enjoy your baking adventure!

