If you love fruity treats but want a healthier option, you’re in the right place! In this post, I’ll show you how to create homemade fruit snacks that are both simple and flavorful. We’ll dive into fresh and frozen berry choices, mix in the right sweeteners, and explore different flavors. With easy instructions and clever tips, you’ll have a fun snack that you can enjoy anytime. Let’s get started!
Ingredients
Fresh and Frozen Berries
For the best flavor, I love using a mix of strawberries, blueberries, and raspberries. These berries taste great together. You can use fresh or frozen berries. If you use frozen, just let them thaw a bit. Sweetness is key, so I often add honey or maple syrup. Adjust this based on how sweet you want your snacks. Fresh lemon juice adds brightness and balances the sweetness. It truly makes a difference!
Gelatin and Vegan Options
Gelatin gives a nice chewy texture to your snacks. It comes from animal sources. If you prefer a plant-based option, try agar-agar. This vegan substitute works well but needs a bit more heat. Both options can create yummy fruit snacks, so choose what fits your diet.
Additional Flavor Enhancers
To make your snacks pop, you can use spices. A touch of cinnamon or a splash of vanilla extract can add depth. Feel free to mix in other fruits too! Mango or banana adds a tropical twist. These additions make your fruit snacks unique and fun.
Step-by-Step Instructions
Preparing the Berries
Start by washing fresh berries. Rinse them under cool water. This helps remove dirt and germs. If you use frozen berries, let them thaw. Leave them at room temperature for about 10 minutes. This makes them easier to mash.
To mash the berries, you can use a fork or a potato masher. Aim for an even consistency. This helps blend flavors well in the next steps. If you like some texture, leave a few small chunks.
Cooking the Mixture
Now, combine the mashed berries with other ingredients. Place them in a medium saucepan. Add honey or maple syrup, lemon juice, and a pinch of sea salt. Stir gently to mix everything well.
Set the heat to medium. Cook while stirring often for 5-7 minutes. You want the berries to soften and release their juices. When you see bubbles forming, it’s almost ready for pureeing.
Blooming the Gelatin
Blooming the gelatin is key for the right texture. In a small bowl, mix gelatin with cold water. Let it sit for a few minutes. This allows the gelatin to absorb water and swell.
Once the berry mixture is smooth, add the bloomed gelatin. Stir until it fully dissolves. If you use agar-agar, return the mixture to low heat. Simmer for 2-3 minutes, stirring all the time. This activates its gelling properties.
Tips & Tricks
Achieving the Perfect Texture
To get the right texture, start with smooth purees. Blend the berries until they are completely smooth. If you want some texture, mash the berries instead of blending. This gives a chunkier feel. Avoid overcooking the mixture, as it can become too thick. Keep an eye on the heat and stir often. This helps to prevent burning and sticking.
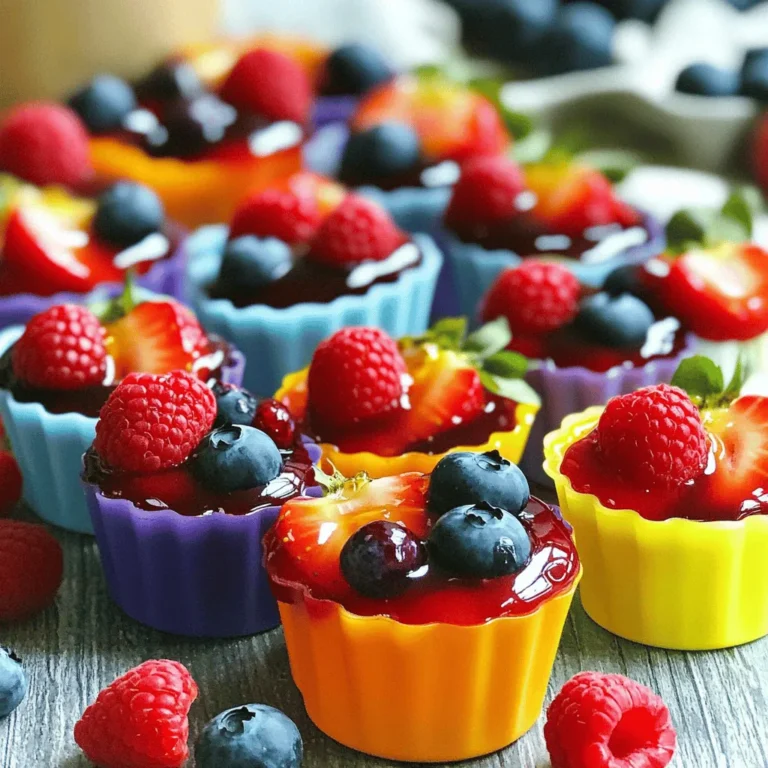
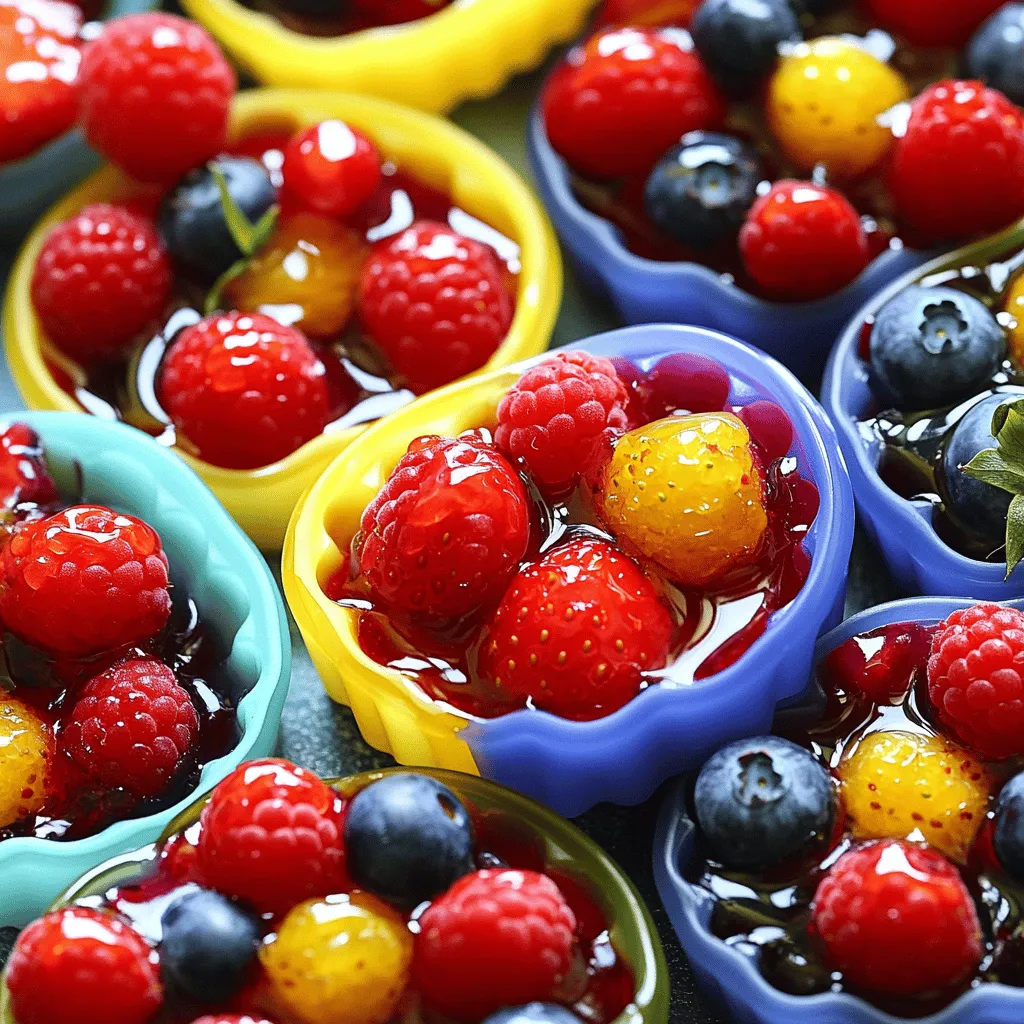
Presentation Ideas
Serving your fruit snacks in fun ways adds joy! Use bright molds to create fun shapes, like stars or hearts. You can also cut them into squares for easy sharing. Try placing the snacks on a colorful platter. Garnish with whole berries or coconut flakes for a nice touch. These small details make your snacks look more inviting.
Adjustments for Sweetness and Texture
You can change the sweetness to fit your taste. If you prefer sweeter snacks, add more honey or syrup. For less sweetness, cut back on these ingredients. You can also use other natural sweeteners like agave. If you need a vegan option or avoid gelatin, use agar-agar instead. This keeps the snacks firm without animal products.
Variations
Flavor Combinations
You can mix berries with tropical fruits for a fun twist. Try adding mango or pineapple to your berry mix. This combo gives a bright and fresh taste. Citrus flavors, like orange or lime, also work great. They add a zesty kick that brightens your fruit snacks.
Dietary Variations
For a sugar-free option, use stevia or monk fruit in place of honey. This keeps the snacks sweet without added sugar. If you want low-calorie snacks, use less fruit or choose berries with lower sugar. For vegans, use agar-agar instead of gelatin. It sets just as well and makes a tasty treat.
Combining Different Snack Forms
You can use the same recipe to make fruit leather or jerky. Just spread the mixture thinly and dehydrate it. This creates a chewy snack perfect for on-the-go. If you want a fun shape, use gummy bear molds. Kids love these, and they are easy to eat!
Storage Info
How to Properly Store Homemade Fruit Snacks
To keep your homemade fruit snacks fresh, use airtight containers. These containers prevent air from spoiling your snacks. You can also use freezer bags for longer storage. Make sure to squeeze out excess air before sealing. For the best taste, refrigerate your snacks right after they set. If you plan to freeze them, wait until they are completely cool.
Duration of Freshness
In the refrigerator, your fruit snacks will stay fresh for about one week. If you freeze them, they can last up to three months. When you are ready to eat, thaw them in the fridge overnight. This keeps their texture nice and firm. Avoid using a microwave to thaw, as this may change their shape.
Signs of Spoilage
Look for changes in color or smell to know if your fruit snacks have gone bad. If they become sticky or slimy, it’s time to toss them out. Proper storage is key to keeping your snacks tasty and safe. Always check for these signs to ensure you enjoy every bite!
FAQs
What are Homemade Fruit Snacks?
Homemade fruit snacks are chewy treats made from real fruit. They are simple and fun to make. Unlike store-bought snacks, these have no added colors or flavors. You get pure fruit goodness in every bite. They are healthy and packed with vitamins. Plus, you can control the sweetness. This means you can enjoy a tasty snack without guilt.
Can I use different fruits?
Yes, you can swap out fruits easily. Try using mango, peaches, or even apples. Each fruit brings its own unique flavor. Mixing fruits like strawberries and blueberries can create a delightful taste. You can also choose frozen or fresh fruits based on what you have. This flexibility makes the recipe fun and personal.
How long do these snacks last?
These fruit snacks last about one week in the fridge. Store them in an airtight container to keep them fresh. You can also freeze them for longer storage. When frozen, they can last up to three months. Just remember to thaw them in the fridge before eating. This helps keep their flavor and texture.
Can I add vegetables to fruit snacks?
Yes, adding vegetables can boost nutrition. Carrots or spinach can mix well with fruits. They can add extra vitamins without changing the taste much. Just blend them smoothly into the fruit mixture. This is a great way to sneak in more veggies for kids or picky eaters. It makes your snacks not only tasty but also healthy.
Homemade fruit snacks can be fun and simple to make. We covered ingredients like fresh berries, gelatin options, and tasty flavor boosters. The step-by-step guide taught you how to prepare the mixture and ensure the right texture. You can personalize recipes to meet your taste and dietary needs.
In the end, these snacks are not only easy to store but also a great way to enjoy fruits. You can experiment with flavors, textures, and presentations. Enjoy your snack-making journey!

