WANT TO SAVE THIS RECIPE?
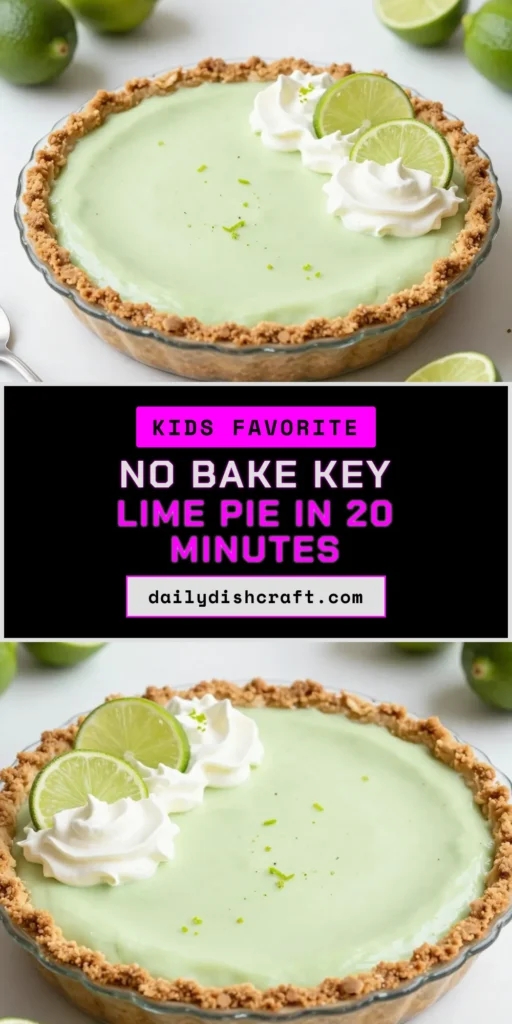
Looking for a quick and tasty treat? You’re in the right place! This no-bake key lime pie is simple, refreshing, and downright delicious. With just a few ingredients, you can impress friends and family at any gathering. Whether you’re new to baking or a seasoned pro, this pie is easy to make and a joy to eat. Let’s dive into this delightful dessert that will brighten your day!
Why I Love This Recipe
- Refreshing Flavor: This pie delivers a burst of zesty lime flavor that is both refreshing and irresistible, perfect for warm days.
- No Baking Required: With this no-bake recipe, you can enjoy a delicious dessert without the hassle of turning on the oven.
- Simple Ingredients: The ingredients are easy to find and the steps are straightforward, making it accessible for bakers of all skill levels.
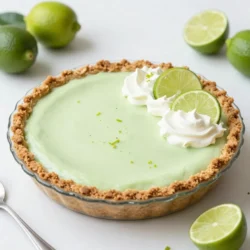
- Impressive Presentation: Garnishing with lime slices and whipped cream makes for an eye-catching dessert that’s sure to impress your guests.
Ingredients
Key Ingredients for No-Bake Key Lime Pie
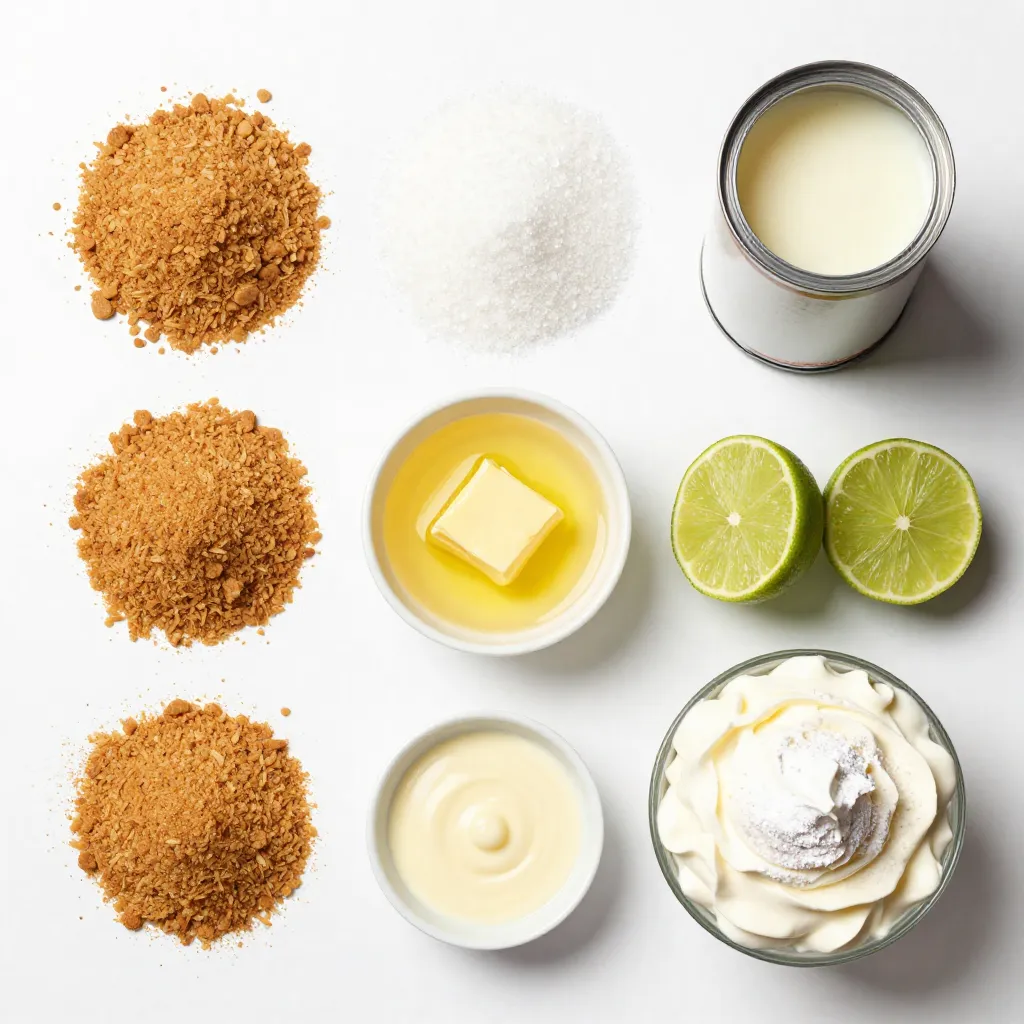
To make a zesty No-Bake Key Lime Pie, gather these key ingredients:
– 1 ½ cups graham cracker crumbs
– ½ cup granulated sugar
– ½ cup unsalted butter, melted
– 1 can (14 ounces) sweetened condensed milk
– ½ cup freshly squeezed lime juice (about 4-5 limes)
– Zest of 2 limes
– 1 teaspoon pure vanilla extract
– 1 cup heavy whipping cream
– 2 tablespoons powdered sugar
Each ingredient plays an important role. The graham cracker crumbs form a crunchy base. The sugar sweetens the pie without overpowering the tangy lime. Sweetened condensed milk adds creaminess while lime juice and zest give the pie its bright flavor. The vanilla extract enhances the overall taste. Heavy whipping cream creates a light and fluffy texture.
Optional Garnishes and Additions
For a lovely finish, consider these optional garnishes:
– Thin slices of lime
– Fresh whipped cream
– Lime zest
– Mint leaves
These add color and freshness. They also enhance the visual appeal and flavor of your pie. A little garnish can make your dessert look extra special!
Substitutions for Common Allergens
If you need to make swaps for common allergens, here are some ideas:
– Use gluten-free graham crackers for a gluten-free option.
– Substitute coconut cream for dairy-free needs.
– Replace granulated sugar with your favorite sweetener like honey or maple syrup.
These substitutions keep the pie delicious while accommodating dietary needs. Cooking should be fun and inclusive!

Step-by-Step Instructions
Preparing the Graham Cracker Crust
To make the crust, gather the graham cracker crumbs and granulated sugar in a bowl. Pour in the melted butter and mix with a fork. The mixture should feel like wet sand. Next, transfer this mix into a 9-inch pie dish. Press it firmly into the bottom and up the sides. Use your fingers or a measuring cup to ensure it’s even. Chill the crust in the fridge for about 30 minutes. This helps it set.
Making the Creamy Lime Filling
For the lime filling, grab another bowl. Whisk together the sweetened condensed milk, lime juice, lime zest, and vanilla extract. Keep mixing until it’s smooth. The filling should look creamy and thick. This blend captures that fresh lime flavor you love.
Whipping the Cream for Texture
Now, take a clean bowl and pour in the heavy whipping cream. Add the powdered sugar to it. Use an electric mixer on high speed to whip the cream. Watch for stiff peaks to form. Be careful not to over-whip. The cream should be light and fluffy.
Assembling and Chilling the Pie
Gently fold the whipped cream into the lime mixture. Use a spatula and mix carefully. You want to keep that airy texture. Once combined, pour the filling into the chilled crust. Smooth the top with a spatula for a nice finish. Cover the pie with plastic wrap and refrigerate it for at least 4 hours. For best results, chill it overnight. This helps all the flavors meld together. Once set, slice and serve it cold. Enjoy your tasty treat!
Tips & Tricks
Ensuring the Perfect Pie Crust
To make a great pie crust, use the right ratio of crumbs to butter. I find that 1 ½ cups of graham cracker crumbs and ½ cup of melted butter work well. Mix them with sugar. This blend should feel like wet sand. Press it firmly into your pie dish. Don’t rush this step. A well-formed crust makes a big difference.
Achieving the Right Lime Flavor
Fresh lime juice is key for the best flavor. Use about 4-5 limes to get ½ cup of juice. Zest two limes for extra zing. This adds depth and brightness to your pie. Taste your filling before pouring it into the crust. If you want more tartness, add a touch more lime juice.
Storing Leftover Pie
Store your leftover pie in the fridge. Cover it with plastic wrap to keep it fresh. This pie tastes great for up to three days. If you want to save it longer, freeze it. Slice it first, then wrap each piece well. This way, you can enjoy a slice anytime!
Pro Tips
- Chill the Bowl: For an even fluffier whipped cream, chill your mixing bowl and beaters in the freezer for about 15 minutes before whipping the cream.
- Fresh Lime Juice is Key: Always opt for freshly squeezed lime juice for the best flavor. Bottled lime juice lacks the brightness of fresh.
- Crust Texture Matters: Ensure the graham cracker crumbs are finely crushed and mixed well with the butter for a sturdy crust that holds together nicely.
- Let it Set: For the best texture and flavor, allow the pie to chill overnight. This helps the filling firm up and the flavors meld beautifully.
Variations
Dairy-Free No-Bake Key Lime Pie
To make a dairy-free version, swap out the sweetened condensed milk. Use a coconut cream or a cashew cream instead. Blend soaked cashews with lime juice, sweetener, and zest for a creamy filling. This option keeps the zesty taste while being dairy-free.
Chocolate-Covered Key Lime Pie Option
If you love chocolate, try adding cocoa to the crust. Mix 1 cup of graham cracker crumbs with ½ cup of cocoa powder and follow the crust steps. After filling the pie, drizzle melted dark chocolate on top. You can even add chocolate shavings for extra flair.
Gluten-Free Crust Alternatives
For a gluten-free crust, use almond flour or gluten-free graham crackers. Simply substitute the regular graham cracker crumbs in the crust recipe. This will keep the pie delicious while catering to gluten sensitivities. Remember to check all ingredient labels to ensure they are gluten-free.
Storage Info
Best Practices for Refrigeration
To keep your no-bake key lime pie fresh, store it in the fridge. Use plastic wrap to cover it well. This stops the pie from drying out or picking up other smells. The pie tastes best if eaten within 3 to 5 days.
Freezing the Pie for Longer Storage
If you want to save the pie for later, freezing works great. First, let the pie set in the fridge for at least 4 hours. Then cover it tightly with plastic wrap and foil. This keeps the pie safe from freezer burn. You can freeze it for up to 3 months.
How to Thaw Frozen Key Lime Pie
To enjoy your frozen pie, move it to the fridge. Let it thaw overnight for the best results. Avoid using a microwave, as that may change the texture. Once thawed, serve it cold for a refreshing treat.
FAQs
Can I use bottled lime juice instead of fresh?
Yes, you can use bottled lime juice. However, fresh juice gives the best taste. Fresh limes have a bright and zesty flavor that really makes this pie shine. I recommend using fresh lime juice when you can.
How long will the pie last in the fridge?
The pie will last up to four days in the fridge. It is best to keep it covered with plastic wrap. This helps maintain its freshness and prevents it from absorbing any odors.
What’s the origin of key lime pie?
Key lime pie comes from the Florida Keys. It became popular in the early 20th century. The pie uses small, tart key limes, which are different from regular limes. These limes give the pie its unique flavor.
Can I make this pie in advance for a party?
Yes, this pie is perfect for making ahead of time. You can prepare it the day before your event. Chilling it overnight helps the flavors meld and makes it even tastier. Just remember to cover it well in the fridge!
This blog post covered the key ingredients, step-by-step instructions, and helpful tips for a no-bake key lime pie. We explored variations, including dairy-free and gluten-free options, plus storage info to keep your pie fresh.
In summary, making a no-bake key lime pie is easy and fun. With these steps, you can impress family and friends. Get ready to enjoy a delicious treat that’s perfect for any occasio
Zesty No-Bake Key Lime Pie
A refreshing and creamy key lime pie that requires no baking, perfect for warm weather.
Prep Time 20 minutes mins
Total Time 4 hours hrs 20 minutes mins
Course Dessert
Cuisine American
Servings 8
Calories 300 kcal
- 1.5 cups graham cracker crumbs
- 0.5 cup granulated sugar
- 0.5 cup unsalted butter, melted
- 1 can sweetened condensed milk (14 ounces)
- 0.5 cup freshly squeezed lime juice (about 4-5 limes)
- 2 zest limes
- 1 teaspoon pure vanilla extract
- 1 cup heavy whipping cream
- 2 tablespoons powdered sugar
Prepare the Crust: In a large mixing bowl, combine the graham cracker crumbs and granulated sugar. Pour in the melted butter and stir with a fork until the mixture is fully blended and resembles the texture of wet sand.
Form the Crust: Transfer the crumb mixture into a 9-inch pie dish. Use your fingers or the bottom of a measuring cup to firmly press the mixture into the bottom and up the sides of the dish, ensuring an even layer. Once pressed, place the crust in the refrigerator to chill for about 30 minutes until it sets.
Create the Lime Filling: In a separate medium-sized bowl, whisk together the sweetened condensed milk, fresh lime juice, lime zest, and vanilla extract until smooth and thoroughly combined. This mixture should have a lovely creamy consistency.
Whip the Cream: In another bowl, pour in the heavy whipping cream and add the powdered sugar. Use an electric mixer to whip the cream on high speed until stiff peaks form, taking care not to over-whip. The cream should be airy and fluffy.
Combine: Gently fold the whipped cream into the lime mixture using a spatula. Do this gradually to maintain the lightness of the whipped cream. Mix until just incorporated, ensuring you don’t deflate the whipped texture.
Fill the Crust: Carefully pour the key lime filling into the chilled crust. Use a spatula to smooth the top for an attractive finish.
Chill the Pie: Cover the pie with plastic wrap and refrigerate for at least 4 hours, or preferably overnight. This allows the filling to set properly and develop the zesty flavors.
Serve: Once the pie has set, slice it into wedges and serve chilled. For an extra touch, garnish with thin slices of lime or a dollop of freshly whipped cream on top of each slice.
Consider serving individual slices on dessert plates, topped with lime zest and a mint leaf for a vibrant pop of color.
Keyword dessert, easy, key lime pie, lime, no-bake
WANT TO SAVE THIS RECIPE?